2-63
Installing and Setting up the Machine > Embedded Web Server RX
Registering Destinations
1
Display the screen.
1 Launch your Web browser.
2 In the address or location bar, enter the machine's IP address or the host name.
Click in the following order to check the machine's IP address and the host name.
[Device Information] in the home screen > [Identification/Network]
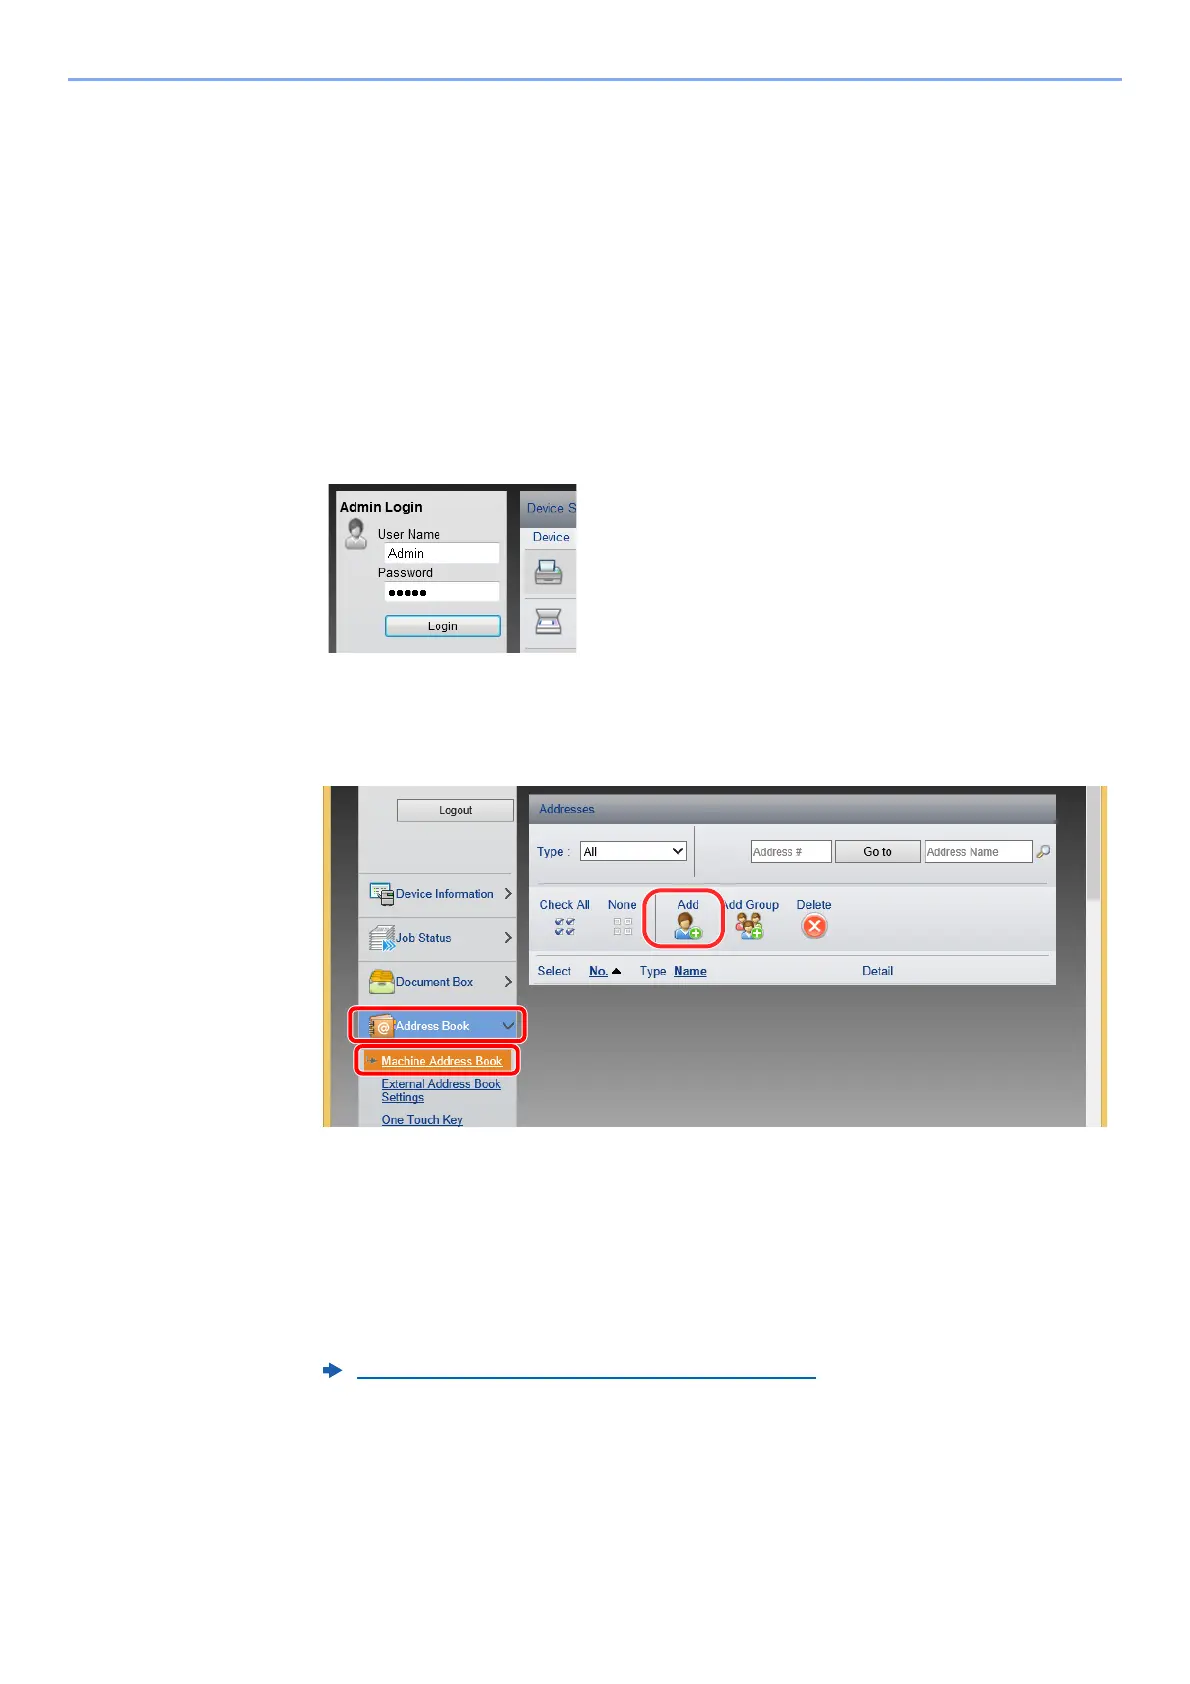
3 Log in with administrator privileges.
The factory default setting for the default user with administrator privileges is shown below. (Upper
case and lower case letters are distinguished (case sensitive).)
Login User Name: Admin
Login Password: Admin
4 From the [Address Book] menu, click [Machine Address Book].
5 Click [Add].
2
Populate the fields.
1 Enter the destination information.
Enter the information for the destination you want to register. The fields to populate are the same as
when registering via operation panel.
2 Click [Submit].
Registering Destinations in the Address Book (page 3-28)