21Service Guide: Fiery® ES IC-420
Replacing Parts
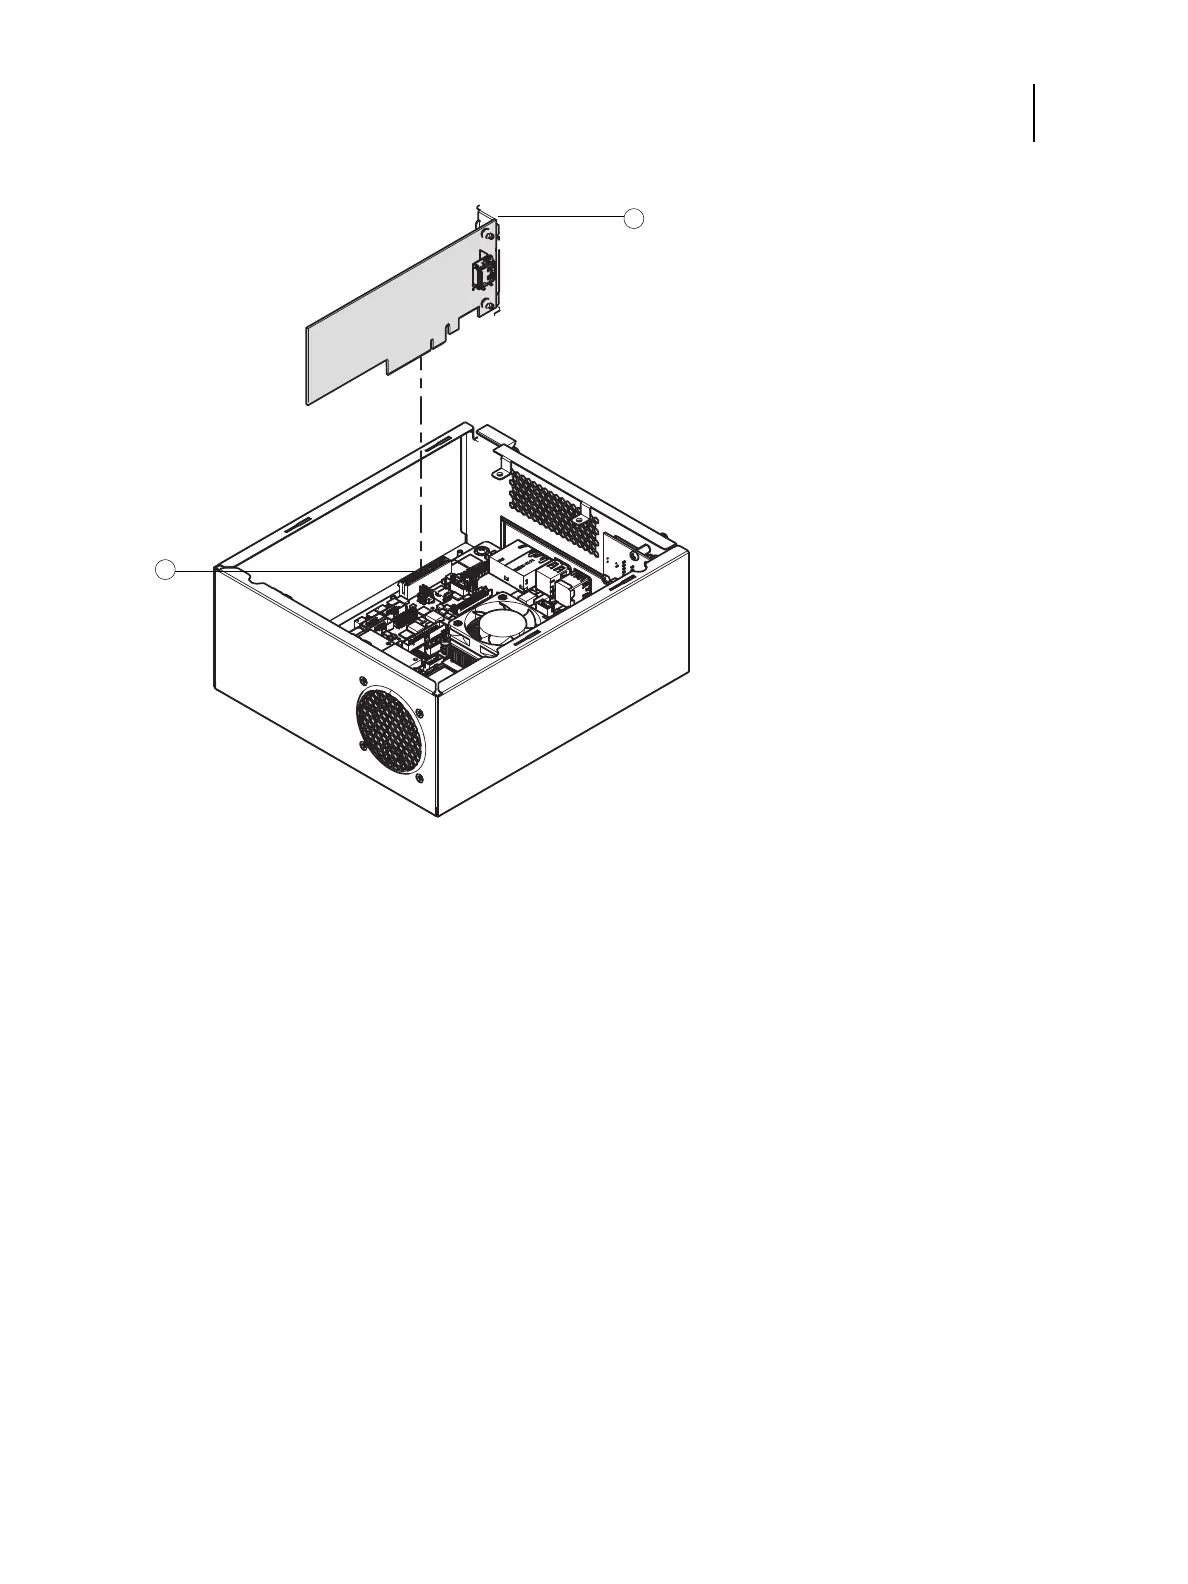
Figure 8: Removing the printer interface board
3 Remove the printer interface board from the chassis.
Gently pull the printer interface board straight out of the PCI slot on the riser card. Place the printer interface board on
an antistatic surface.
To replace the printer interface board
1 Firmly seat the printer interface board in PCIE x4 on the motherboard.
2 Replace the mounting screw that secures the printer interface board to the chassis.
Insert the mounting screw through the chassis and into the hole on the board mounting bracket (see Figure 8 on
page 21). Tighten the screw completely.
3 Reassemble the Fiery ES and verify its functionality (see page 29).
1Mounting screw
2PCIEx4 slot