30Service Guide
Replacing Parts
2 Replace the cover on the Fiery ES.
Make sure that all cables are fully inside the chassis before you replace the cover. Slide the cover until it engages the
edge of the chassis opposite the connector panel, and then lower the cover.
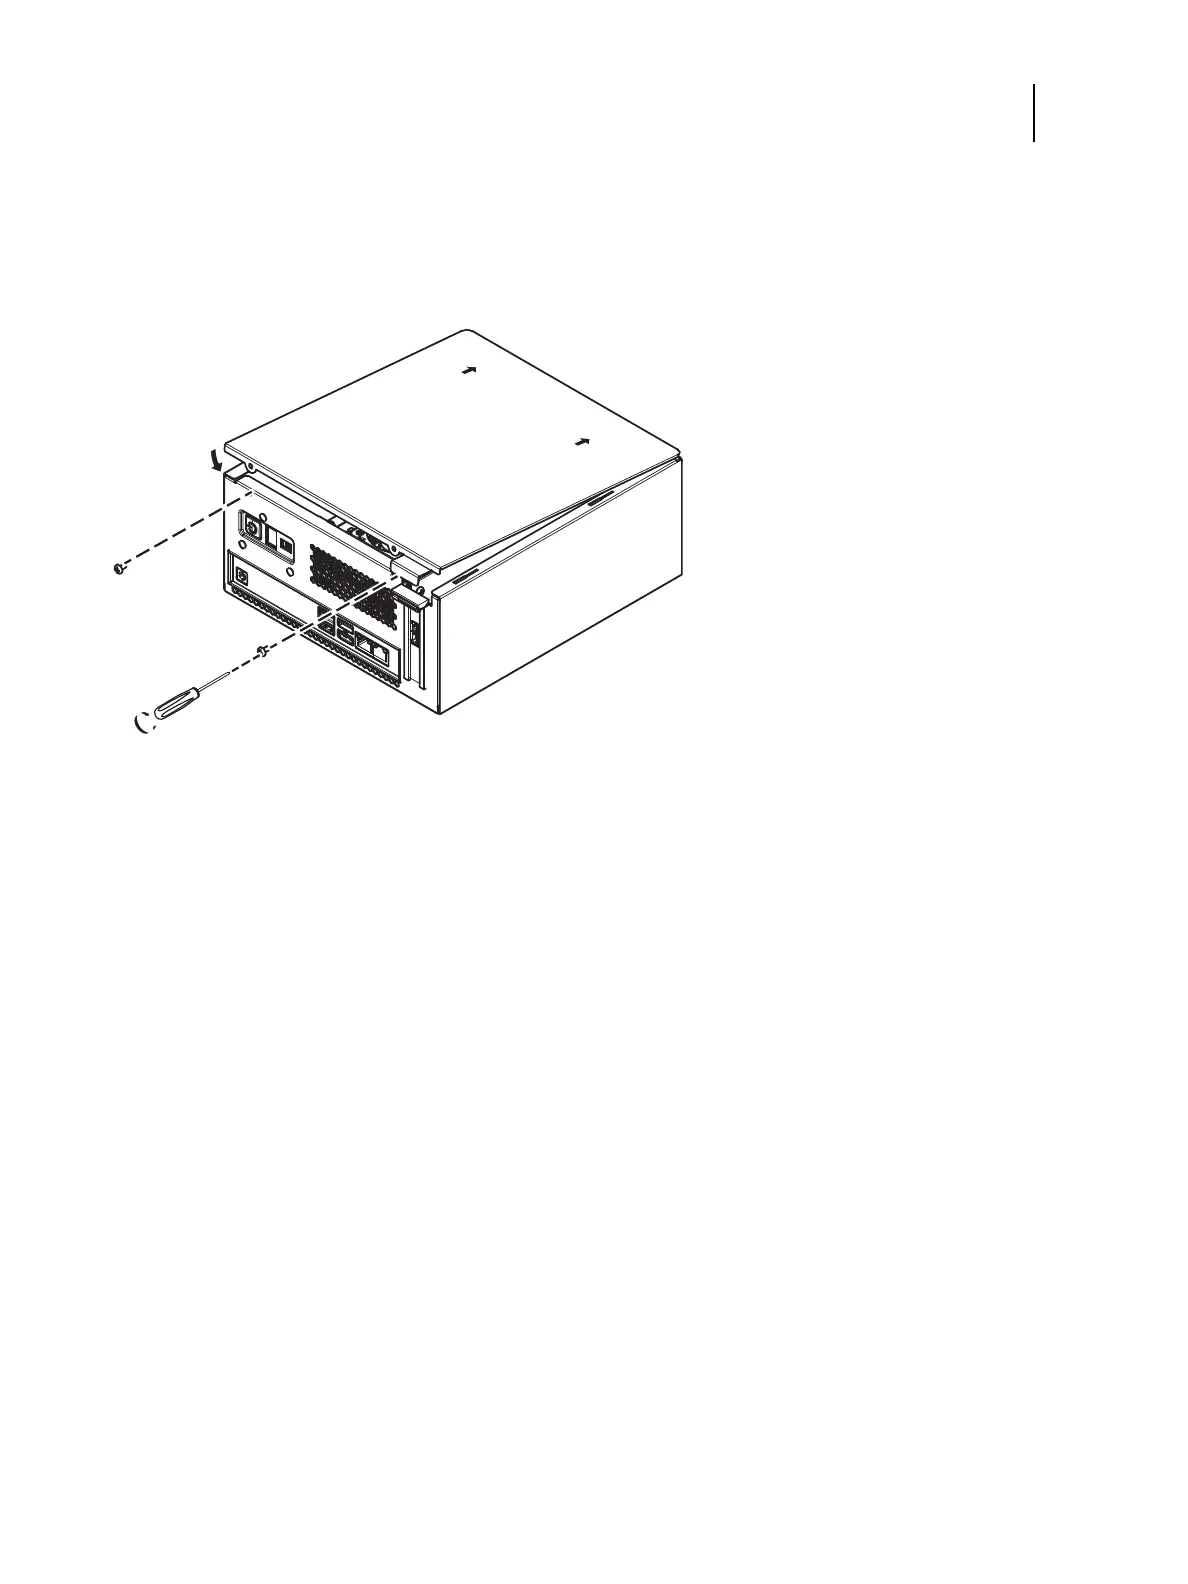
Figure 13: Replacing the chassis cover
3 Replace the two screws that you removed earlier.
Tighten the screws to secure the cover to the Fiery ES.
4 Reinstall the Fiery ES on the side of the printer.
For detailed information about removing/installing the Printer, see the installation instructions that accompany the
printer (not included in this service guide).
5 Connect the external cables that you removed during inspection or service.
Be sure to properly connect the following cables (see Figure 5 on page 17):
• Printer interface cable
• Network cable
• Crossover Ethernet cable between the Fiery ES and printer
• Fiery ES power cable
6 If you installed a new HDD, install system software (see page 32).
A spare HDD is shipped without preinstalled system software.
7 Make sure to configure the date and time in Setup (see Configuration and Setup, which is part of the user
documentation set).