34
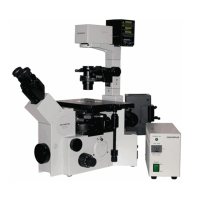
IX81
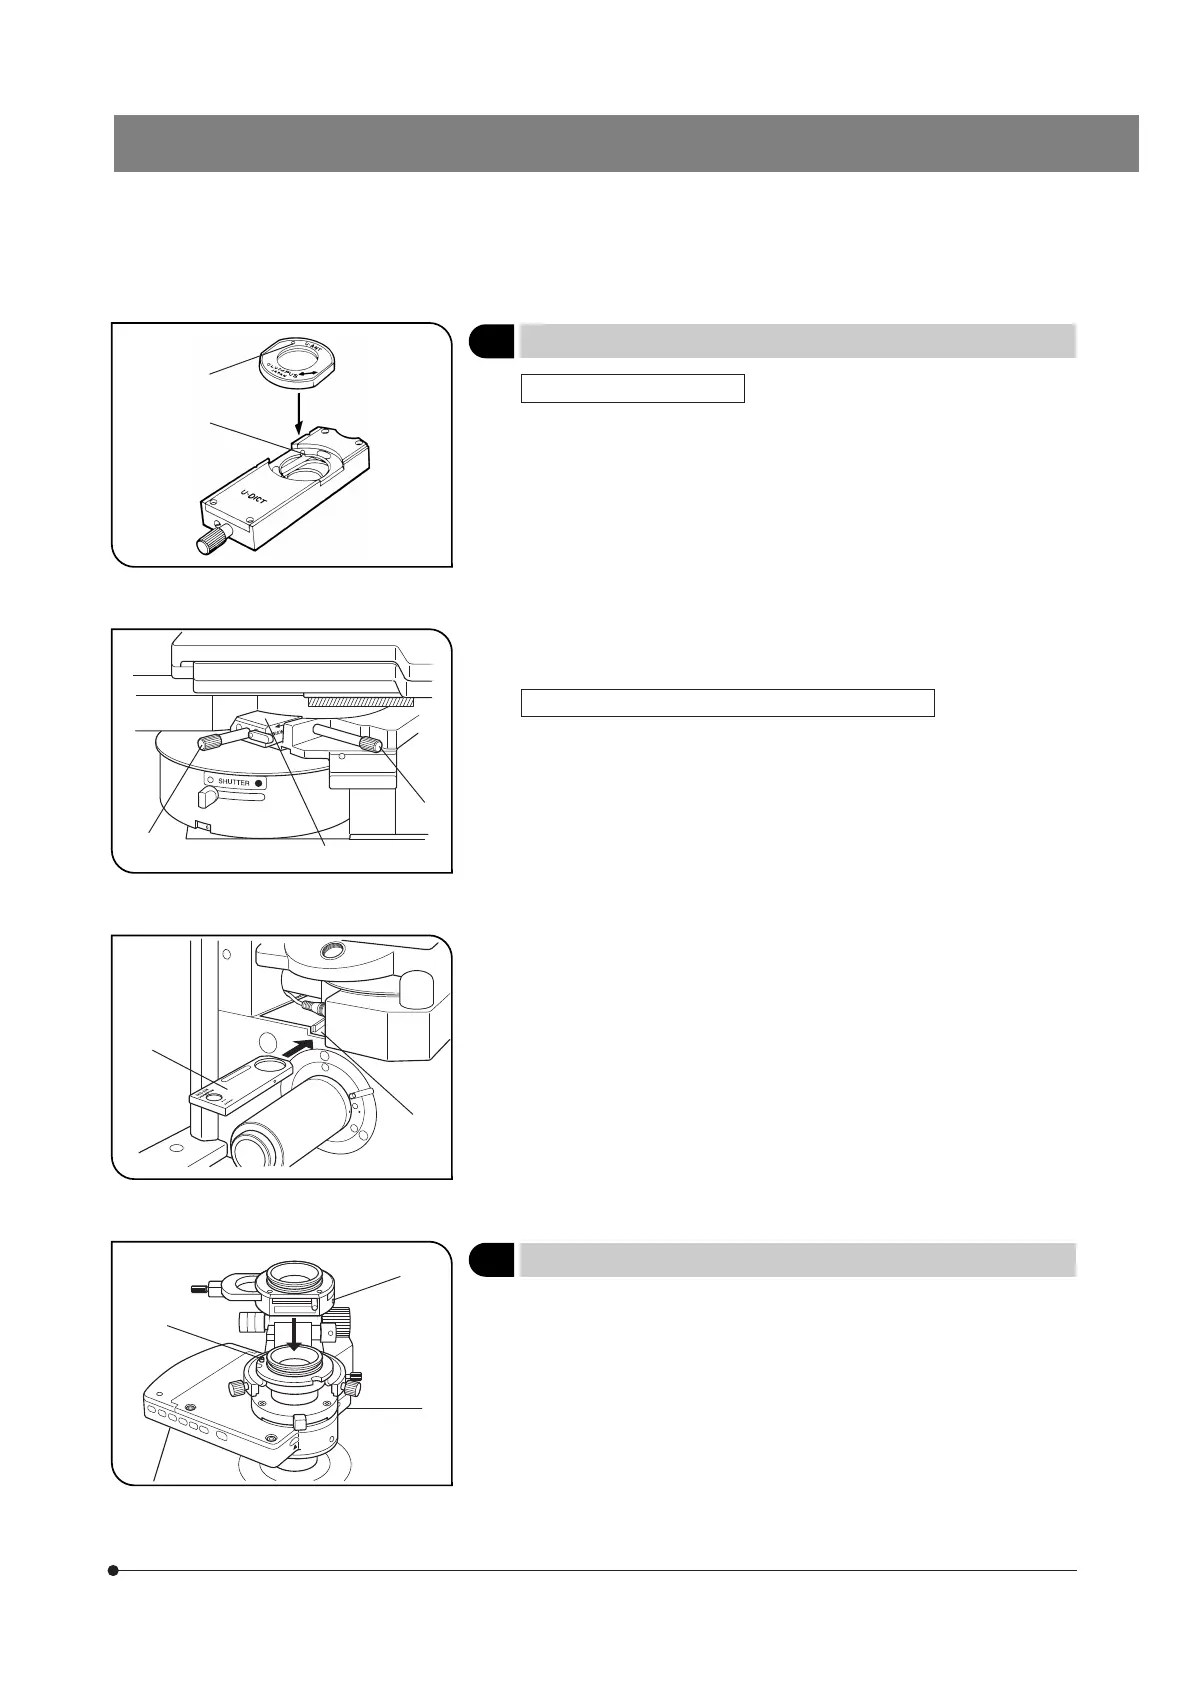
Fig. 45
Fig. 46
Fig. 47
Fig. 48
3
Attaching the Analyzer and DIC Slider
(Figs. 45 to 47)
With the U-DICT DIC Slider
1. Remove the dummy slider from the revolving nosepiece.
2. Align the index 1 of the U-ANT analyzer and the positioning groove 2 of
the U-DICT DIC slider and drop the analyzer into the analyzer mount of
the DIC slider. (Fig. 45)
3. Hold the U-DICT 3 so that the side with indication faces down, insert it
into the revolving nosepiece, and tighten the clamping knob 4.
With the U-DICTS/U-DICTHC/U-DICTHR DIC Slider
}The U-ANT analyzer cannot be mounted on these sliders. Use the IX2-AN
analyzer with them.
In case of simultaneous observation with reflected fluorescence obser-
vation, the use of the IX2-AN can make the observation brighter because
it does not cause drop in the excitation light from the principles.
}It is also possible to use the IX2-MDICT DIC mirror unit in place of the
analyzer.
However, the U-MDICT3 that looks similar to the IX2-MDICT cannot be
used because the analyzer’s oscillation direction is different.
1. Hold the IX2-AN analyzer 5 so that the side with indication faces up, and
insert the analyzer into the analyzer insertion slot 6 until it clicks.
2. Hold the DIC slider so that the side with indication faces down, and insert
it in the same way as the U-DICT.
4
Attaching the Polarizer (IX-LWPO)
(Fig. 48)
#The polarizer can be mounted only on the IX2-LWUCDA2 or IX2-LWUCD.
}This polarizer has been designed for being mounted on a universal con-
denser in case of DIC observation or simplified polarizer light observation.
1. Loosen the polarizer clamping screw 1 using the Allen screwdriver.
2. Align the pin hole on the condenser with the positioning pin 2 on the
condenser, and insert the polarizer unit into the upper part of the con-
denser.
3. Tighten the polarizer clamping screw firmly.
1
2
4
3
7
5
6
1
2