SZ2-STS/STP/STB1/STB2/STB3
4
Fig. 2
Fig. 1
ASSEMBLY
1
Mounting on the Equipment
(Figs. 1 to 3)
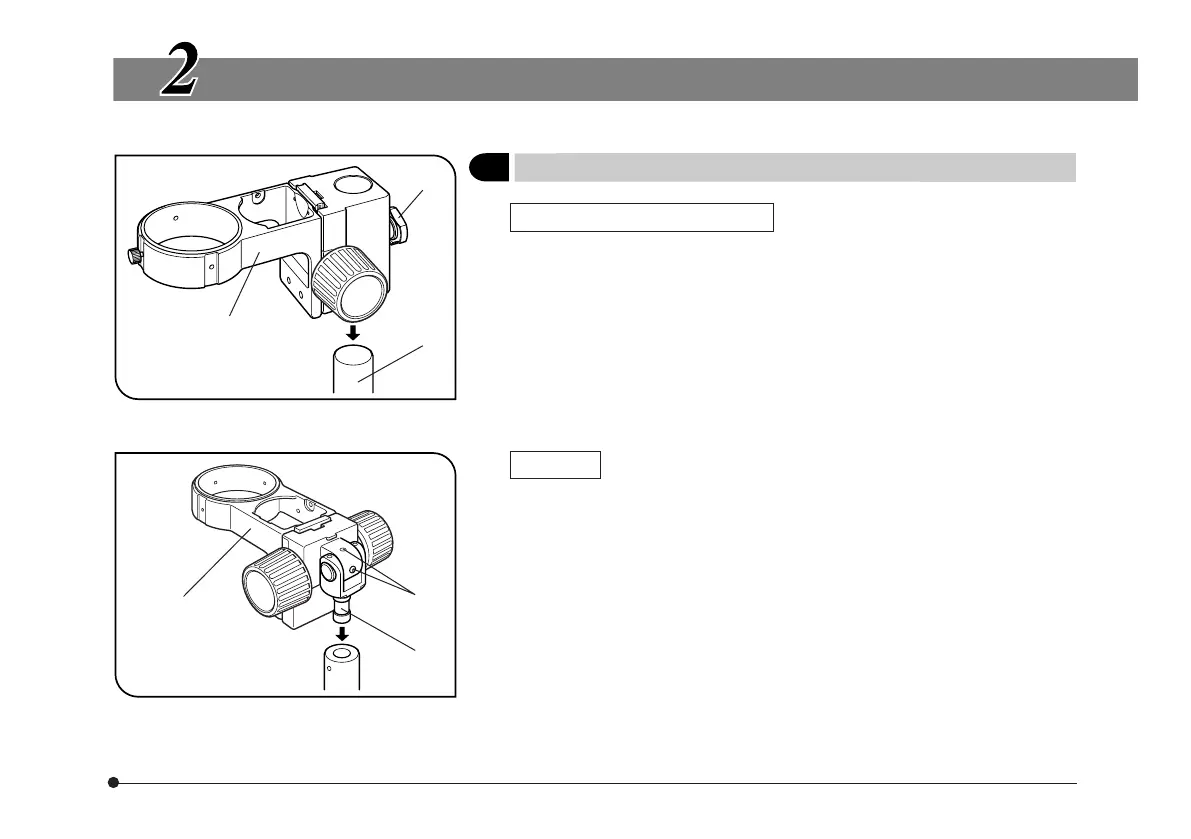
SZ2-STS, SZ2-STB2 or SZ2-STB3
Loosen the clamping knob @, fit the equipment mounting hole into the
pole ² of the system and tighten the clamping knob @ firmly.
# When mounting the equipment for the SZX, remove the drop-preven-
tion ring from the stand.
# Do not tighten the clamping knob while the pole is not inserted into
the equipment mounting hole.
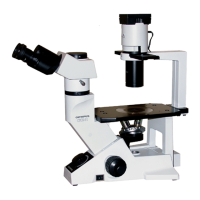
SZ2-STB1
1. Loosen the clamping screw on the mount section of the equipment, insert
the equipment mounting shaft ³ into the mount section, and tighten the
clamping screw.
2. The equipment mounting shaft can be inserted from either up or down.
When it is required to attach a heavy object such as a photography unit, it
is recommended to insert the equipment mounting shaft from the upward
direction.
3. To adjust the angle of the optical axis of microscope, loosen the retaining
screws | using the provided Allen wrench, adjust the angle, and then
tighten the two retaining screws that can be tightened.
SZ2-STS or
SZ2-STB2
²
@
³
SZ2-STB1
|