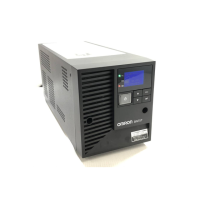
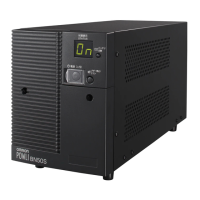
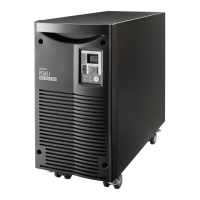
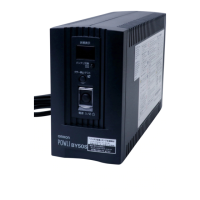
BN75R/BN150R/BN300R
2
18
2-4-1. Connecting the AC input plug
BN75R connection procedure
●
Provide a wall outlet (commercial power) suitable for the shape of the 15A plug (NEMA 5-15R).
●
It is possible to connect to a 2-pin outlet using the included 3P-2P adapter.
In this case, provide grounding separately.
BN150R connection procedure
●
When using the 15A plug (connected when shipped)
-
Provide a wall outlet (commercial power) suitable for the shape of the 15A plug (NEMA 5-15R).
●
It is possible to connect to a 2-pin outlet using the included 3P-2P adapter.
In this case, provide grounding separately.
●
When using the 20A plug
You can use up to the rated capacity of the BN150R.
-
Provide a wall outlet (commercial power) suitable for the shape of the 20A plug (NEMA 5-20R).
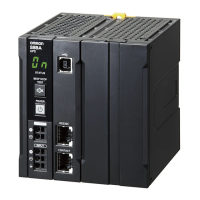
- Replace the AC input plug with the included NEMA L5-20P plug.
●
Plug replacement procedure
(1) Disconnect the 15A plug.
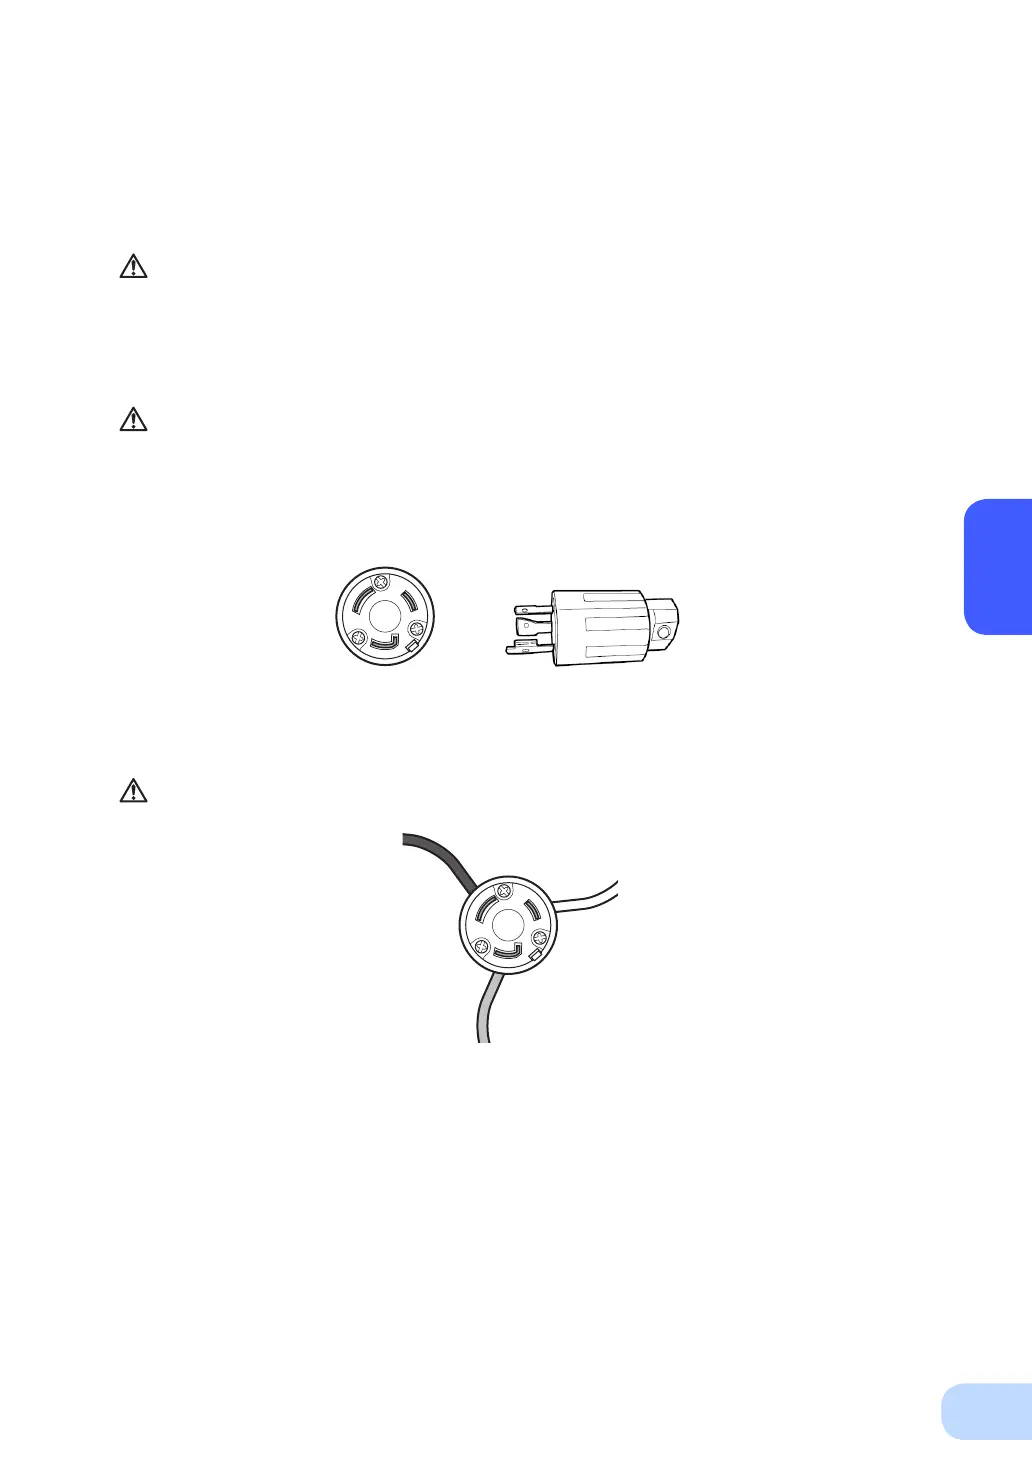
(2) Connect the included NEMA L5-20P plug as shown in the illustration below.
Make sure the wire colors match those in the diagram before tightening the
screws
BN300R connection procedure
●
When using the 30A plug (connected when shipped)
-
Provide a wall outlet (commercial power) compatible with the shape of the 30A plug (NEMA L5-
30R).
- If this plug is used, make sure that the capacity of the connected devices stays below the maxi-
mum capacities shown in the table on page 17.
- After connecting to commercial power, turn ON the INPUT PROTECTION switch (input overcur-
rent protection switch) on the back of the unit.
L: Black
FG: Green
N: White
 Loading...