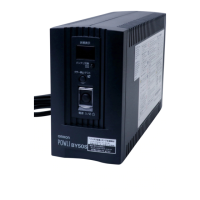
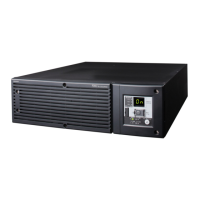
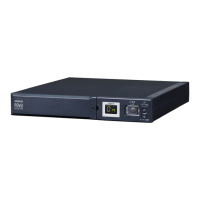
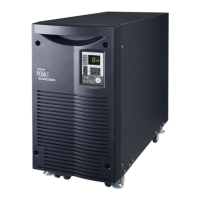
2.Installation and connection
21
Whenyounishconnectingtheunit,conrmthatthebackupoperationworksproperly.
Check that the Battery Mode is performed normally according to the following procedure.
(In this operation check, the effects of a power failure are reproduced by disconnecting the AC input
plug from the wall outlet (commercial power).)
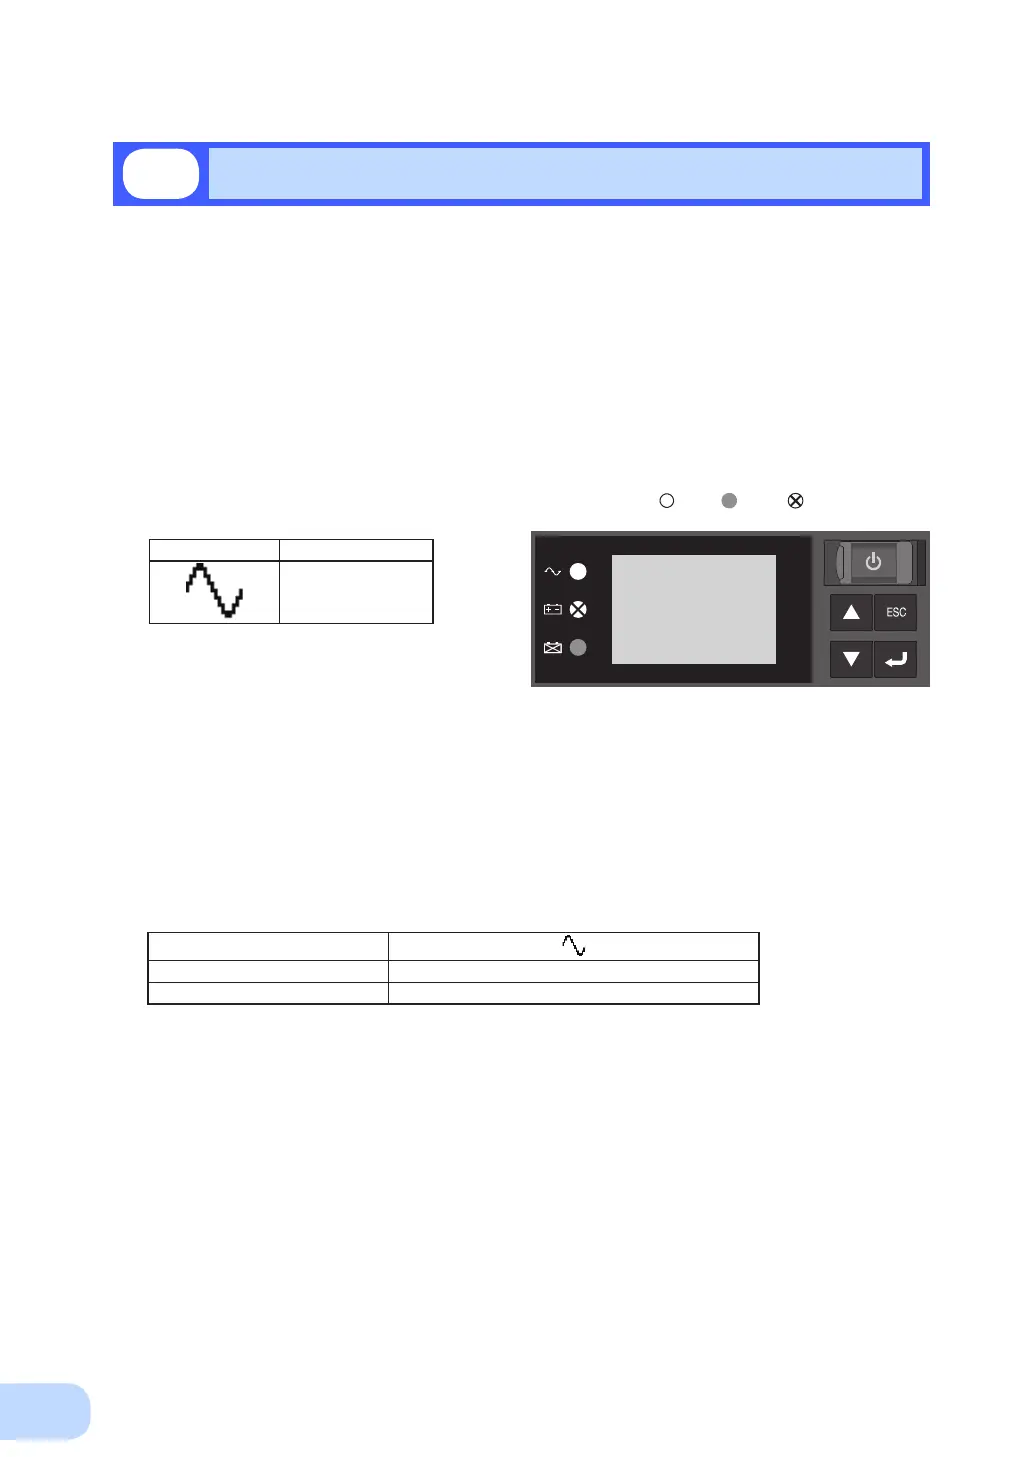
(1) Press and hold the unit’s power switch for 2 seconds or longer to turn ON the power.
The beeper sounds and the current settings are displayed on the LCD.
Self-diagnosis starts automatically.
Whentheself-diagnosistestnishesnormally,theunit’soperationswitchestocommercialpower
and the status indication below is displayed.
(When the battery voltage is low, the self-diagnostic test is not performed and output begins imme-
diately via commercial power.)
(2) Bring all the connected devices into operation.
(Including devices connected to the AC outlet of your PC.)
Operate the connected devices in a way that allows the power supply to be stopped at any time.
The unit was charged before shipment, but it may have self-discharged during shipment, resulting
in a reduced backup time. We recommend charging the unit before use.
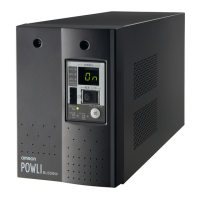
(3) Under this condition, check the the unit's LCD and beep sound.
Are they in the same status as shown below?
Status indicator
Beep None
Power supply output receptacles Outputs power (connected devices are powered)
If the same as the one shown above:
→Theoperationisnormal.Proceedto(4).
If not the same as the one shown above:
→Theoperationisabnormal.Oneofthecasesdescribedin
"4. Display and beeps when there is an equipment failure"
of "3-3 Interpreting a beep and displays" on page 28 must
apply.
Take necessary measures and then proceed to (4).
(4) Disconnect the unit’s AC input plug from the wall outlet (commercial power).
The unit enters Battery Mode.
2-5
Checking the operation
Status indicator Description
Power switch “ON”
Operating normally
ON OFF
dependingonstatus