7
EtherNet/IP Connection Procedure
7.3. PLC Setup
Set up PLC.
7.3.1. Hardware Settings
Set the hardware switches on EtherNet/IP Unit and wire the network.
Precautions for Correct Use
Make sure that the power supply is OFF when you set up.
Make sure that PLC and
Switching hub are powered
OFF.
*If either of them is ON, the
settings described in the
following steps and subsequent
procedures may not be
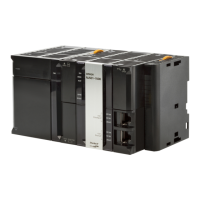
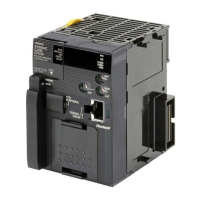
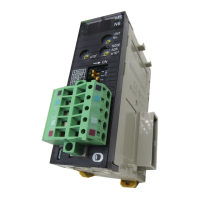
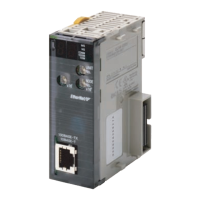
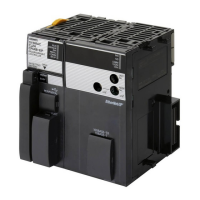
Check the position of the
hardware switches on the front
panel of EtherNet/IP Unit by
referring to the figure on the
right.
Set Unit number setting switch
to 0.
The unit number is used to identify individual CPU Bus Units when more than
one CPU Bus Unit is mounted to the same PLC. Use a small screwdriver to
make the setting, taking care not to damage the rotary switch. The unit
number is factory-set to 0.
Set Node address setting
switches to the following default
settings.
NODE No.x16
1
: 0
NODE No.x16
0
: 1
*The IP address is set to
192.168.250.1.
*By default, the first to third
octets of the local IP address
are fixed to 192.168.250. The
fourth octet is a value that is set
with Node address setting
With the FINS communications service, when there are multiple EtherNet/IP
Units connected to the Ethernet network, the EtherNet/IP Units are identified
by node addresses. Use the node address switches to set the node address
between 01 and FE hexadecimal (1 to 254 decimal).Do not set a number that
has already been set for another node on the same network.
The left switch sets the sixteens digit (most significant digit) and the right
switch sets the ones digit (least significant digit).The node address is
factory-set to 01.
Default IP address = 192.168.250.node address
With the factory-default node address setting of 01, the default IP address is
192.168.250.1.