460
Temperature Sensor Units Section 7-5
Using Temperature Sensor Units
Connecting Temperature
Sensor Units
A maximum of three CP1W-TS003 Temperature Sensor Units can be con-
nected, because each unit is allocated four words.
Setting Temperature or
Analog Ranges
Note (1) Always turn OFF the power supply before setting the temperature or an-
alog range.
(2) Never touch the DIP switch during Temperature Sensor Unit operation.
Static electricity may cause operating errors.
DIP Switch Settings
!Caution Set the temperature range according to the type of temperature sensor con-
nected to the Unit. Temperature data will not be converted correctly if the tem-
perature range does not match the sensor.
!Caution Do not set the temperature range to any values other than those for which
temperature ranges are given in the following table. An incorrect setting may
cause operating errors.
The DIP switch is used to set the input type (temperature or analog input), the
input thermocouple type (K or J) and the temperature unit (°C or °F).
Set the temperature or
analog ranges.
Connect the temperature
sensors or analog devices.
Connect the Temperature
Sensor Units.
Operation in the ladder
program.
• Set the input type (temperature or analog input),
the input thermocouple (K or J) type and the
temperature unit (˚C or ˚F).
• Connect the Temperature Sensor Units to the
CPU Unit.
• Connect temperature sensors or analog devices.
• Read converted data stored in the input words.
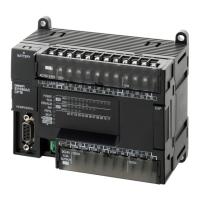
CP1H CPU Unit
IN
00
CH
CH
02 04 06 08 10
OUT
01COM 11
COM COM COM COM 06
00 01 02
03
03 05 07 09
04 05 07
00 01 02 03 04 05 06
07
08 09 10 11
20EDR1
CH
00 01 02 03 04 05 06 07
NC
NC
NC
CH
EXP
IN
00 02
01COM 03
COM 07
04
05
06
CH
00 01 02 03
08 09 10 11
8ED
EXP
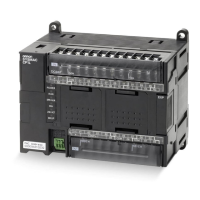
CP1W-20EDR1
Expansion I/O Unit
CP1W-8ED
Expansion I/O Unit
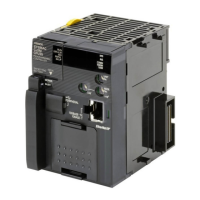
CP1W-TS003
Temperature Sensor Unit

 Loading...