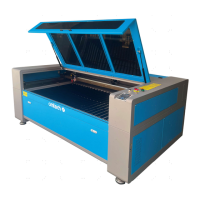
3.5 Water Cooling Installation
Using a water chiller (not incl.) is essential to your engraver’s performance and longevity. When this laser works
without a properly maintained cooling system, its glass tube WILL explode from excess heat.
To install your chiller, follow the instructions in its separate manual. Always fill it with distilled water. Using
deionised or tap water will gradually degrade the quality of your engraver and may even cause dangerous mineral
buildup in the cooling system. NEVER use generic antifreeze for the same reason. Use custom laser-safe formula-
tions or store your engraver in a climate-controlled area.
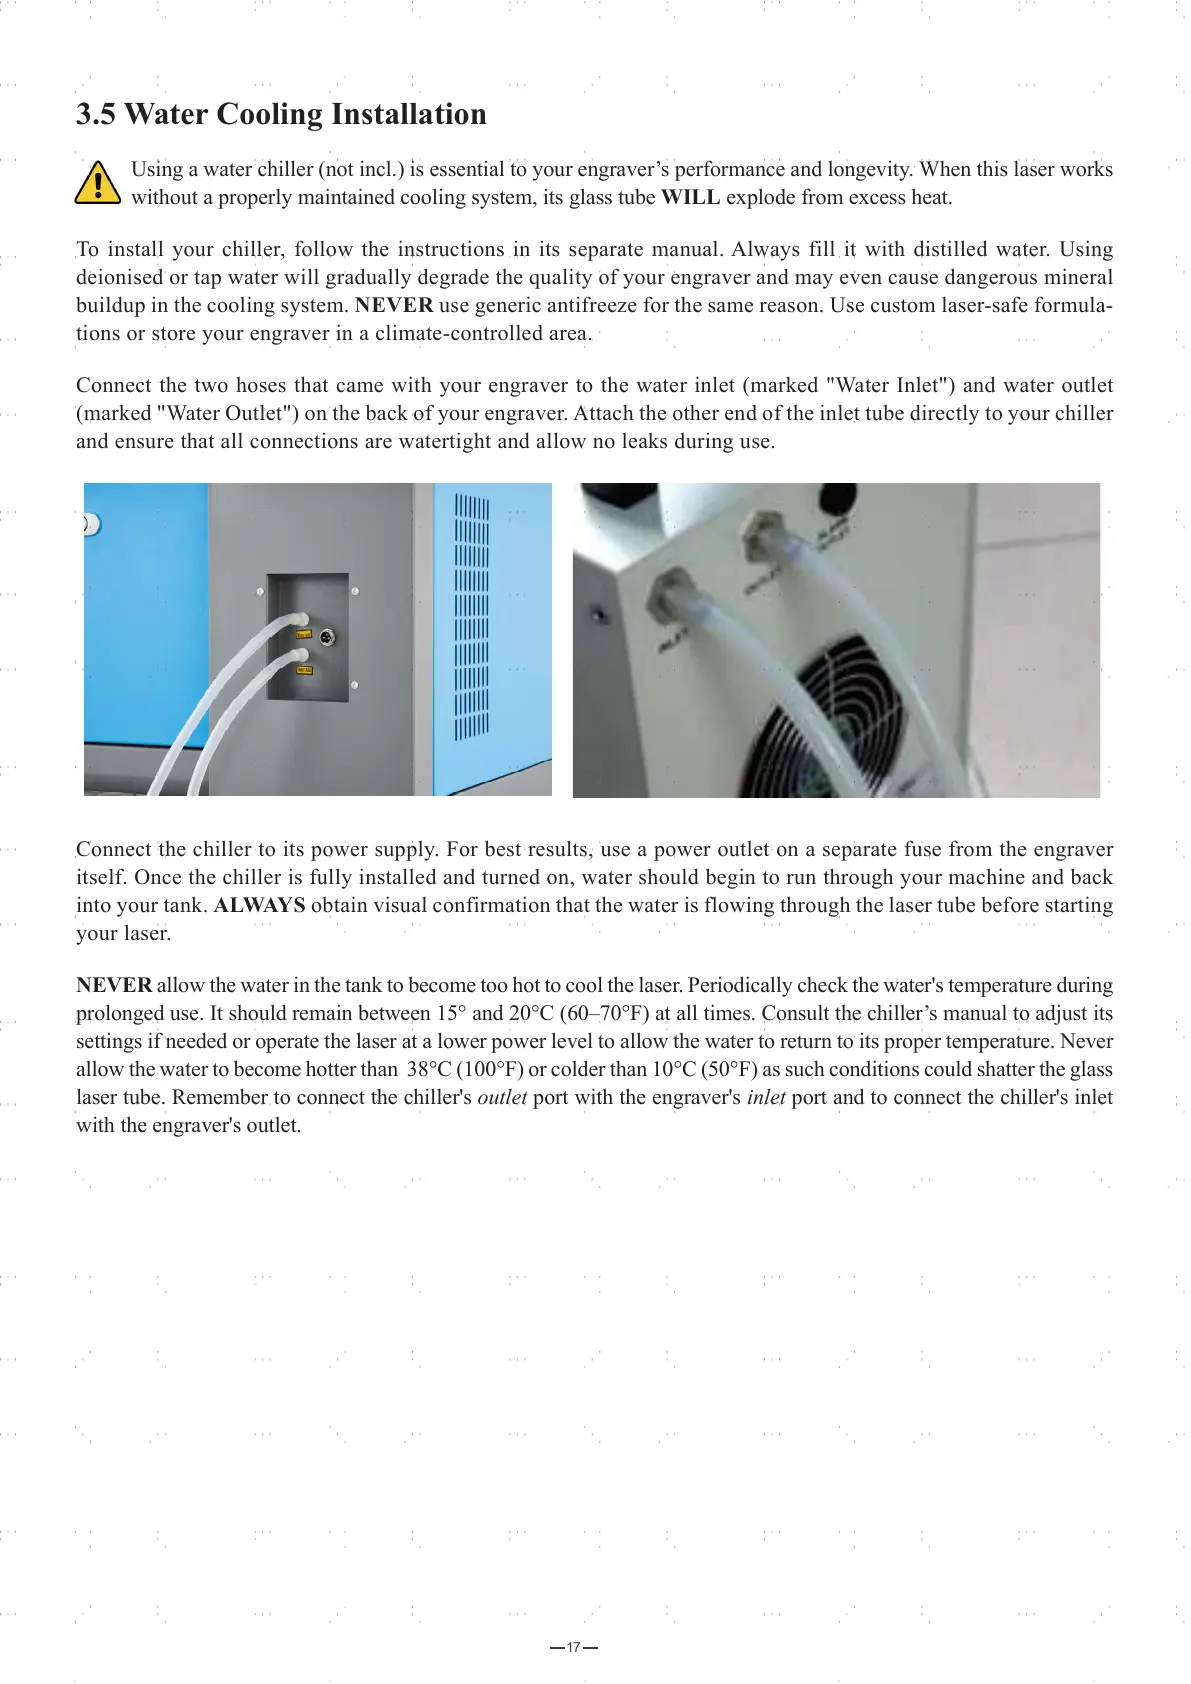
Connect the two hoses that came with your engraver to the water inlet (marked "Water Inlet") and water outlet
(marked "Water Outlet") on the back of your engraver. Attach the other end of the inlet tube directly to your chiller
and ensure that all connections are watertight and allow no leaks during use.
Connect the chiller to its power supply. For best results, use a power outlet on a separate fuse from the engraver
itself. Once the chiller is fully installed and turned on, water should begin to run through your machine and back
into your tank. ALWAYS obtain visual confirmation that the water is flowing through the laser tube before starting
your laser.
NEVER allow the water in the tank to become too hot to cool the laser. Periodically check the water's temperature during
prolonged use. It should remain between 15° and 20°C (60–70°F) at all times. Consult the chiller’s manual to adjust its
settings if needed or operate the laser at a lower power level to allow the water to return to its proper temperature. Never
allow the water to become hotter than 38°C (100°F) or colder than 10°C (50°F) as such conditions could shatter the glass
laser tube. Remember to connect the chiller's outlet port with the engraver's inlet port and to connect the chiller's inlet
with the engraver's outlet.
17