3.6 Exhaust System
This engraver doesn’t come with an inbuilt exhaust fan. Follow the steps to set an exhaust system before use.
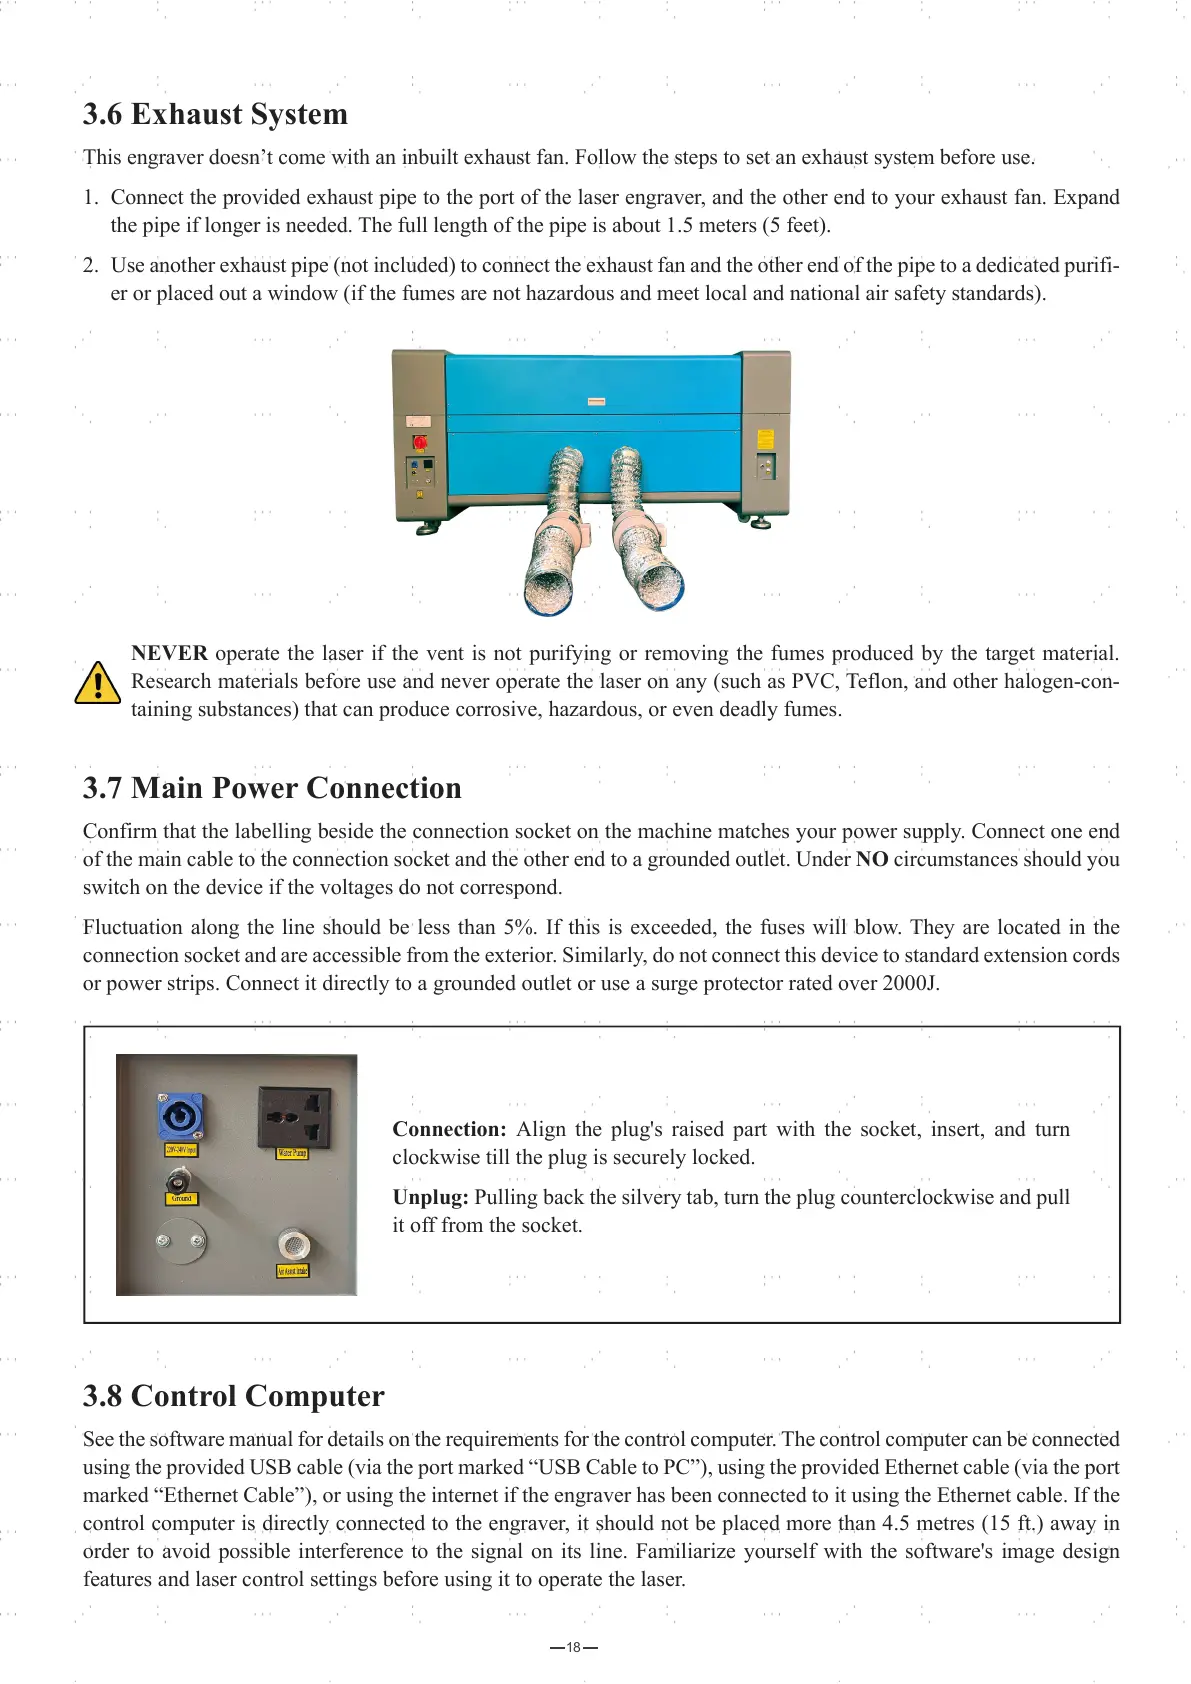
1. Connect the provided exhaust pipe to the port of the laser engraver, and the other end to your exhaust fan. Expand
the pipe if longer is needed. The full length of the pipe is about 1.5 meters (5 feet).
2. Use another exhaust pipe (not included) to connect the exhaust fan and the other end of the pipe to a dedicated purifi-
er or placed out a window (if the fumes are not hazardous and meet local and national air safety standards).
NEVER operate the laser if the vent is not purifying or removing the fumes produced by the target material.
Research materials before use and never operate the laser on any (such as PVC, Teflon, and other halogen-con-
taining substances) that can produce corrosive, hazardous, or even deadly fumes.
3.7 Main Power Connection
Confirm that the labelling beside the connection socket on the machine matches your power supply. Connect one end
of the main cable to the connection socket and the other end to a grounded outlet. Under NO circumstances should you
switch on the device if the voltages do not correspond.
Fluctuation along the line should be less than 5%. If this is exceeded, the fuses will blow. They are located in the
connection socket and are accessible from the exterior. Similarly, do not connect this device to standard extension cords
or power strips. Connect it directly to a grounded outlet or use a surge protector rated over 2000J.
3.8 Control Computer
See the software manual for details on the requirements for the control computer. The control computer can be connected
using the provided USB cable (via the port marked “USB Cable to PC”), using the provided Ethernet cable (via the port
marked “Ethernet Cable”), or using the internet if the engraver has been connected to it using the Ethernet cable. If the
control computer is directly connected to the engraver, it should not be placed more than 4.5 metres (15 ft.) away in
order to avoid possible interference to the signal on its line. Familiarize yourself with the software's image design
features and laser control settings before using it to operate the laser.
18
Connection: Align the plug's raised part with the socket, insert, and turn
clockwise till the plug is securely locked.
Unplug: Pulling back the silvery tab, turn the plug counterclockwise and pull
it off from the socket.