5.
Install the bearing cap on the rod. Install one
fastener and tighten to 5 ft-lbs
{7
N•m).
Re-
peat this for the other fastener. Tighten both
fasteners to 14 ft-lbs (19 N•m).
6. Install the remaining piston and rod in the
same way. Crank the engine by hand, to see
that all bearings are free.
Rod Bearing Clearance Procedure
1. Mark all parts so they can be installed in their
original positions, and wipe all parts clean of oil
and grease.
2.
Place a piece of the correct size Plasti-gage
across the full width
of
the bearing cap, about
1/4 inch
(6
mm) off-center.
3.
Install the bearing cap, and tighten to the
specified torque.
Do
not rotate the crankshaft
after the cap is in place.
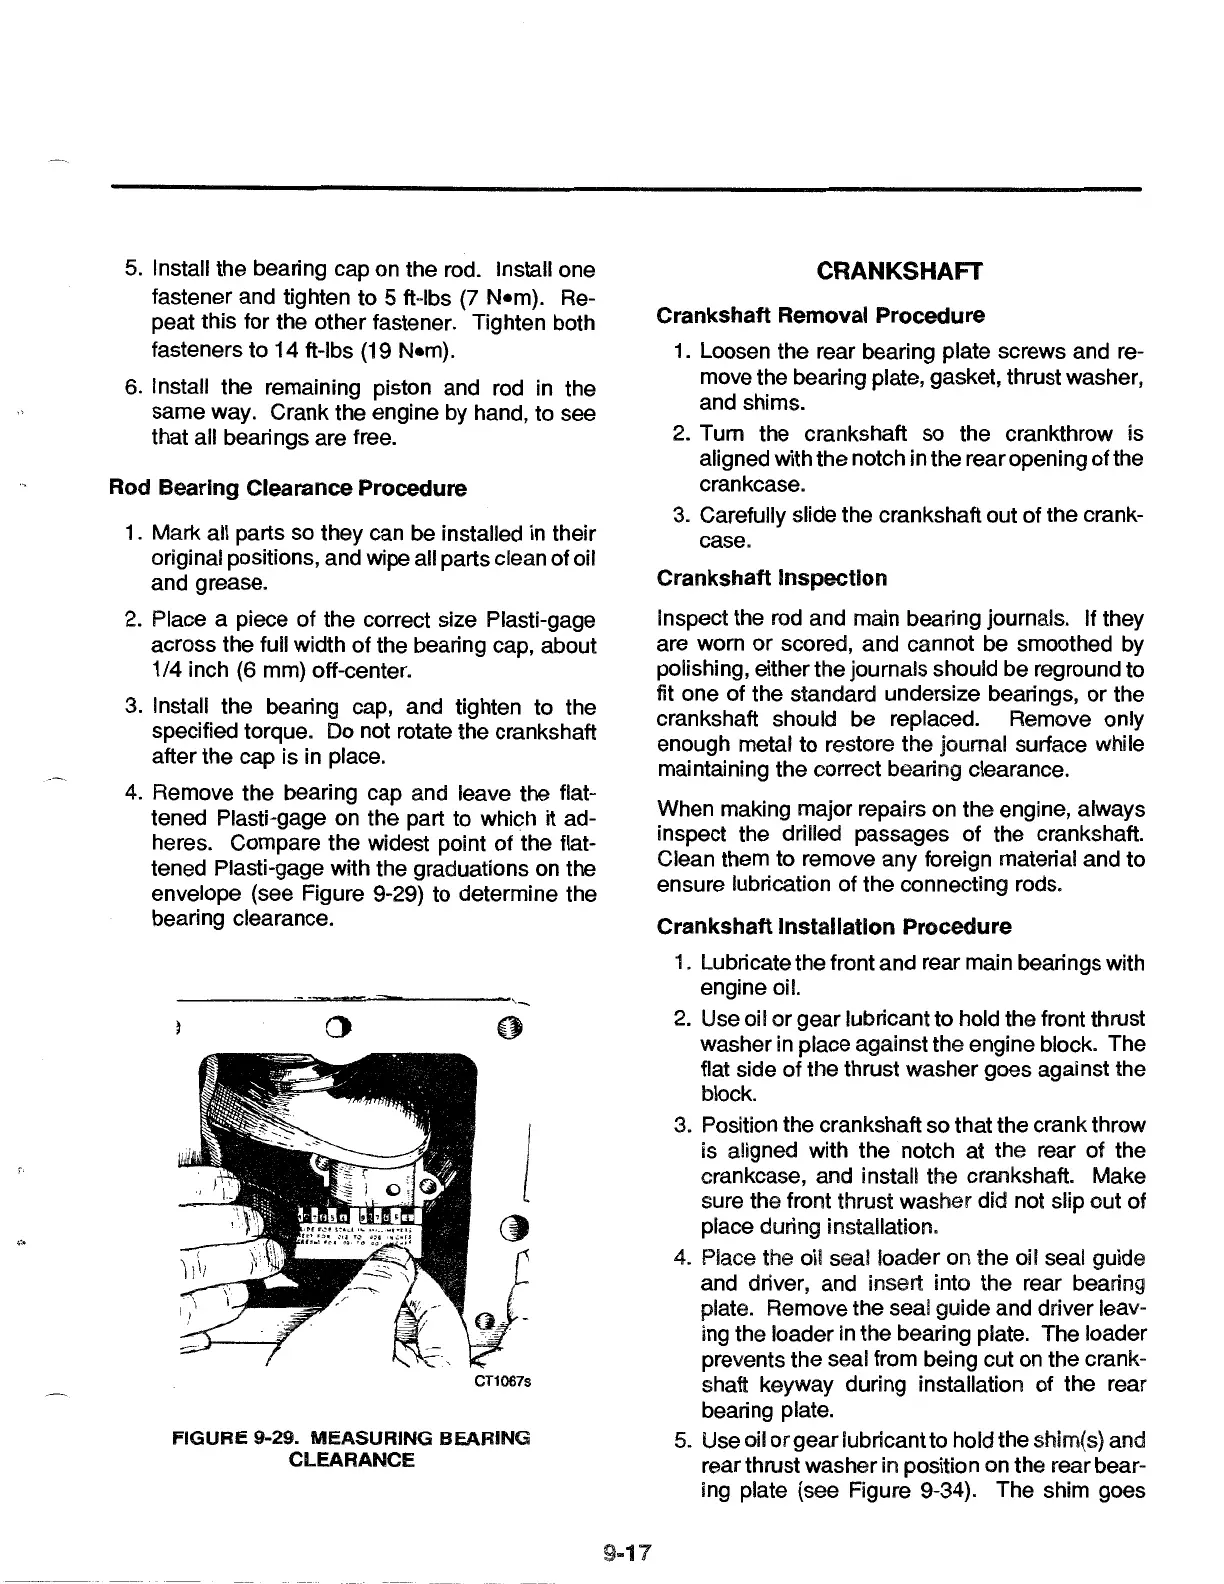
4.
Remove the bearing cap and leave the flat-
tened Plasti-gage on the part to which it ad-
heres. Compare the widest point of the flat-
tened Plasti-gage with the graduations on the
envelope (see Figure 9-29) to determine the
bearing clearance.
----~=--
......
:.....=-----'-~
()
CT1067s
FIGURE
9-29.
MEASURING
BEARING
CLEARANCE
9-17
CRANKSHAFT
Crankshaft Removal Procedure
1. Loosen the rear bearing plate screws and re-
move the bearing plate, gasket, thrust washer,
and shims.
2. Tum the crankshaft so the crankthrow is
aligned with the notch in the rear opening ofthe
crankcase.
3.
Carefully slide the crankshaft out of the crank-
case.
Crankshaft Inspection
Inspect the
rod
and main bearing journals. If they
are worn
or
scored, and cannot be smoothed by
polishing, either the journals should be reground to
fit one of the standard undersize bearings, or the
crankshaft should be replaced. Remove only
enough metal to restore the journal surface while
maintaining the correct bearing clearance.
When making major repairs on the engine, always
inspect the drilled passages of the crankshaft.
Clean them to remove any foreign material and to
ensure lubrication of the connecting rods.
Crankshaft Installation Procedure
1.
Lubricate the front and rear main bearings with
engine oil.
2.
Use oil or gear lubricant to hold the front thrust
washer
in
place against the engine block. The
flat side
of
the thrust washer goes against the
block.
3. Position the crankshaft so that the crank throw
is aligned with the notch at the rear of the
crankcase, and install the crankshaft. Make
sure the front thrust washer did not slip out of
place during installation.
4.
Place the oil seal loader on the oil seal guide
and driver, and insert into the rear bearing
plate. Remove the seal guide and driver leav-
ing the loader
in
the bearing plate. The loader
prevents the seal from being cut
on
the crank-
shaft keyway during installation of the rear
bearing plate.
5.
Use oil
or
gear lubricant to hold the shim(s) and
rear thrust washer in position on the rear bear-
ing plate (see Figure 9-34). The shim goes
 Loading...