Installing OnCommand® Link on a Vehicle
The OnCommand® Link device connects to the 9-pin diagnostic port connector in the vehicle’s cab.
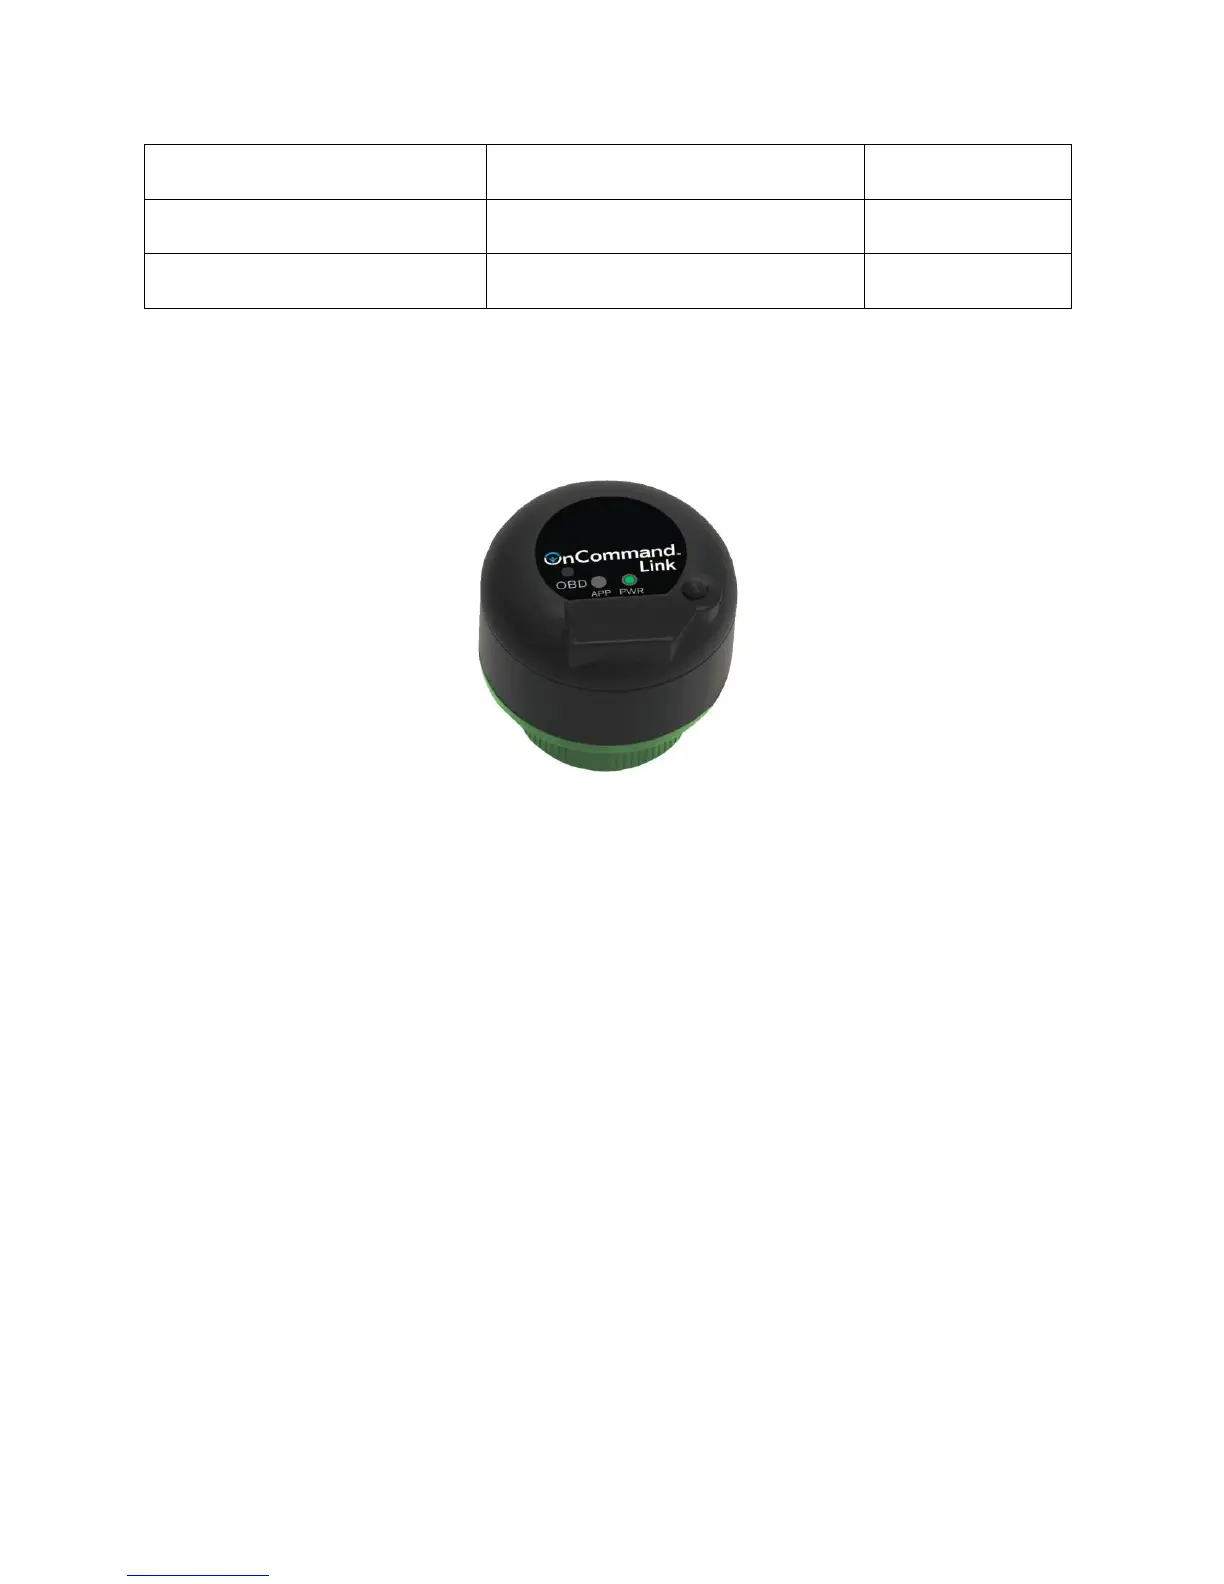
Figure 1. OnCommand® Link Device
1. Turn Ignition ON.
2. Install the OnCommand® Link by connecting it to the 9-pin diagnostic port connector in the
vehicle.
3. If the collar is accessible, turn the collar of the OnCommand® Link clockwise to lock it into the 9-
pin connector. Confirm that the green PWR light is illuminated.
4. Wait 2 to 5 minutes for the OnCommand® Link to connect automatically to the vehicle’s CAN
bus. Successful connection to the CAN bus is indicated by two beeps and illumination of the
amber APP light.
Connecting Personal User Device to OnCommand® Link
Communication to the OnCommand® Link device to control programming is done through a personal
user device, such as a smartphone, tablet or laptop, with the following specifications:
• Supported browsers: Firefox, Chrome, Safari, Internet Explorer, Microsoft Edge
• Supported operating systems: Windows, iOS, Android
Note: The USB port located on the OnCommand® Link device does not serve any function at this time.