Inlet
Facing
Right
Inlet
Facing
Forward
Inlet
Facing
Left
oneida-air.com 17
Assembly Instructions (Continued)
8
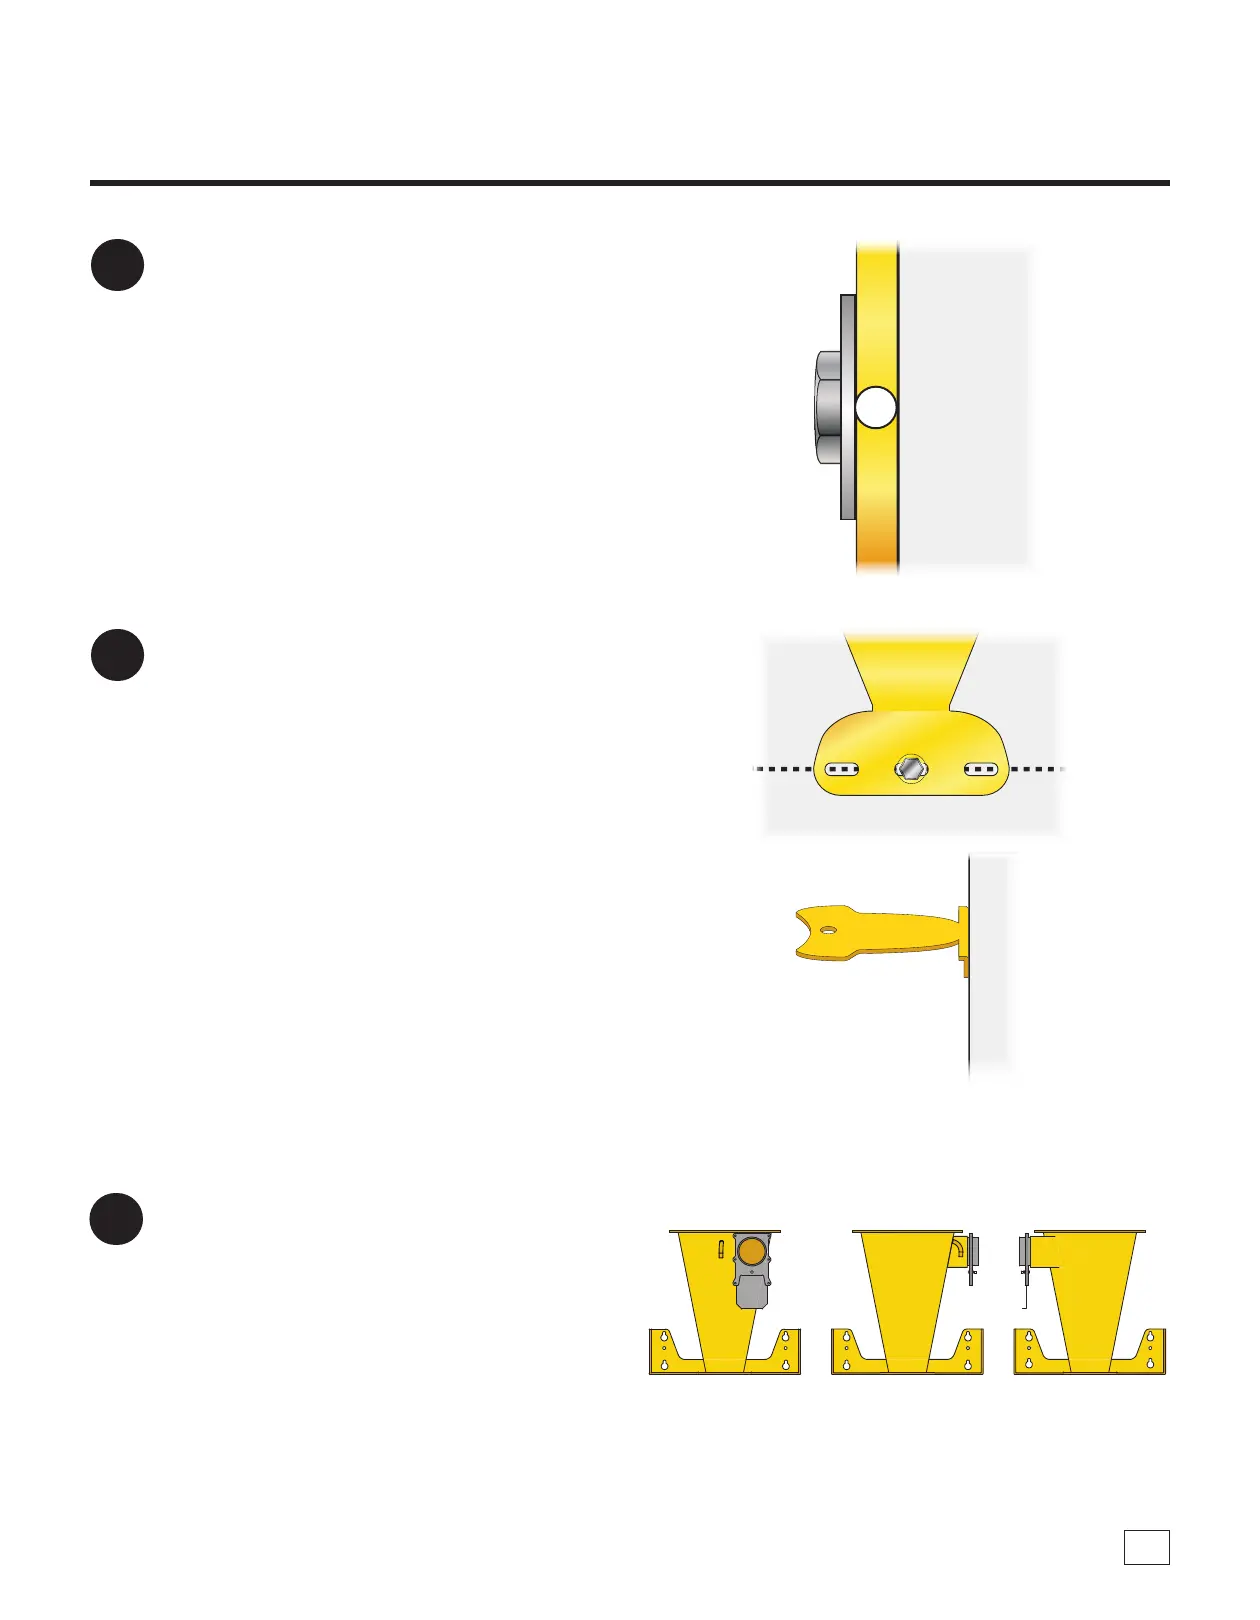
Tighten these four fasteners to secure the Wall
Bracket (F) to the wall [FIG. 8].
Note: If installing over drywall, avoid
overtightening as it may damage the wall.
9
Fasten the Rear Support Brace (G13) to the
wall using your own suitable hardware [FIG.
9]. Refer to the previously marked line for the
suitable mounting location of this Brace.
Note: is hardware is not load bearing and
only needs to connect the brace to the wall to
add additional support to the system during
operation. Fasten through at least one hole.
FIG. 9
FIG. 8
Wall
FIG. 10
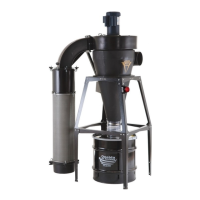
10
e Cyclone (E) can be rotated so that the inlet
is facing parallel or perpendicular to the wall.
Decide how you want your system oriented
[FIG. 10].
Note: e cone’s inlet can be rotated in
90-degree increments to best connect to your
ductwork and/or tools. Other positions will not
work as they will hinder installation of the Rear
Support Brace.
F