Installation
- 20 -
optek-sensors AS56, Version 04.2010_1.2US, 15.04.2010
www.optek.com
5.2 Installation of the sensor
Tool • none
Install sensor as described below:
Note!
The O-Rings for the lower or upper groove on the measuring segment are
delivered separately and are not installed upon delivery.
1. Check that there is an O-Ring for the measuring segment.
2. Depending on the corresponding port length, decide in which groove the
O-Ring has to sit. The area below the O-Ring will later be inserted into the
process medium.
• Lower groove is correct for 60 mm (2.36'') port length.
• Upper groove is correct for 30 mm (1.18'') port length. The measuring
segment is further inserted into the process medium.
Note!
Install only one O-Ring. This way, you avoid creation of a hold-up volume or
entrapment of process medium at the sensor.
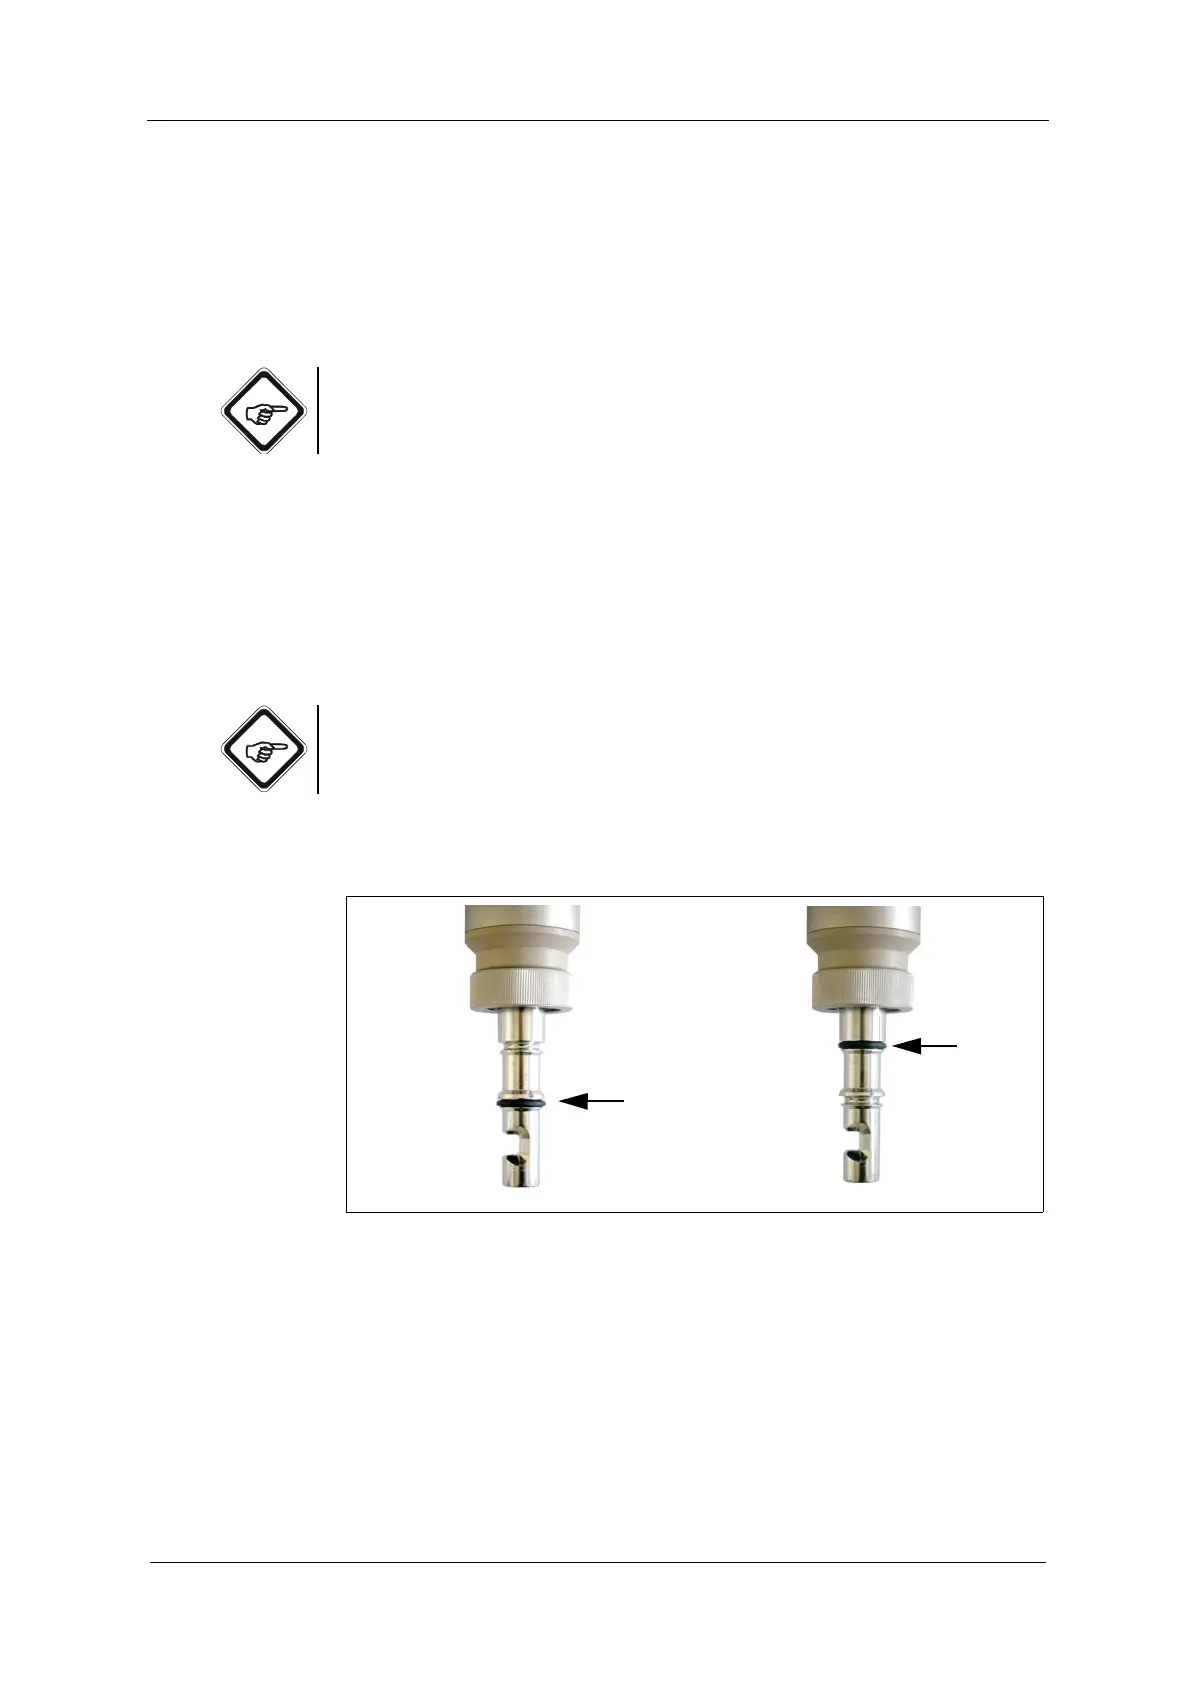
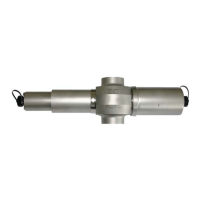
3. Slide the O-Ring into the lower or upper groove (see fig. 12).
Fig. 12 O-Ring in lower groove (left) or in upper groove (right)