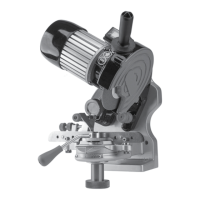
6. Turn the unit on by pressing the on-switch
located on the backside of the motor (the
white switch with the dash mark pushed
down) (see Figure 15).
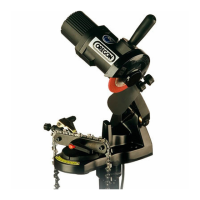
7. Lower the grind head/wheel into the grind
position and grind the chain cutter (see
Figure 16).
Note: Use several light downward motions
when grinding to prevent burning of the
cutter during grind.
8. After grind is complete, allow the grind
head/wheel to raise to the upper rest
position.
9. Disengage the clamping feature by
depressing the red push button and rotating
the adjustment knob in a counterclockwise
direction. Then move the saw chain, while
still positioned in the vise, to the next cutter
to be ground.
Note: Grind all like cutters in a sequence
first. Example - If the first cutter to be
ground is a right hand cutter, then grind all
right hand cutters before changing the
grind setting to the left hand grind position
or vice versa.
10. Once all cutters of the same side (left or
right) have been ground, repeat steps 2 - 9
in section D, on opposite side cutters.
E. Setting the Depth Gauge:
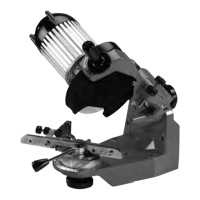
1.To set the depth gauge the grinder head
is preset to 60°. Install the 1/4” wheel
(sold separately, Part No. OR-4125-14).
Set vise angle to 0°. (see Figure 17).
2.
To dress the wheel for depth gauges, place
dressing brick level on top of chain vise, then
lower the wheel onto the grinding brick.
Grind surface until shape for wheel is parallel
with chain vise (see Figure 18, page 13).
OPERATING INSTRUCTIONS
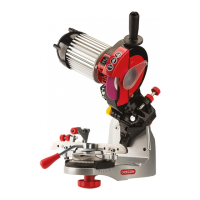
Figure 13
Figure 14
Figure 15
Figure 16
12
OFF
ON
Figure 17
Depth
Adjustment
Knob