8. Turn the unit on by pressing the on-switch
located on the back side of the motor (the
green oval indicator with a white dash) (see
Figure 29 ).
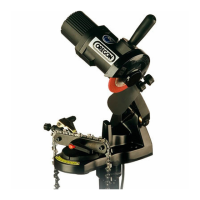
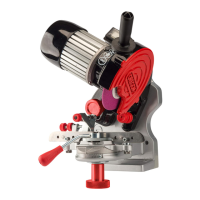
9. Lower the grind head/wheel into the grind
position and grind the chain cutter (See
Figure 30).
Note: Use several light downward motions
when grinding to prevent burning of the
cutter during grind.
10. After grind is complete, allow the grind
head/wheel to raise to the upper rest position.
11. Using caution, pull the saw chain forward
on the bar until the next cutter to be ground
is in the appropriate position. Then repeat
steps 7-10 until all cutters (left or right)
have been ground.
12. Once all cutters of the same side (left or
right) have been ground, repeat steps 9-11
on the opposite side cutters.
13. After all grinding actions have been com-
pleted, turn off the unit by pressing the red
oval indicator with a white circle
(see Figure 29, page 15).
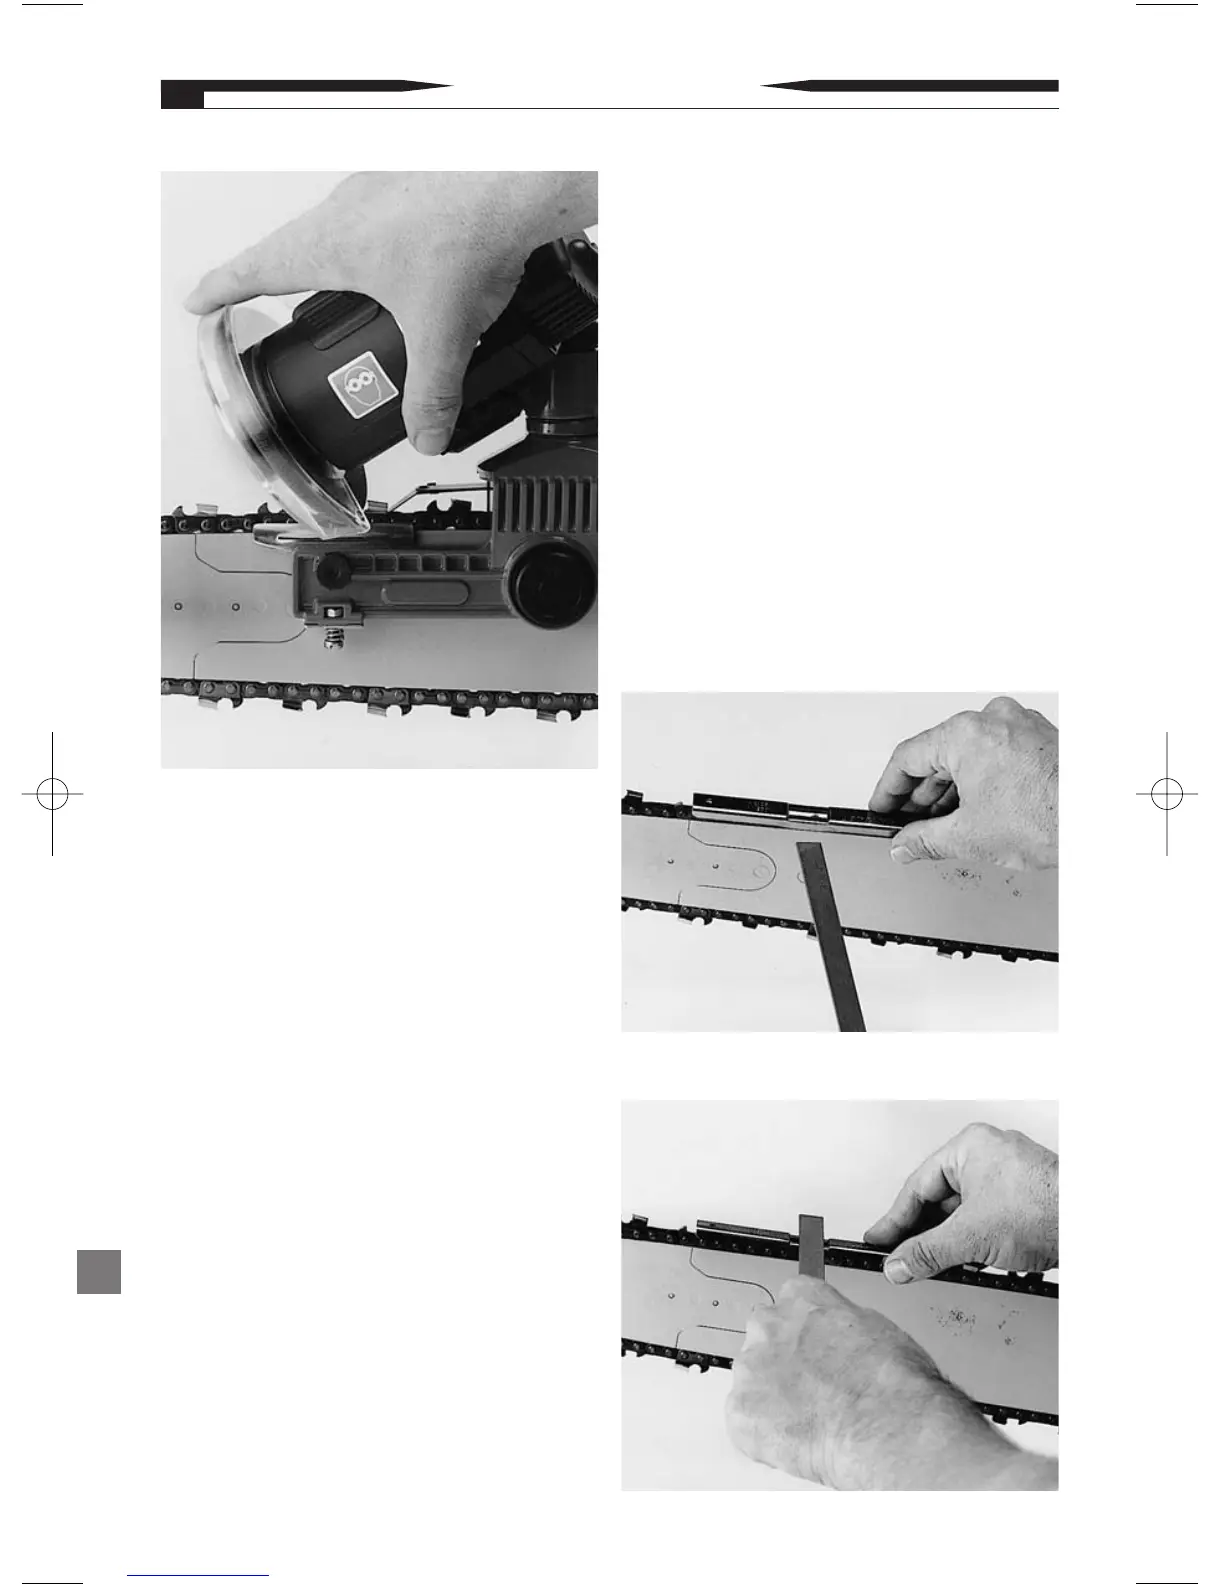
G. Setting the Depth Gauge:
1.Place an Oregon
®
Gaugit (depth gauge
setting tool) on the chain in vise over the
depth gauge portion of the cutter (see
Figure 31).
Note: Gaugit not included. See page 17 to
locate the correct depth gauge tool for
chain type.
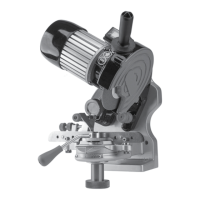
2.With an Oregon
®
flat file (P/N 12211), file
the first depth gauge (see Figure 32).
Note: The Oregon
®
flat file (P/N 12211) is
not included.
3.File all depth Gauges.
OPERATING INSTRUCTIONS
16
Figure 32
Figure 31
Figure 30