5OrionWelders.com
SET UP THE FRONT SIDE OF THE POWER SUPPLY
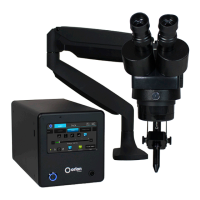
Look to the front on the Orion to power on the welder and control the touch screen.
• Plug the pulse arc welding alligator clip in the port at the bottom right of the welder.
Alternatively, you may use the “Pulse Arc and Tack +” port on the back of the welder.
• Push in the power button on the bottom left to start the welder.
• Touch the play button on the user interface to begin welding.
Microscope Arm Setup
MICROSCOPE ARM MOUNTING OPTIONS
• Remove the microscope arm from the box and place it on your
table.
• Follow the desired mounting method below.
Mounting Option 1 - Clamp to table
• Determine the height of the tabletop. *If it is thicker than 3-1/2’
(9cm), follow mounting options 2 or 3.
• Position the microscope arm clamp under the tabletop.
• Turn the clamp knob clockwise until the clamp is very snug.
Mounting Option 2 - Bolt through table
• Using a 4mm (5/32) allen wrench, unscrew the allen bolts
holding the clamp to the arm.
• Run the included 8mm (5/16) bolt (F) through the included
plate (H).
• Attach plate (H) to the bottom of the arm using the same
allen bolts from step 1.
• Drill a 3/8’ (9.5mm) hole through the tabletop.
• Lower the arm so the bolt goes through the hole in the table
top.
• Slide the tightening plate onto the bolt and then tighten the
twist knob onto the bolt until it is very snug.

 Loading...