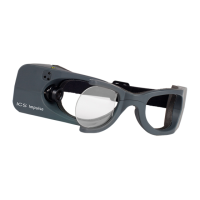
6. Position the ROI (Region of Interest) around the pupil:
– click on the green box and drag to center it on the pupil, or
– click on the pupil to center the pupil inside the green box.
Note• For Head Impulse and VOR tests the ROI box is 100 x 100 pixels with a maximum sampling rate of 250 fps.
For all other tests the ROI box is 160 x 120 pixels with a maximum sampling rate of 173 fps.
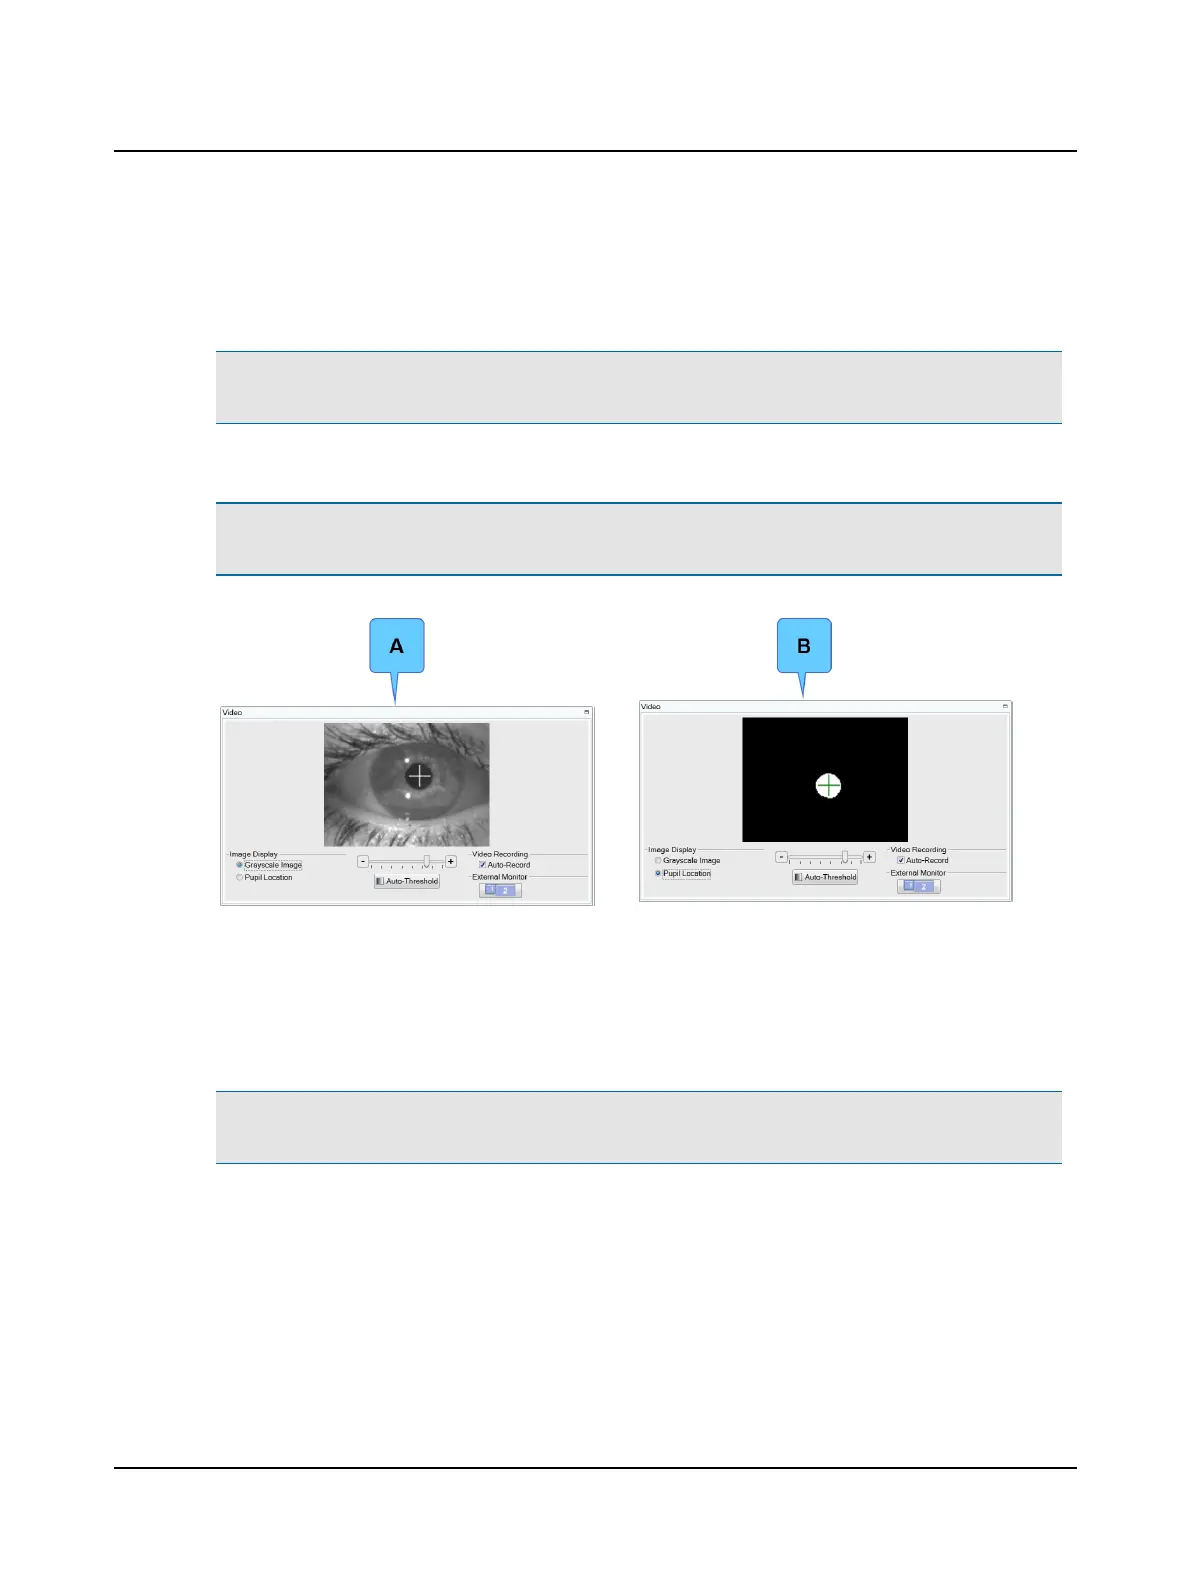
7. In the Video window, choose the type of image displayed: Grayscale Image (A) or Pupil Location (B).
Note• The choice of Grayscale Image or Pupil Location is only used for setting the pupil detection. Eye video is
always recorded in grayscale.
8. If the pupil was not automatically detected, select Auto-Threshold. The system centers the cross-hair on the pupil.
9. Ask the patient to stare at the fixation dot. Assess pupil tracking by observing the cross-hair. If the cross-hair fails to
track the pupil (jumps around and does not stay centered on the pupil), use the + or – button of the threshold slider
to adjust.
Pupil detection ensures that the system tracks the pupil properly during calibration and when collecting data.
Note• When Image Display is set to Pupil Location, make additional adjustments to remove any white areas outside
the white circular image of the pupil.
10. Select OK to accept the ROI position.
11. Continue to Calibration ► 48.
24 Otometrics - ICS Impulse USB
8 Oculomotor