1. This step applies only when monitoring the head movement during collection:
Note• Clicking Center sets the reference point used to provide feedback for head position during testing. The but-
ton is disabled if Head Position Feedback is not selected in the Test Options. For information about changing
settings, please refer to Options in the Reference Manual.
• If using Head Position Feedback, position the patient's head before starting to collect data. Ensure that the
patient's head is not moving and that it is perfectly centered. Click Center or press the left button on the present-
ation remote.
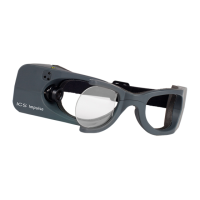
• If using Synchronized Room Video, you may need to adjust the camera position to ensure the entire head of the
patient is seen in the video during data collection.
2. Instruct the patient. (For example, tell them to keep the eyes open and stare toward the left at your finger.)
3. To begin data collection, click Start or click the left button on the presentation remote.
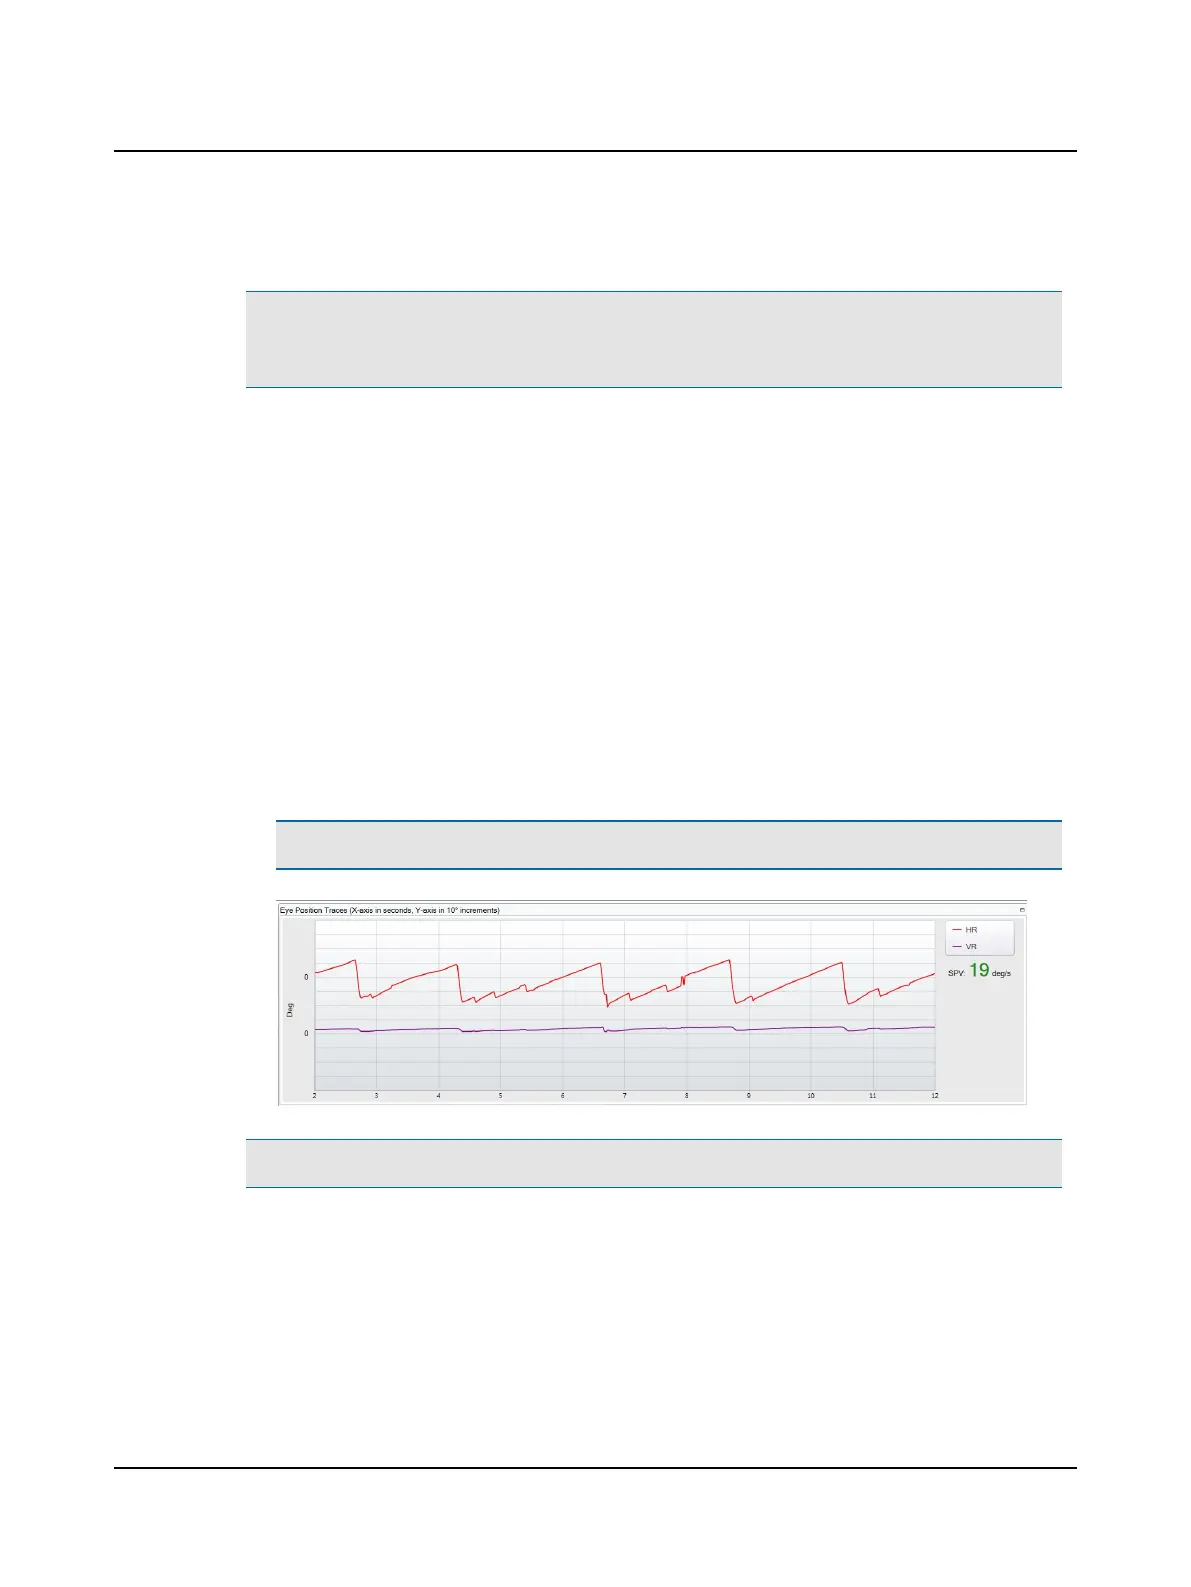
• Horizontal (HR) and vertical (VR) eye position traces display in the Eye Position Traces window. (The default dis-
play is set in Test Options.)
• The real time SPV (slow-phase velocity) value is an estimated value calculated according to the amount of vari-
ability around the SPV estimate. The value is displayed in either green or orange in the upper right area of the
window.
– Green: When the variability is low, there is a high probability that the value is reliable.
– Orange: When the variability is high, there is less probability that the value is reliable.
Note• SPV values displayed in orange should be considered less reliable but not inaccurate.
Note• You can find more information in the ICS Impulse training video or at www.icsimpulse.com.
30 Otometrics - ICS Impulse USB
8 Oculomotor