A. PC/USB connection • USB cable
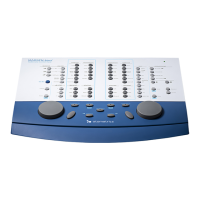
B. Connections from MADSEN Astera² • Speaker built into the ACP
• Operator monitor headset with boom microphone
• Operator desktop microphone
C. Connections to accessories • Operator desktop microphone
• Operator monitor headset with boom microphone
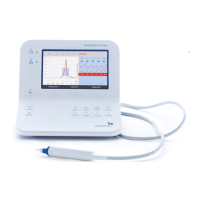
5 Powering the device
MADSEN Astera² is powered through an external power supply connected directly to the mains outlet.
Switching on MADSEN Astera²
Use only the power supply specified in Technical Specifications in the MADSEN Astera²Reference Manual.
1. Connect the mains plug of the external power supply directly to an AC mains outlet with a three-wire
protective ground.
2. Switch on the mains supply.
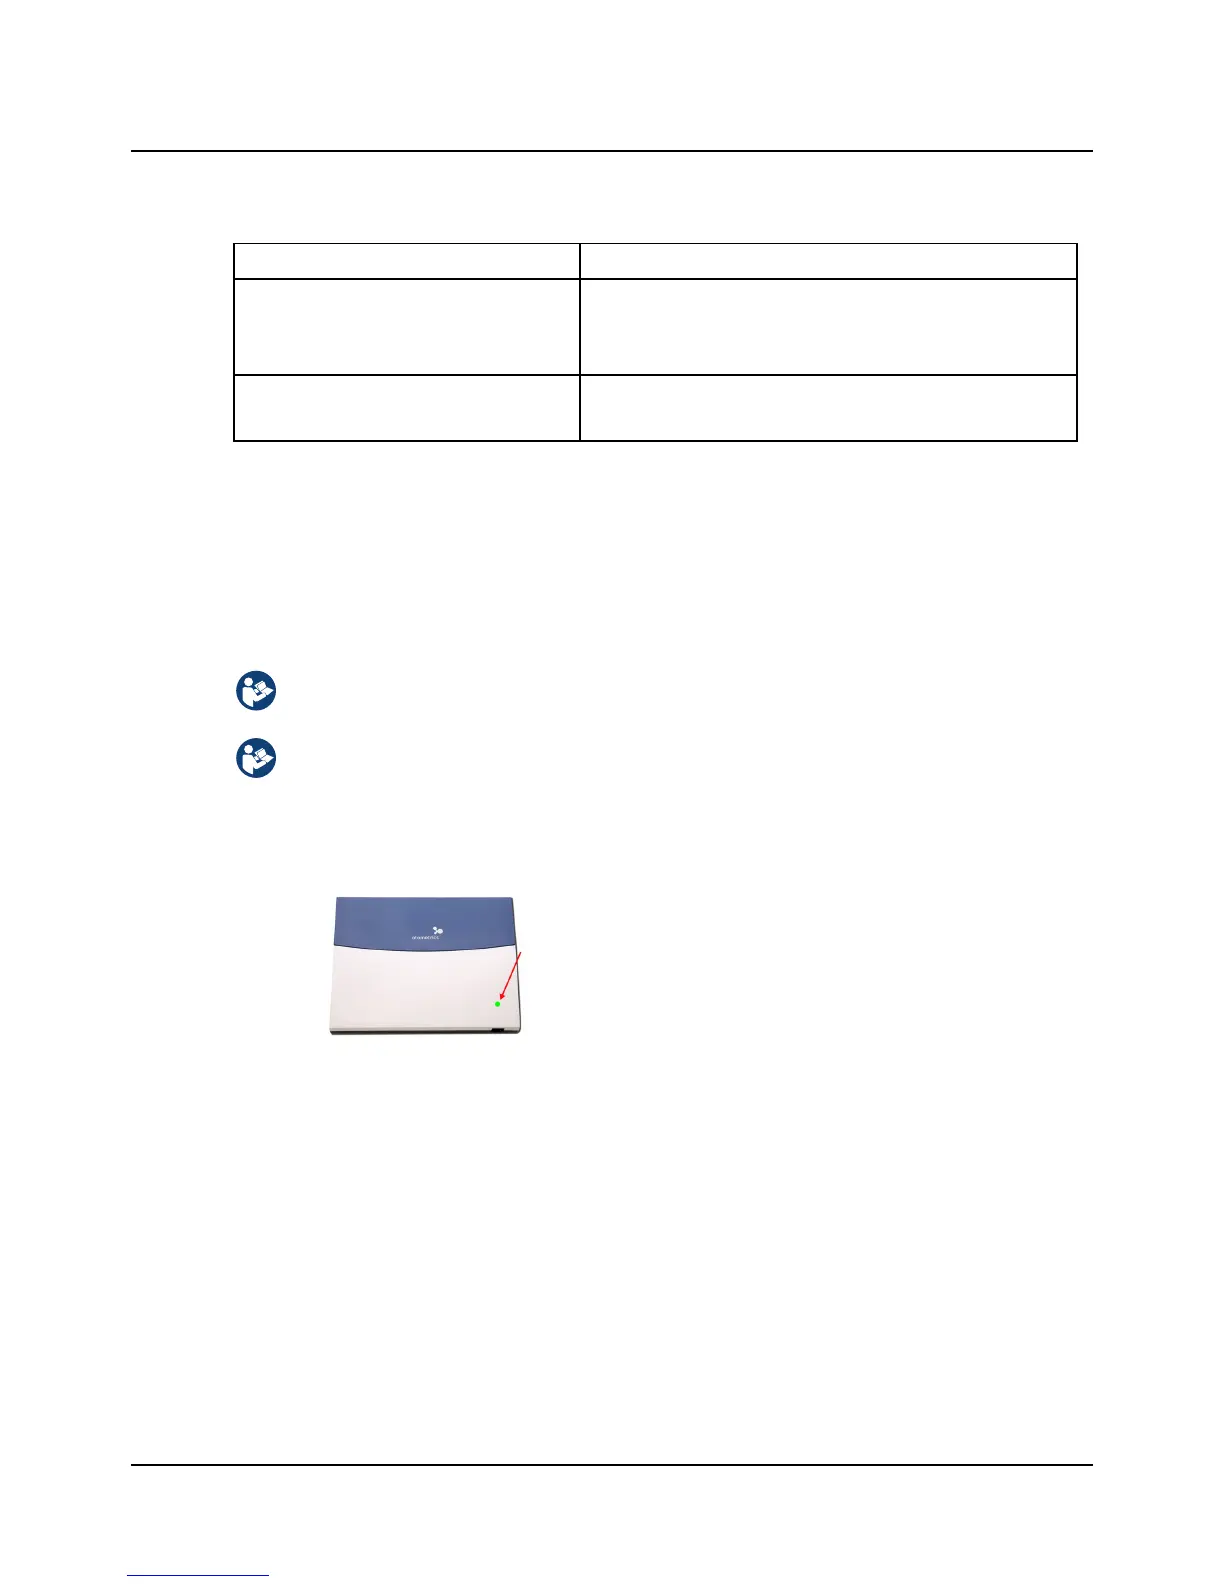
3. The On/Off indicator on MADSEN Astera² lights green.
Press the ON/OFF button on the front of MADSEN Astera².
Switching off MADSEN Astera²
1. To switch off MADSEN Astera², disconnect the power supply from the mains outlet.
6 Connecting MADSEN Astera² to OTOsuite
When you use MADSEN Astera² for the first time, run the Configuration Wizard to set up the connection between
MADSEN Astera² and OTOsuite. After you have configured OTOsuite for the first time, if MADSEN Astera² is turned on
when you open the Control Panel in OTOsuite, then MADSEN Astera² will connect to OTOsuite automatically. Otherwise,
you can connect MADSEN Astera² as follows:
1. Switch on the device.
Otometrics - MADSEN Astera²
11
5 Powering the device