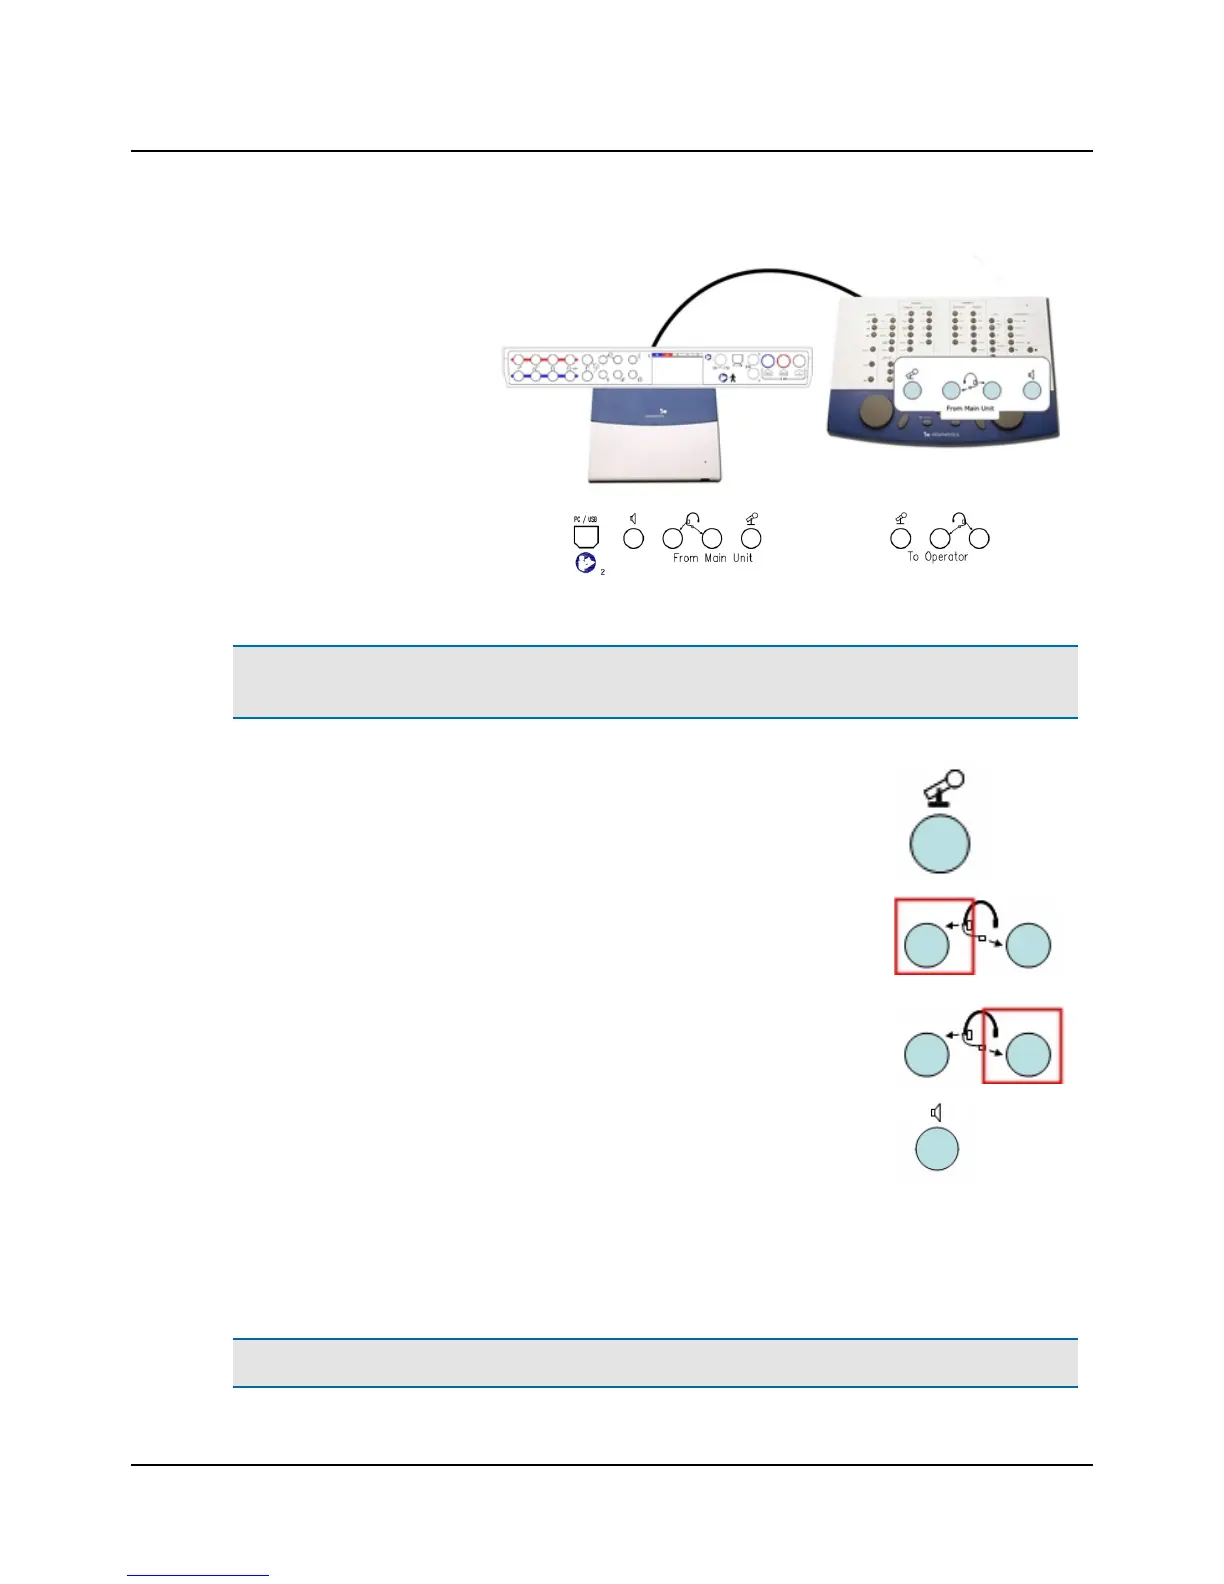
1. Remove the cable cover from
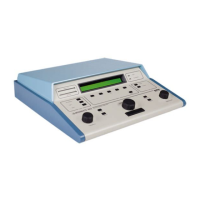
MADSEN Astera².
2. Connect the ACP to the
MADSEN Astera² connection
panel.
The connections are located at
the back of the ACP in the
"From Main Unit" group.
All four cables for connecting the ACP to MADSEN Astera² are joined in a bundle and color-coded for easy connection.
Caution• Make sure that each jack, as depicted on each end of the cable, connects with the specific sockets on the
ACP and MADSEN Astera².
Operator desktop microphone
• Connect the yellow cable in the cable bundle from the Operator desktop microphone
socket in the MADSEN Astera² rear panel to the Operator desktop microphone socket
in the ACP.
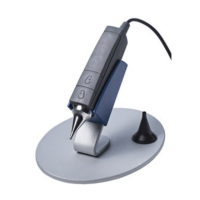
Operator monitor headset with boom microphone
• Connect the green cable in the cable bundle from the Operator monitor headset - head-
phones socket in the MADSEN Astera² rear panel to the Operator monitor headset -
headphones socket in the ACP.
• Connect the pink cable in the cable bundle from the Operator monitor headset - boom
microphone socket in the MADSEN Astera² rear panel to the Operator monitor headset
- boom microphone socket in the ACP.
Speaker, built into the ACP
• Connect the gray cable in the cable bundle from the Operator monitor speaker socket
in the MADSEN Astera² rear panel to the Operator monitor speaker socket in the ACP.
3. When you have connected the accessories, slide the cable cover onto MADSEN Astera² and click it into place.
4.2 Connecting the ACP to the PC
The ACP is powered from the PC through a USB connection.
Caution• Install OTOsuite on the PC before you connect the ACP to the PC.
Otometrics - MADSEN Astera²
7
4 Installation