9
Getting Started
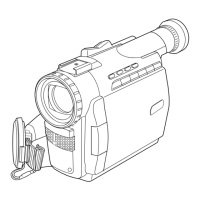
Supplying Power
1 Connect, and plug in, the Cable as
shown.
• POWER Lamp will light.
2 Attach the battery, as shown, to
charge.
• Charge lamps on the AC Adaptor will
flash and then turn solid red to
indicate current charge level. When
all 3 lamps are constantly on, the
battery is fully charged. (approx. 1
hour) Expect approx. 1 hour 15
minutes of operation when fully
charged (EVF usage).
3 Remove the Battery.
Slide the Battery out and then lift up.
POWER
Lamp
50
80 100%
• The three Charge Lamps “50%”, “80%” and “100%” flash and then remain lit one after
another to indicate how much the Battery has been charged. When all three lamps are
lit, charging is finished.
• The Charge Lamps give a good approximate indication of the charging condition under
normal ambient temperature. However, when charging at high or low temperature, the
charge lamps may differ considerably from the actual charging condition.
Battery Charging Confirmation Marker
Use this marker as a reminder to yourself
when the battery is fully charged or in need
of a charge. This marker performs no
function and is for your reference only.
• The Battery is no longer serviceable if
the operation time is very short, even
after a sufficient charge.
Charge the Battery Pack on
the AC Adaptor
Charge Lamps
Note
• PV-DBP8A-K has no marker.
(PV-DBP8-K only)
CHARGE
Lamps
Battery Charging
Confirmation Marker
100-K. 1-9.p65 00/06/14, 11:549
 Loading...