Advanced (Playback)
78
VQT1B99
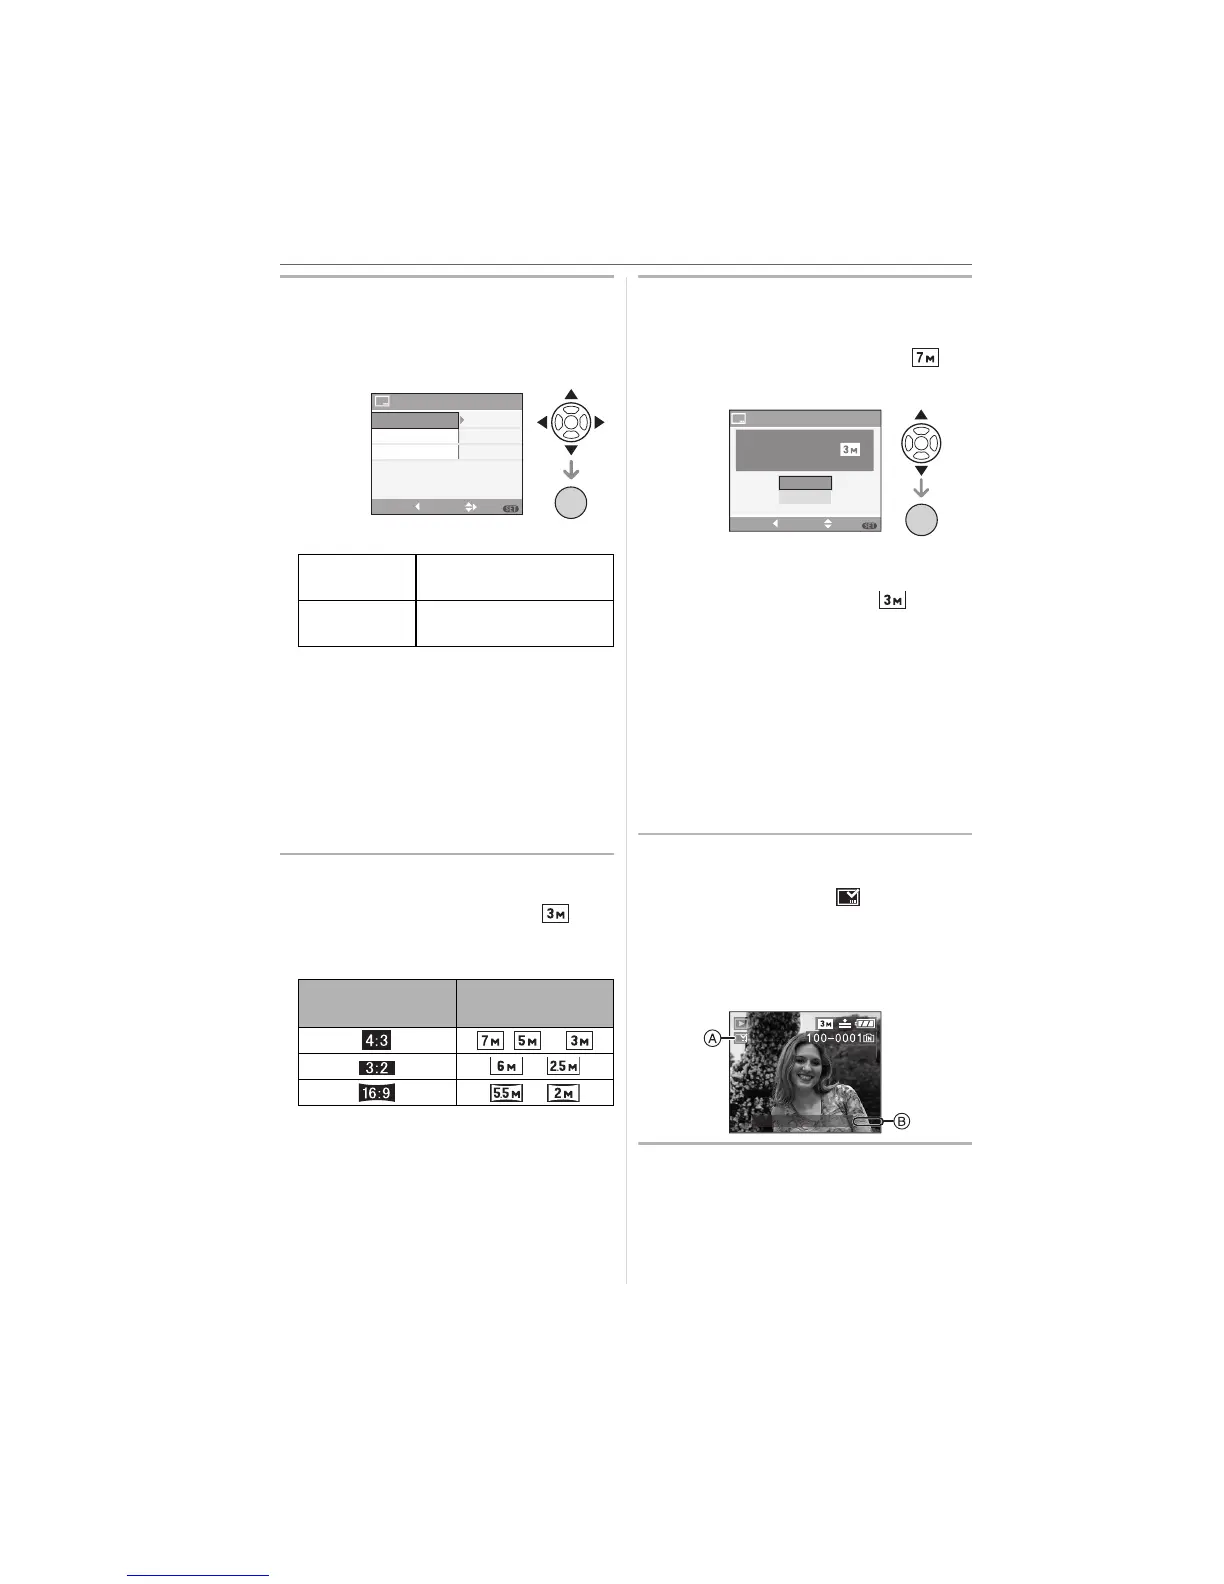
2 Press 3/4/2/1 to select
[SHOOTING DATE], [AGE] or
[TRAVEL DATE] and then press
[MENU/SET] to set each item.
[SHOOTING DATE]
[AGE] (P47)
If this is set to [ON], the age is stamped
on pictures recorded when the camera
was set to [WITH AGE].
[TRAVEL DATE] (P54)
If this is set to [ON], the travel date is
stamped on pictures recorded when
[TRAVEL DATE] was set to [ON].
3 Press [MENU/SET].
• If you set [DATE STAMP] for a picture
with a picture size larger than [ ], the
picture size will become smaller as
shown below.
4 Press 3/4 to select [YES] or
[NO] and then press [MENU/SET].
(The screen shown appears when you
select a picture recorded with a [ ]
picture size.)
• The message [DELETE ORIGINAL
PICTURE?] appears if the picture was
recorded with a picture size [ ] or less.
• The picture is overwritten when you
select [YES]. Pictures stamped with
date stamp cannot be restored when
they are overwritten.
• The picture stamped with date stamp is
newly created when you select [NO].
• If the original picture is protected, you
cannot overwrite it. Select [NO] and
newly create the picture stamped with
date stamp.
5 Press [MENU/SET] twice to close
the menu.
• The date stamp icon [ ] A appears
on the screen if the picture has been
stamped with the date stamp.
• Use the playback zoom (P70) to check
the stamped date information B.
[W/O TIME] Stamp the year, month
and date.
[WITH TIME] Stamp the year, month,
day, hour and minutes.
Aspect ratio
setting
Picture size
/ >
>
>
DATE STAMP
SET
SELECT
MENU
CANCEL
SHOOTING DATE
TRAVEL DATE
AGE
OFF
W/O TIME
OFF
/SET
MENU
DATE STAMP
IT WILL BE STAMPED ON THE