w
,
q
to select “Yes” or “No”, then
If “Yes” is selected:
You can give a name for the album (➔ 33).
If “No” is selected:
The recording date of the first picture in the
album becomes the album name.
•
•
Only when you select “Create Album”
Delete Album/Delete Picture
Important: Once deleted, contents cannot be recovered.
When deleting an album, non-picture files in the
album will also be deleted. (This does not apply to
subordinate folders in the album.)
Perform steps 1−4 of “Accessing the Album/Picture
View” (➔ 39).
e
,
r
to select “Delete Album” or
“Delete Picture”, then
w
to select “Delete”, then
Set Protection/Cancel Protection
Set protection to prevent pictures from being
accidentally deleted.
Perform steps 1−4 of “Accessing the Album/Picture
View” (➔ 39).
e
,
r
to select “Set Protection” or
“Cancel Protection”, then
w
to select “Yes”, then
– The lock symbol “ ” appears when the still
picture is protected.
Notes
Even if you set protection using this unit, album may be deleted by
other equipment.
Album Name
Perform steps 1−4 of “Accessing the Album/Picture
View” (➔ 39).
e
,
r
to select “Album Name”,
then
– You can give a name for the album (➔ 33).
Notes
Album names entered using this unit may not display on other
equipment.
•
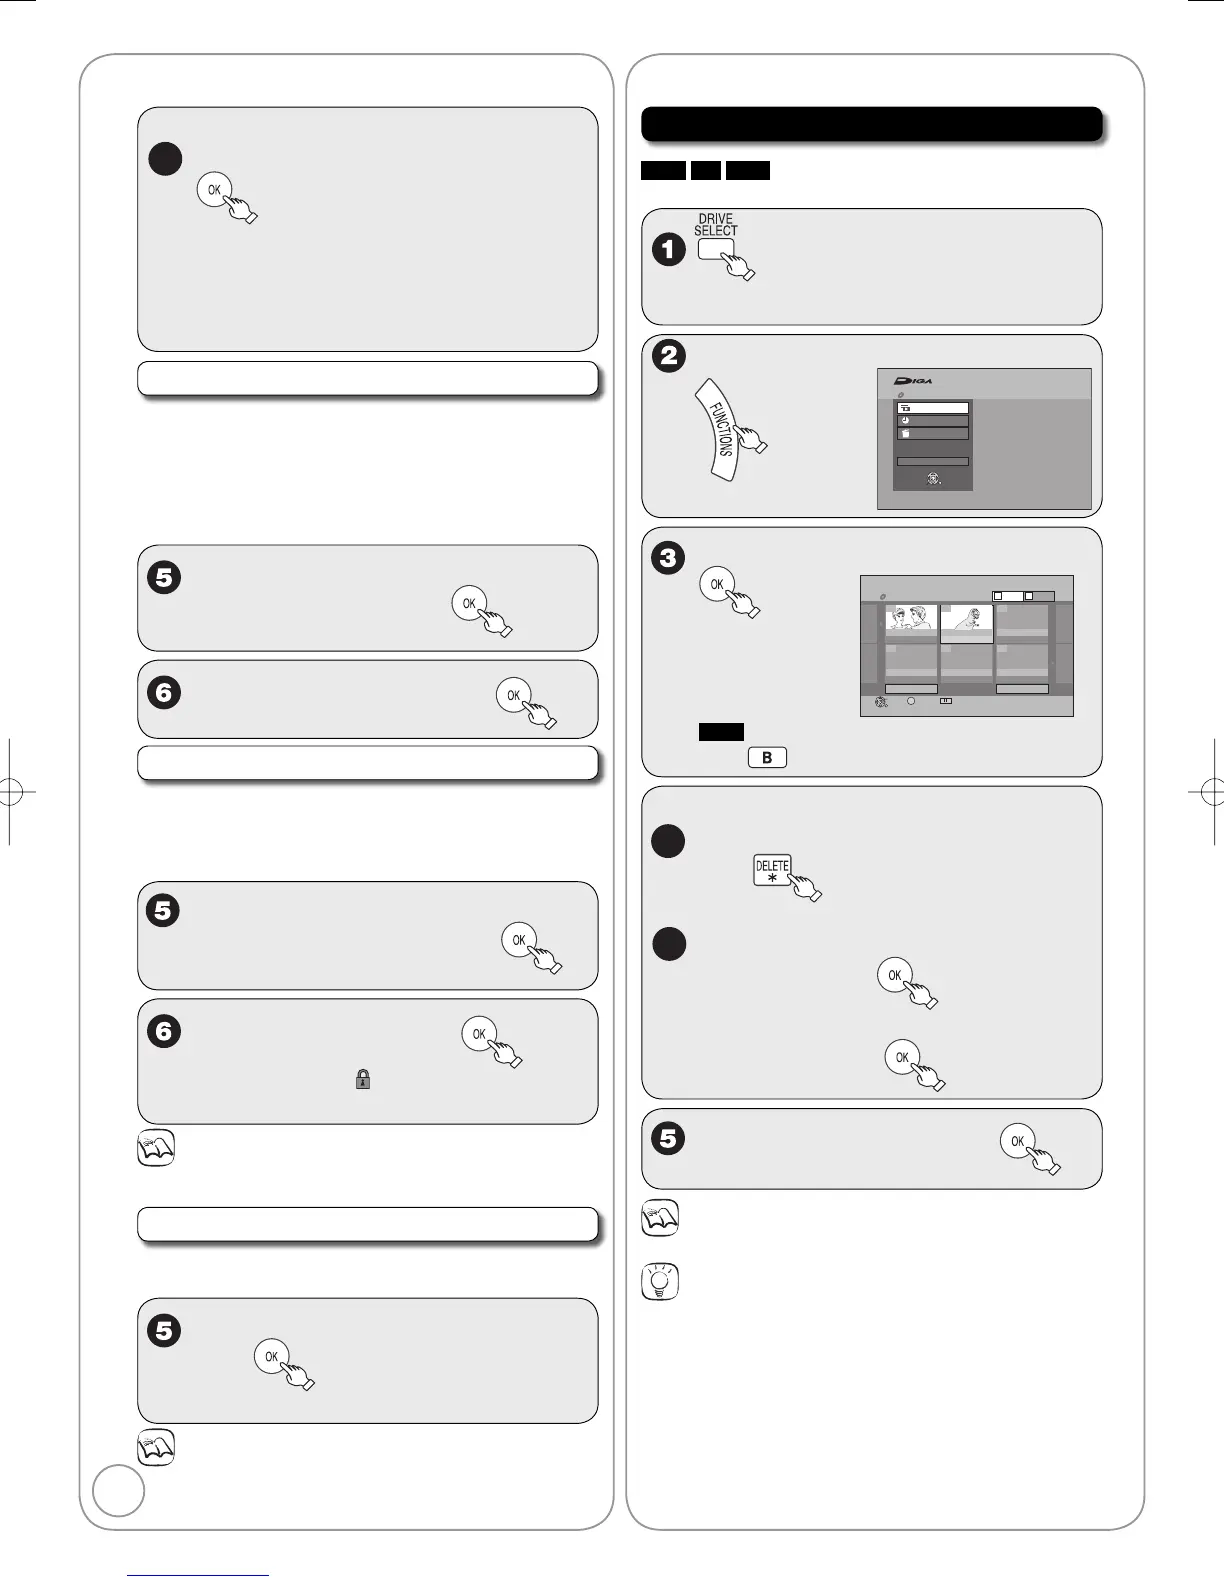
Delete Navigator
RAM
SD
USB
Important:
Once deleted, contents cannot be recovered.
to select the drive
(DVD, SD or USB).
With the unit stopped
w
to select “Delete”,
then
Notes
You cannot delete while recording.
Tips
To return to the previous screen
Press [RETURN].
To view other pages
Press [
e
,
r
,
w
,
q
] to select “Previous” or “Next”, then press [OK].
– You can also press [
u
,
i
] to view other pages.
Multiple editing
Select with [
e
,
r
,
w
,
q
], then press [
h
PAUSE]. (Repeat.)
– A checkmark appears. Press [
h
PAUSE] again to cancel.
Deleting an item increases the available space by the amount of
space taken by the item deleted.
•
Deleting Still PicturesStill Pictures-Editing
 Loading...