Photo and Music
SQT0134
53
Copying photos
§1
§2
§1
“For data files (> 9)” only (JPEG, MPO)
§2
[RAM] [DVD-R] only
2 Select the copying destination, then press
[OK].
To stop copying
Press and hold [RETURN ] for 3 seconds.
• The name of the copied photos will be changed.
• If the number of files/folders to be copied exceeds the
maximum (> 96), copying will stop partway through.
Newly added photos will automatically be copied
to the HDD.
4 Once the copy is completed, select “Yes” or
“No”, then press [OK].
To stop copying
Press and hold [RETURN ] for 3 seconds.
• Photos without shooting date will be categorised using the
creation date.
• If the space on the destination drive runs out or the number
of files/folders to be copied exceeds the maximum (> 96),
copying will stop partway through.
• The name of the copied photos will be changed.
Selecting and copying the photos
[HDD] > [RAM] [SD]
[RAM] [DVD-R] [CD] > [HDD] [S D]
[USB_HDD] [SD] [USB] > [HDD] [RAM]
1 On the Photo Menu screen:
To copy the folder:
Select the folder, then press the blue button.
To copy the photo:
1 Select the folder, then press [OK].
2 Select the photos to copy, then press the
blue button.
• To select multiple folders or photos
Press the yellow button when selecting the
folder or photo.
A check mark is displayed. Repeat this
step.
• Press the yellow button again to cancel.
3 Select “Yes”, then press [OK].
Copying starts.
Copying automatically
[USB_H DD] [RAM] [DVD-R]
[CD] [SD] [USB]
> [HDD]
1 Insert the media.
The menu screen appears. (> 33)
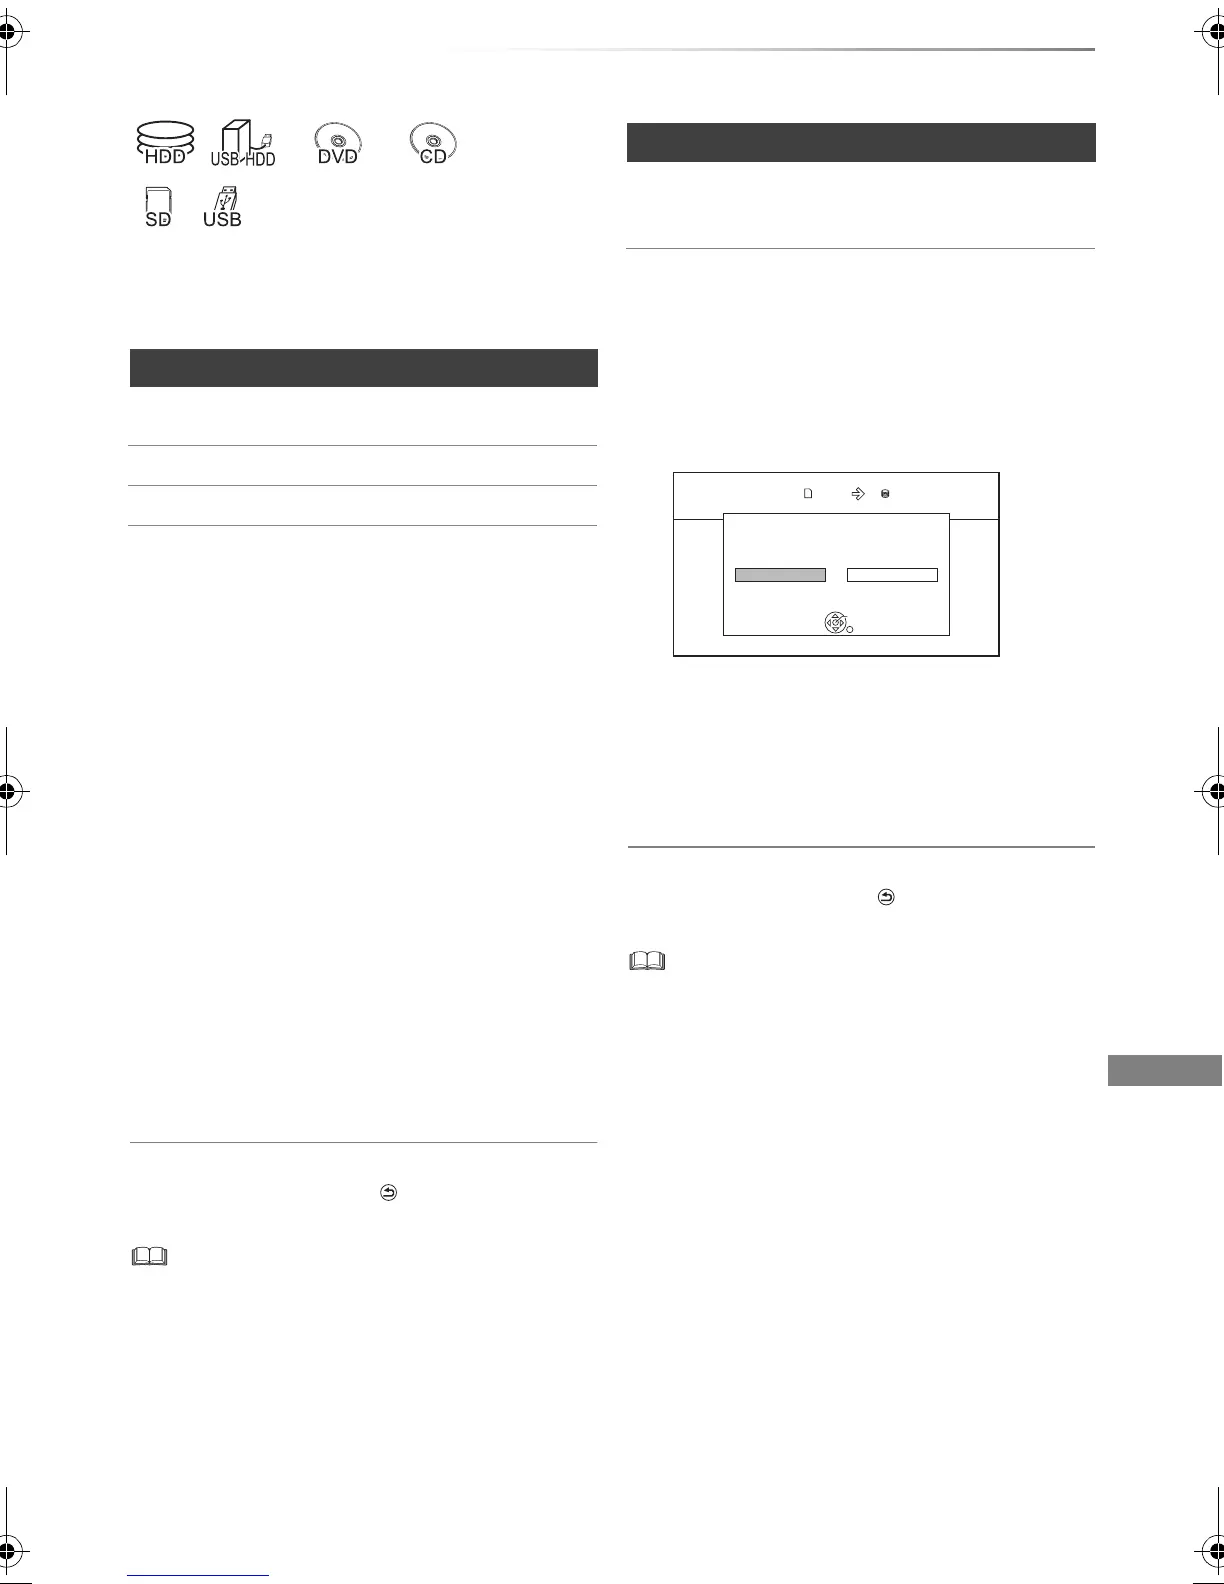
2 Select “Copy New Photos”, then press [OK].
e.g., [SD]
3 Select “Yes”, then press [OK].
Copying starts.
Yes No
Start copying ?
Copy New Photos
OK
RETURN
HDDSD card
DMRXW440GL_eng.book 53 ページ 2014年2月6日 木曜日 午前11時29分
 Loading...