Copying video
VQT2J62
45
Copying titles
To cancel all registered copying setting and lists
After performing steps –
1 Select “Cancel All”, then press [OK].
2 Select “Yes”, then press [OK].
≥ [-R] [-R]DL] Use “Copy Video ( AVCHD ) to Disc” when copying HD Video
(AVCHD format) in high definition. (> 49)
≥ Titles in the grouped titles and other titles cannot be registered
simultaneously.
≥ [RAM] When copying to DVD-RAM using “8 hours” mode, play may not
be possible on DVD players that are compatible with DVD-RAM. Use
“6 hours” mode if playback may be on other equipment. (> 77,
Recording time in EP mode)
[HDD] ,-. [RAM] [+RW]
[-RW‹VR›] > [HDD]
[HDD] > [-R] [-R]DL] [-RW‹V›] [+R] [+R]DL]
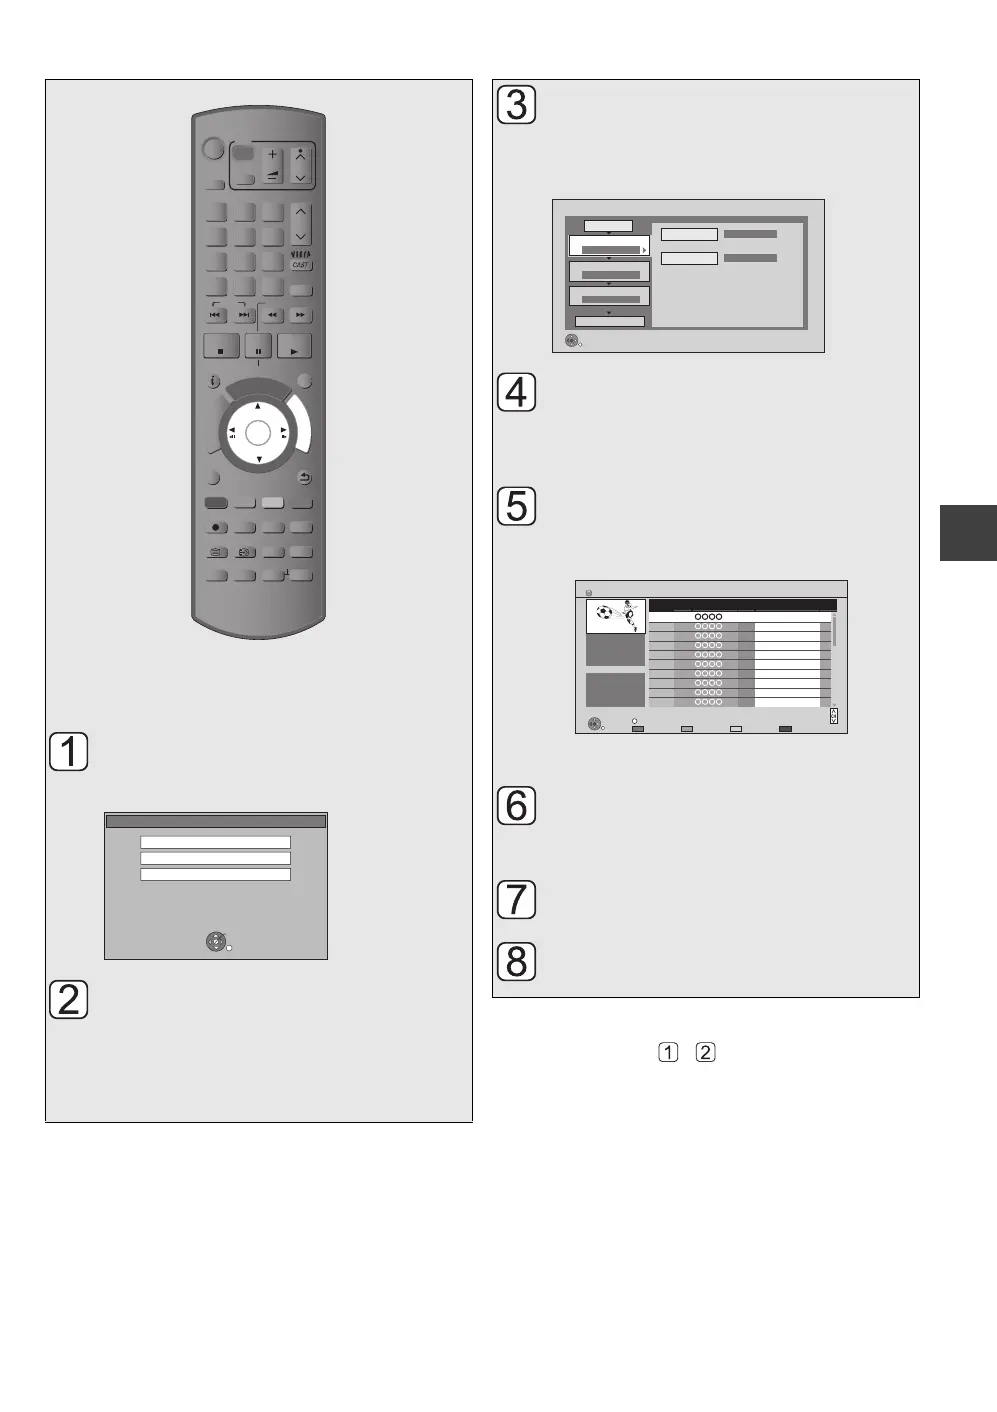
Insert a disc.
Menu screen appears.
Select “Copy”, then press [OK].
If the menu screen is not displayed
1 While stopped
Press [FUNCTION MENU].
2 Select “Copy (VIDEO / PICTURE)” in “Copy”,
then press [OK].
TIME SLIP
DISPLAY
STATUS
SETUP
AUDIO
-10s +60s
REC MODE
REC
TEXT STTL
CHAPTER
F
U
N
C
T
I
O
N
M
E
N
U
D
I
R
E
C
T
N
A
V
I
G
A
T
O
R
G
U
I
D
E
RETURN
PLAY/x1.3
PAUSE
PAUSE LIVE TV
STOP
SLOW/SEARCH
SKIP
PROG/CHECK
CH
PAGE
SELECT
INPUT
CH
AV
TV
DRIVE
SELECT
DEL
BYGR
EXIT
OK
OPTION
VOL
0
2
abc
5
jkl
8
tuv
1
4
ghi
7
qrs
p
3
def
6
mno
9
xyz
w
F Rec
MANUAL SKIP
DVD-RAM
DVD-RAM is inserted.
View Pictures ( JPEG )
OK
RETURN
Play Video
Copy
Set the copy direction.
1 Select “Copy Direction”, then press [1].
2 Set “Source”.
3 Set “Destination”.
4 Press [2] to confirm.
Set the recording mode.
1 Select “Copy Mode”, then press [1].
2 Set “Format” to “Video”.
3 Set “Recording Mode”.
4 Press [2] to confirm.
Register titles for copy.
1 Select “Create List”, then press [1].
2 Select “New item”, then press [OK].
3 Select the titles, then press [OK].
(> 46, Select the titles for the copying list)
4 Press [2] to confirm.
Set other settings.
1 Set other settings.
(> 46, Setting the copying options)
2 Press [2] to confirm.
Select “Start Copying”, then
press [OK].
Select “Yes”, then press [OK] to
start copying.
Copy
HDD
DVD
1
2
3
Source
Destination
Cancel All
Copy Direction
Copy Mode
Create List
Start Copying
HDD DVD
VIDEO High Speed
Select the copy direction.
RETURN
0
Information of the copy destination
- DVD-RAM
- Copy restricted titles can be
copied on to disc
Create List Grouped Titles
RETURN
Time
Date Channel
Time
Title Name
Titles
Rec time
Size 1360 MB
0:30 (DR)
9:00
Page 003/003
Select
OPTION
Page Up
Page Down
01.01 15:00 1Birds
02.01 9:30 1World news
03.01 10:00 1Football
03.01 18:30 1House dog
04.01 2:00 1Hunting
05.01 11:00 1Shopping
05.01 15:00 1Venus
06.01 3:45 1Kitten
06.01 9:00 1Moon
01.01 9:00 1Dogs and Cats
HDD
DMRXW480&380GL-VQT2J62_eng.book 45 ページ 2010年2月19日 金曜日 午後5時2分
 Loading...