

C
Charles FullerSep 5, 2025
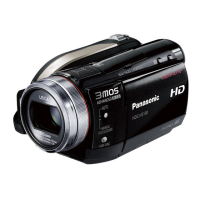
How to fix remaining battery indication on Panasonic HDC-HS100?
- RRobert CollinsSep 5, 2025
If you believe the remaining battery capacity indication is inaccurate, fully charge the battery, allow it to fully discharge, and then charge it again.