24 System settings
4. Select “Apply to laser marking system” in the ribbon to save the settings.
The new settings will be updated in the laser marking system.
Related topics
Set the laser head direction (page 264)
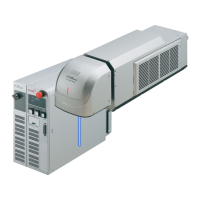
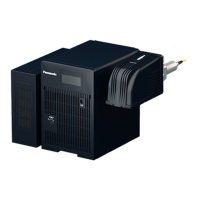
24.12 Set the laser head direction
Set the direction of the laser head that corresponds to the actual installation direction.
When you change the head direction setting, check if the marking field is positioned as
intended.
The following two system settings require that you select the head direction “No. 1”:
• “Marking field calibration” (LP-RF, LP-RV)
• “Power optimization by marking position” (LP-GS, LP-RC)
1. Establish an online connection between your PC and the laser marking system.
2. Go to the “System settings” screen and select “System offset”.
The current setting of the laser head direction is displayed under “Head direction to axis”
and in the marking image editor (“Marking settings” screen). “F” indicates the front of the
laser head.
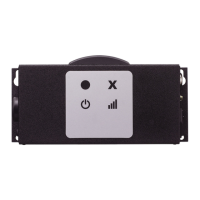
3. Select “Change” to open the dialog.
4. In the dialog, do any of the following:
• To choose a laser head direction, select an image (“No. 1” to “No. 4”).
• Select “Apply”.
• To confirm, select “OK”.
The new setting will be updated in the laser marking system.
• To exit the dialog, select “Close” or “X”.
Related topics
Calibrate the marking field (page 277)
Optimize the laser power of specific marking field areas (page 275)
Marking image editor (page 83)
264 ME-NAVIS2-OP-1