Press ▲ ▼ ◄ ► to move the cursor to 3. DELAY
TIME and press ◄ ► to set the delay time for the
trigger output signal.
It is possible to delay the trigger output signal (12 V).
(Only available if Trigger OUTPUT item is selected.)
NOTE:
This trigger terminal output is used for control from •
external equipment only.
You should not use it as the power source for external
equipment.
During start up and cooling off period, projector will not •
accept the trigger input signal.
Please input the trigger signal only after it is in the
projection or standby mode.
The trigger control is not available to use for the •
RS-232C command during the standby mode.
SLEEP
You can select the required duration of time and set
the off timer to turn off the power of the projector
automatically. 3 minutes before turn-off, the countdown
of minutes will be displayed in the lower right corner.
Press ◄ ► to cycle through the options.
OFF 240 MIN.
60 MIN. 210 MIN.
90 MIN. 180 MIN.
120 MIN. 150 MIN.
HIGH ALTITUDE MODE
If you use the projector at high elevation, the HIGH
ALTITUDE MODE setting need to be ON to set the fan
speed high. Press ◄ ► to select the required option.
OFF
The fan speed is low.
ON
The fan speed is high.
NOTE:
At 1 400 - 2 700 m (4 593 - 8 858 ft) above sea level, •
the setting must be ON.
The loudness of fan noise depends on the • HIGH
ALTITUDE MODE setting.
LAMP POWER
You can adjust the power of the lamp to save on
electricity, prolong the lamp life and reduce the fun
noise.
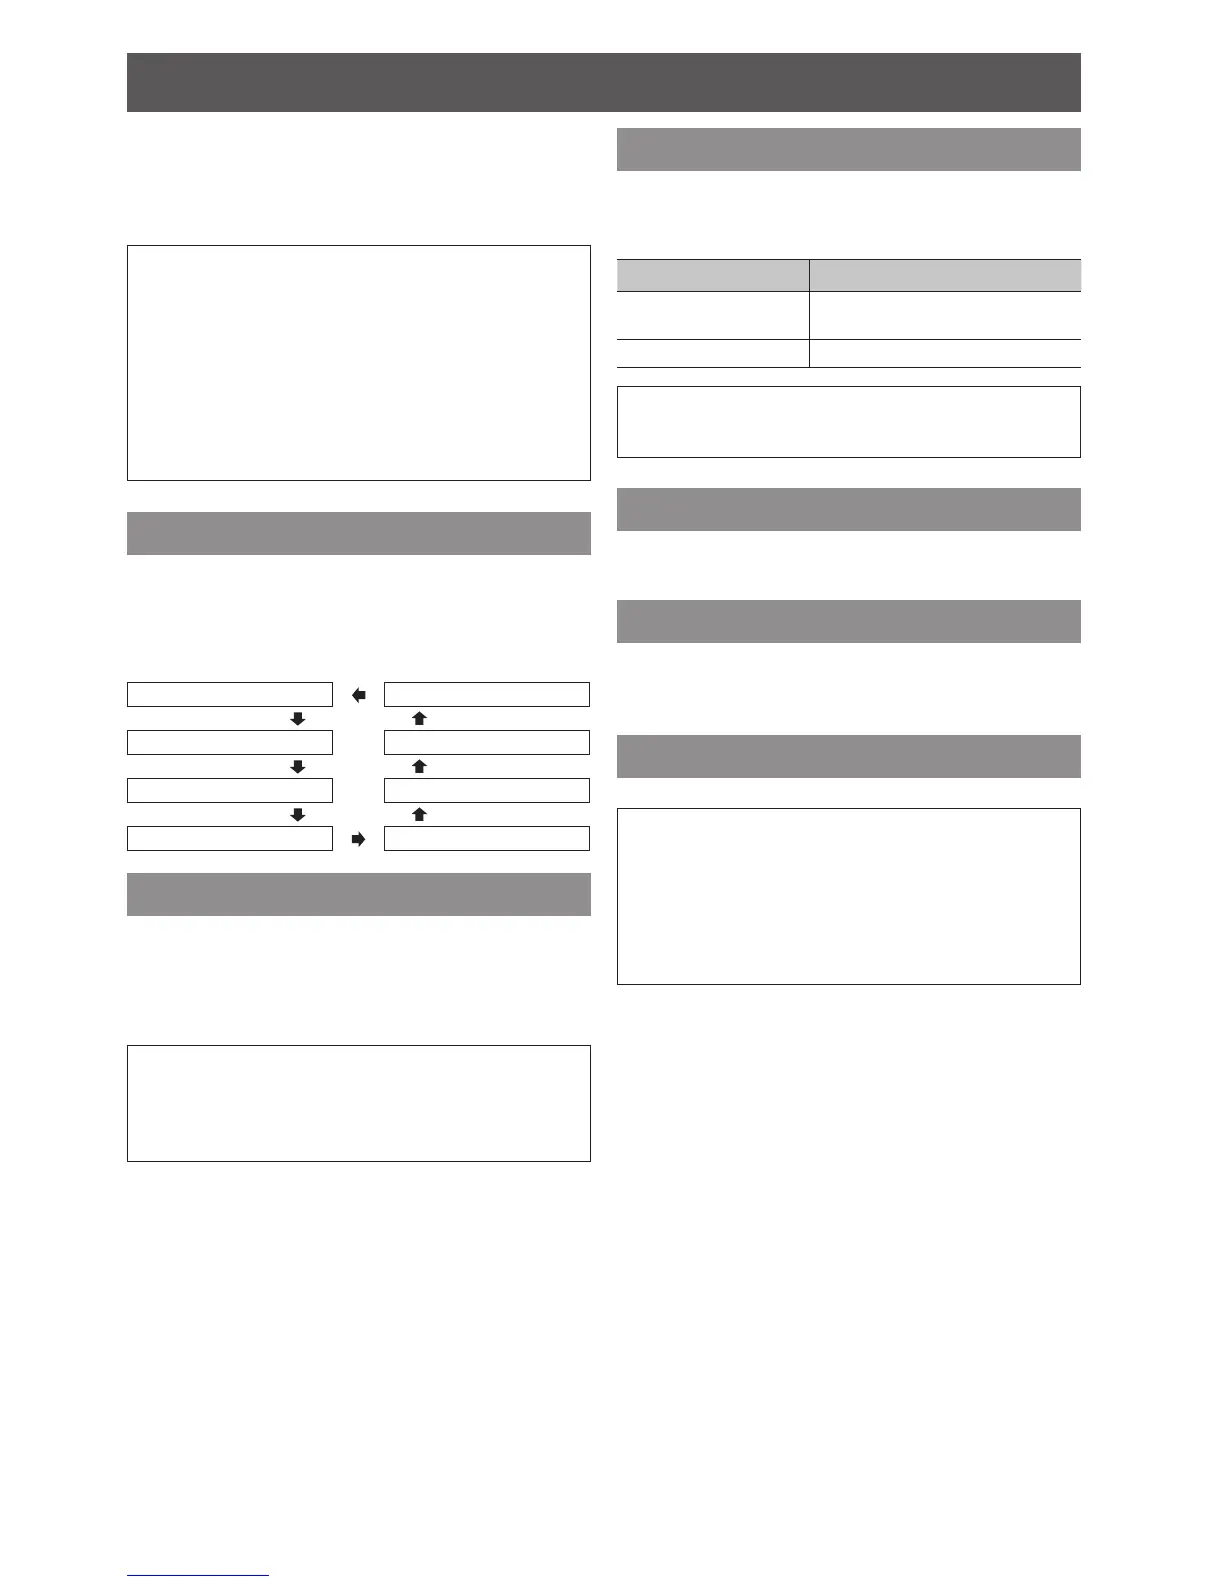
Options Function
NORMAL
When higher luminance is
required.
ECO-MODE When lower luminance is sufcient.
NOTE:
When no input signal is detected, the function is •
disabled.
VIERA LINK SETTINGS
You can set the VIERA Link settings. See “VIERA Link
Connection” on page 45.
TEST PATTERN
You can display the 5 different TEST PATTERN images
for your setting conrmation.
Press the ENTER button to switch to the other patterns.
LAMP RUNTIME
You can check how long the lamp has been used.
NOTE:
When • LAMP POWER is set to NORMAL; and LAMP
RUNTIME has reached 1 800 hours, LAMP RUNTIME
menu will inform the replacing time by ashing the red
and gray colour.
LAMP RUNTIME • is a relevant matter for lamp unit
replacement timing. See “Replacing the lamp unit” in
“Care and Replacement” of the operating instructions.
 Loading...