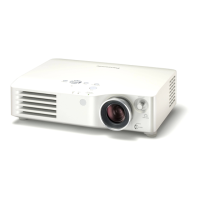
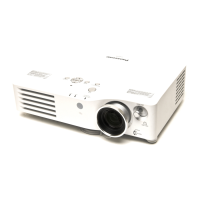
6.2. Removal of Upper Case
1. Turn counterclockwise the shift lever by about one and a
half rotations (540 ° ) from the position in which it is locked,
and pull it forward to remove.
2. Turn the projector upside down.
3. Unscrew the 8 screws.
4. Return the projector to the normal position.
5. Remove the upper case.
6.3. Removal of A-P.C.Board
1. Remove the upper case according to the section 6.2.
"Removal of Upper Case".
2. Unscrew the 3 screws and remove the connector cover.
3. Disconnect all connectors to/from the A-P.C.Board.
4. Unscrew the 2 screws and remove the A-P.C.Board block.
5. Unscrew the 9 screws and remove the connector metal
fittings.
6.4. Removal of R-P.C.Board and
S-P.C.Board
1. Remove the upper case according to the section 6.2.
"Removal of Upper Case".
2. Unscrew the 5 screws and remove the R-P.C.Board and S-
P.C.Board.
Note:
·
They are connected with the connector. Be careful
handling.
3. Disconnect the connector and separate them.
6.5. Removal of K-P.C.Board
1. Remove the A-P.C.Board block according to the steps 1
through 4 in the section 6.3. "Removal of A-P.C.Board".
2. Unscrew the 1 screw and release the grounding terminal.
15
PT-AX200U / PT-AX200E

 Loading...


