7 Measurement and Adjustments
7.1. Adjustment Procedure Flowchart
7.2. Cautions for Adjustment
·
Never turn off the MAIN POWER switch until every fan completely stops.
·
To maintain and ensure safety, always use the designated components for replacement parts.
·
If removing any clamps, lead wires or connectors, always place them back in their proper locations.
·
Be careful not to damage the lead wires or components when using a soldering iron or similar tool.
7.3. Setting Before Adjustment
·
Set up the projector to obtain the projection distance below.
·
Turn the zoom ring of the projector to obtain the largest size of the picture.
7.4. Convergence Adjustment
Execute this adjustment when replacing the LCD panel (B) .
7.4.1. Tools to be used
Service Kit : This kit is composed of 3 extension flexible cables and 4 connector extension cables.
Note:
·
Consult your dealer or Authorized Service Center for the service kit.
7.4.2. Preparation
1. Loosen 2 screws fixing the panel adjuster and 3 screws fixing the panel attachment, then tighten the 5 screws temporarily just
until the LCD panel can be shifted by your fingers.
22
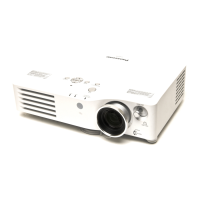
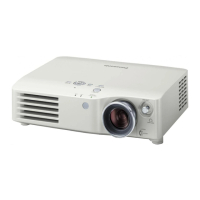
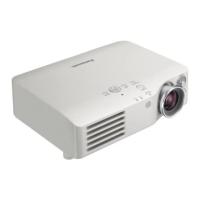
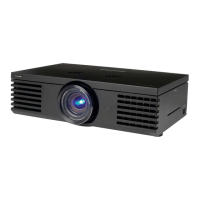
PT-AX200U / PT-AX200E
 Loading...