3.3. Canceling the self-check mode
Press "MENU" button on the main unit or remote control unit.
4 Flicker Adjustment Mode
If replacing the optical parts (LCD Panel / LCD block) or A-P.C.Board of this projector, enter the flicker adjustment mode and
minimize the flicker.
4.1. Procedure to enter the adjustment mode
Select "FLICKER ADJUST" on "EXT OPTION" menu and press "ENTER" button on the main unit or remote control unit.
Note:
"DESK setting (red)" is displayed when entering the adjustment mode.
4.2. Adjustment Display and Contents
·
Setting value is increased and decreased with the right-arrow " " and left-arrow " " buttons.
"
": Decrease, " ": Increase
−
− −
− Adjust the setting value to minimize the flicker on the screen.
−
− −
− Execute the adjustment by 6 patterns below.
·
The pattern (adjustment display) is switched with the up-arrow "
" and down-arrow " " buttons.
"
": Forward direction, " ": Reverse direction
−
− −
− There are 6 patterns of "DESK setting (red)", "DESK setting (blue)", "DESK setting (green)", "CEILING setting (red)",
"CEILING setting (blue)" and "CEILING setting (green)".
−
− −
− The setting value is saved into this projector when the pattern is switched.
4.3. Canceling the flicker adjustment mode
Press "MENU" button on the main unit or remote control unit.
Note:
When "MENU" button is pressed, the setting value at that time is saved into this projector and the adjustment mode is canceled.
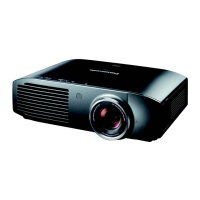
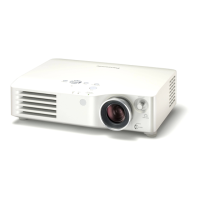
9
PT-AX200U / PT-AX200E
 Loading...