5-4-2
5
7. Remove the screws (M5 × 2 locations: Fig. 9) fixing the fan
motor. It is recommended that a nutdriver (8mm) be used.
6. Peel off the tape on the fan casing and remove two
screws. (Fig. 6, Fig. 7, Fig. 8)
Disconnect four (4) clutches (Fig. 7, Fig. 8) fixing
the lower side of the fan casing.
Then pull off the fan casing.
8. Remove the bracket and then remove the fan and
fan motor (Fig. 9).
9. Loosen the fixed screw with a hexagon wrench
(3mm, over 100mm in length) and remove the
fan (Fig. 10).
1. For installation, reverse the procedure above.
2. Fine tune so that the fan can be positioned in the center of the fan casing.
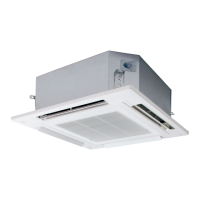
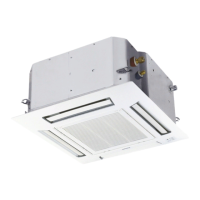
Installing Fan Motor
Fig. 6
Fig. 7 Fig. 8
Fig. 9
Fig. 10
Fig. 11
Fig. 12
Peel off the tape
Screw
Screw
Disconnect the clutches
Bracket
Screw × 2
Fixed screw
Fixed screw
Hexagon
wrench
Fig. 5
SM830283-00_欧州向け R32シングル36-71形TD&SM.indb 2 2020/01/29 21:17:57
 Loading...