If the screw of camera mount bracket is too long, adjust the screw length using a spacer so as to
meet the dimensions and conditions described in the illustration.
Important:
• Whenthecameramountbracket(locallypro-
cured) is mounted on a wall, be sure to
observe the mounting height described on
the illustration.
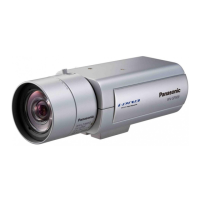
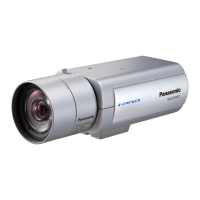
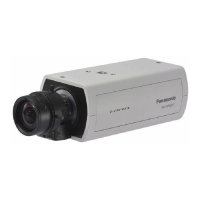
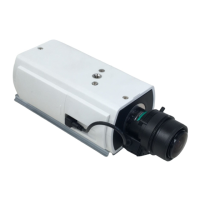
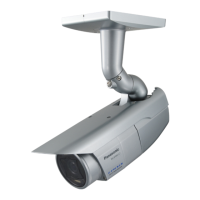
Camera mounting
The camera will be mounted on the camera mount bracket (locally procured). After the angular field
of view is determined, the safety wire will be secured.
Important:
• The installation area shall be strong enough to hold the camera and camera mount bracket
(locally procured).
• The cameramountbracket(locallyprocured)shall bemountedonthefoundationpartof the
construction or a part with adequate strength.
• Topreventthemountingstrengthfrombecominglower,donotusewoodenscrewstosecure
the camera mount bracket (locally procured).
• Thecameracannotbemountedonacamerahousingorapan/tilthead.
z Secure the camera mount bracket (locally procured) to an installation position, and mount the
camera on the camera mount bracket. Prepare mounting screws according to the material of
the area where the camera mount bracket (locally procured) is to be installed. The installation
method may be different depending on the material of the area where the bracket is to be
installed.
When installing on steel: Fix with bolts and nuts (M6 or M8).
When installing on concrete: Fix with anchor bolts (M6 or M8)
The dimensions and conditions required for the screw of camera mount bracket is described as fol-
lows:
 Loading...