20
Secure the camera to the camera mount bracket
The tilt angle is locked downward at shipment.
z Loosen the tilting lock screw approx. 1 rotation and adjust the tilt angle of the camera to the
horizontal position.
x Tighten the tilting lock screw again after tilt angle adjustment.
Note:
• Useahexagonalwrenchwithwidthacrossflatsof4mm(locallyprocured)toloosenortighten
the tilting lock screw.
Camera main body
Approx. 90°
Horizontal
c Pass each cable and the safety wire through the camera mount bracket, and secure the cam-
era to the camera mount bracket with the camera fixing screws x3 (accessory).
Pass the network cable first through the camera mount bracket before passing through the
other cables.
IMPORTANT:
• Ensurethatthecamerafixingscrews(accessory)arefirmlysecured.
Recommended tightening torque: 0.78 N·m {0.58 lbf·ft}
Safety wire
Network cable
Camera mount bracket
Camera xing screw x3 (M4 x 8)
(accessories)
Camera mount bracket
Drain slit
Cable clamp
Video output cable
Mounting boss for safety wire
Installations / Connections
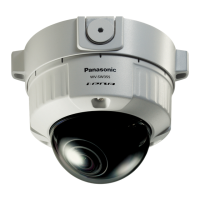
(This illustration represents WV-SW316.)
(This illustration represents WV-SW316.)
 Loading...
