23
d. In the File name: field, enter the desired name for the executable file.
e. Click
Save.
2. View with Presto! Wrapper
a. Double-click the
[wrapper file].exe file. The Presto! Wrapper viewer appears with
image thumbnails displayed in the left pane.
b. Click on a
JPG thumbnail to view it in the right pane, or click on a PDF thumbnail to open
it with an associated application (i.e., Adobe Acrobat).
3. Import from Presto! Wrapper
a. In the
Tree View window, select or create a folder for the imported files.
b. Click
File> Import from> Presto! Wrapper.
c. In the
Open dialog box, select a [wrapper file].exe file, and then click Open.
d. The individual files are extracted from the .exe file and imported into the Display Area
window.
4. Use the Presto! Wrapper File
a. In a Windows Explorer window, double-click the
Presto! Wrapper’s .exe file.
b. Click the thumbnail of the image you want to extract
c. Click Save As from the File menu and then select a location for the selected file.
d. Click
OK.
Optical Character Recognition (OCR) - PC
You can convert text in a scanned image to editable text using the OCR function.
This function is only available for documents that are stored on your computer. You
cannot convert documents that are stored on a microSD card.
Convert images to text (OCR)
1. In the
Page View window, select a document thumbnail.
2. Click the
OCR icon on the Command toolbar.
3. The document is evaluated and text in the image is converted to editable text.
4. Click on any letter you want to edit.
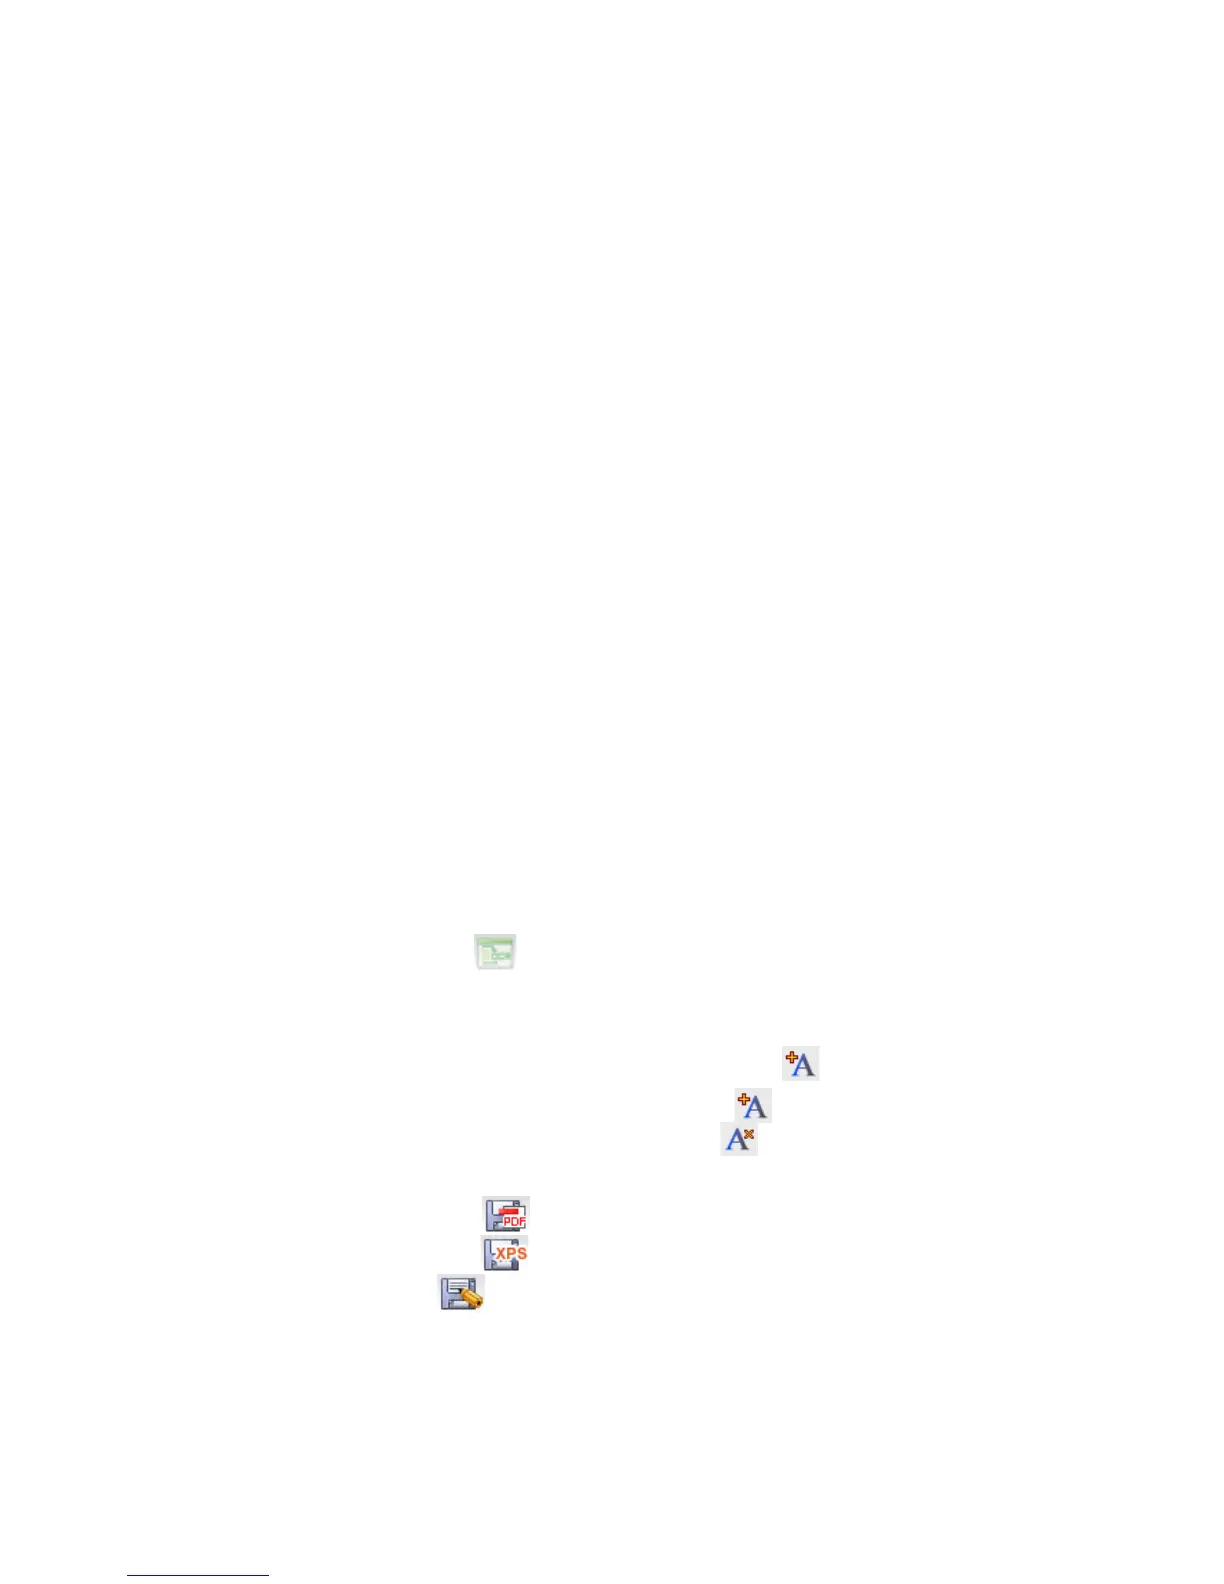
5. To insert a character before the selected one, click. .
To insert a character after the select one, click .
To delete a character, select it and then click .
6. When proofing is finished, save the OCR result by clicking one of the save buttons:
Save as PDF button to save in the PDF format.
Save as XPS button to save in the PDF format
Save as button to save in a different format (i.e., TXT, RTF, etc.).
7. Select a location and file type for the OCR results in one of the following formats:
Text File saves only the text from the recognition results.
Rich-Text-Format file saves the images and text in the original document layout.
HTML File saves the images and text in the original document layout as a JPEG
file format

 Loading...


