30
1. Remove the microUSB cable from the scanner and microUSB power adapter, and
remove the power adapter from the wall outlet.
2. Place the scanner, microUSB power adapter, and microUSB cable in a box or bag to
keep them from accumulating dust.
3. Place them in a cool and dry place, inaccessible to small children.
4. To avoid warping the top housing, do not place heavy objects on top of the scanner.
5. After long-term storage, it is recommended that you clean and calibrate the scanner
before use.
Calibrate the Scanner
AS NEEDED ONLY. If your scanned image looks fuzzy or irregular, the scanner may need
calibrating for the sensor to resume its original precision.
Complete the following steps to calibrate your scanner:
1. Make sure the scanner is
powered off
2. Ensure the battery is
before you begin.
fully charged
The battery is fully charged when the indicator light goes from solid green to off. The
LCD battery meter is a full-bar. For more information on scanner indicator lights, refer
to page
and installed in the battery bay.
8.
3. Remove the included calibration sheet from its plastic sleeve and lay it on a flat smooth
surface, printed side up.
4. Place the scanner on the calibration sheet. Make sure the sheet is clean (i.e., no debris,
no oil smear, or colored objects).
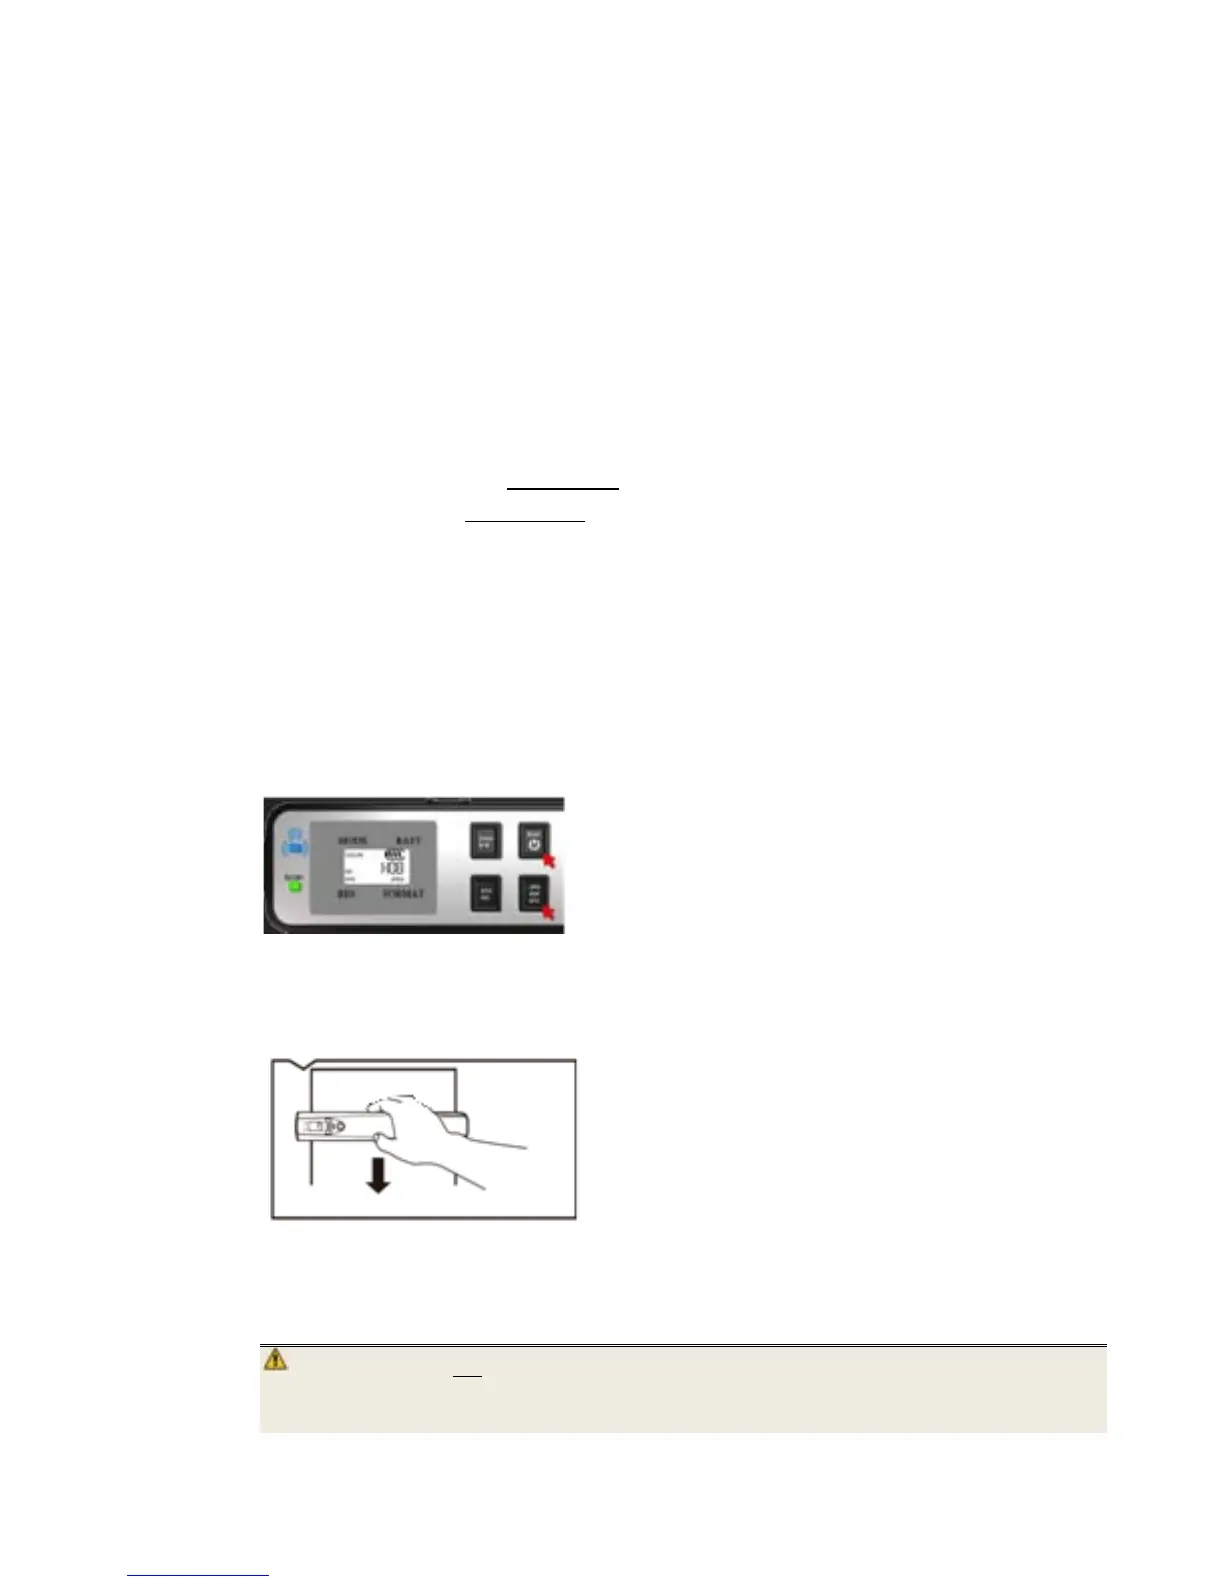
5. Press and hold the
Power Scan and JPG/PDF/STC buttons together for 3 seconds to
initiate the scanner calibration mode.
6. Wait for the green indicator light to flash and for
C01 to be displayed on the LCD screen.
7. Slide the scanner down over the white area of the calibration sheet, and then slide back
up. When the first calibration scan is complete,
CO2 is displayed on the LCD screen.
WARNING: Do not interrupt the calibration sequence or try to shut off the device
while it is calibrating. If you stop the calibration before it has completed,
a calibration error may occur. As a result, E06error code may be

 Loading...


