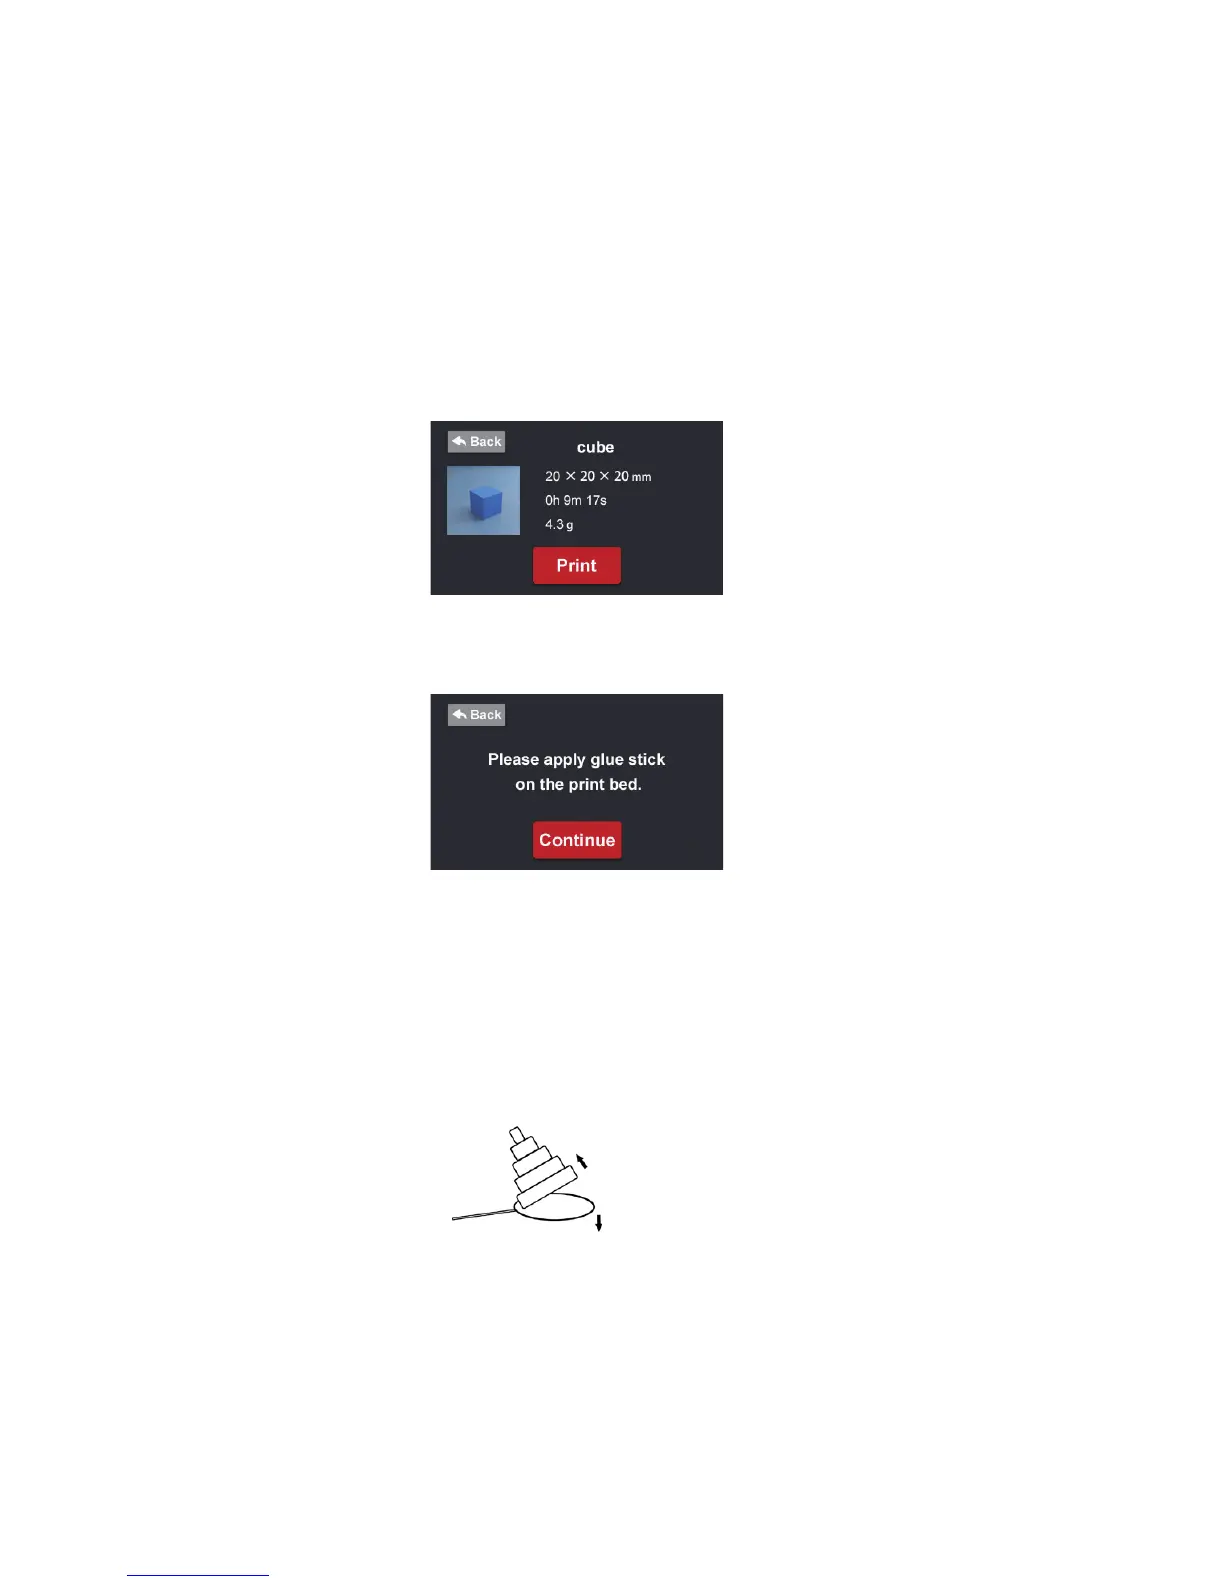
12
2. Choose any le you want to print.
3. Conrm the information on the screen, check the lament roll to make sure
you have enough for the print.
4. Apply two thin layers of glue to the print bed with the supplied glue stick
before continuing. Then, click the “Continue” button.
5. Your model will start to print at this stage.
1.9 Post-Process for Printed Objects
After printing has nished, use the supplied scraper to remove the printed object
from the print bed.
Remove excess lament and 3D model support carefully.
Tips: Use small tweezers or pliers (not included) and wear gloves and eye protection (not included) to remove
excess filament.