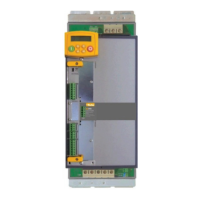
FFiigguurree 33 RReeaarr
ooff CCoonnttrrooll
BBooaarrdd
A
B
B
A
IInnssttaallllaattiioonn
FFiittttiinngg tthhee OOppttiioonn
If the Option is not factory-fitted, follow the
procedure given below.
WWAARRNNIINNGG!!
Disconnect all sources of power before
attempting installation.
CCaauuttiioonn
This Option contains ESD (Electrostatic Discharge)
sensitive parts. Observe static control precautions
when handling, installing and servicing this Option.
1. Undo the two screws securing Option A and Option B
to the front of the drive. If Options are not fitted,
completely remove the blank covers for the Option A
and Option B slots.
2. Undo the screws (A) located in the top and bottom
handles of the control board. Gently pull on the
handles to withdraw the board from the drive,
supporting any attached option boards. Note that the
boards are sliding in top and bottom slots.
3. Remove any other Options that are fitted to the
control board.
4. Offer up the Resolver Option through the "OPTION F"
cut-out as shown opposite.
5. Fit the two locating pegs of the large connector on
the rear edge of the option board into the locating
holes on the control board, as shown below.
6. Fit the two screws and crinkle washers (C) at the rear edge of the
Option. DO NOT OVERTIGHTEN.
Tightening torque : 0.2Nm (28 oz-in).
7. Secure with the two screws (B) to the front of the control
board.
The front panel screws (B) are self-tapping and can be
quite hard to turn. This turning torque must not be
transferred through the option board to the control board
connector. To avoid this hold the option board with one
hand, while tightening the front panel screws with the
other. DO NOT hold the control board while tightening
these screws.
8. Refit any other Options that were removed
from the control
board.
9. Replace the control board (with attached Options) into the
drive.
10. Tighten the Option A and Option B screws; or importantly,
fit the blank covers and secure with the screws.
110
wwwwww..ppaarrkkeerr..ccoomm/
cylinder

 Loading...