

C
Christine MathewsJul 28, 2025
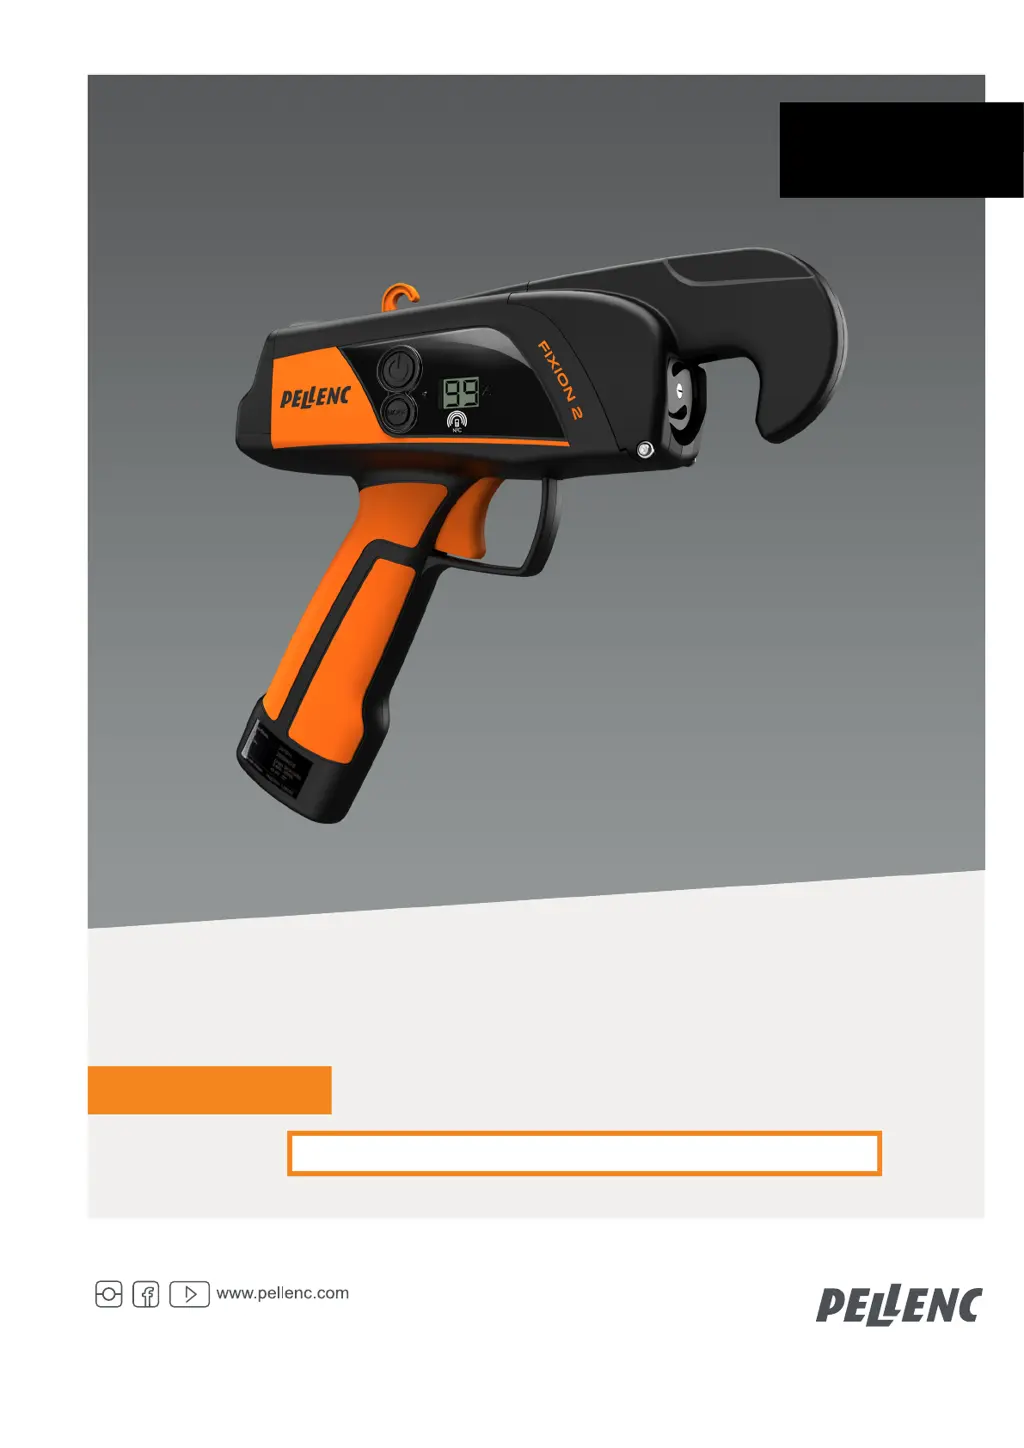
What to do if there is a battery problem with pellenc FIXION 2 Tools?
- JJoseph DanielJul 28, 2025
If you're experiencing a battery problem with your Pellenc Tools, first, ensure the battery is adequately charged by checking the gauge display. If the problem persists, return the complete equipment in its original packaging to a certified repair service.