49
IVIS
®
Spectrum Hardware Manual
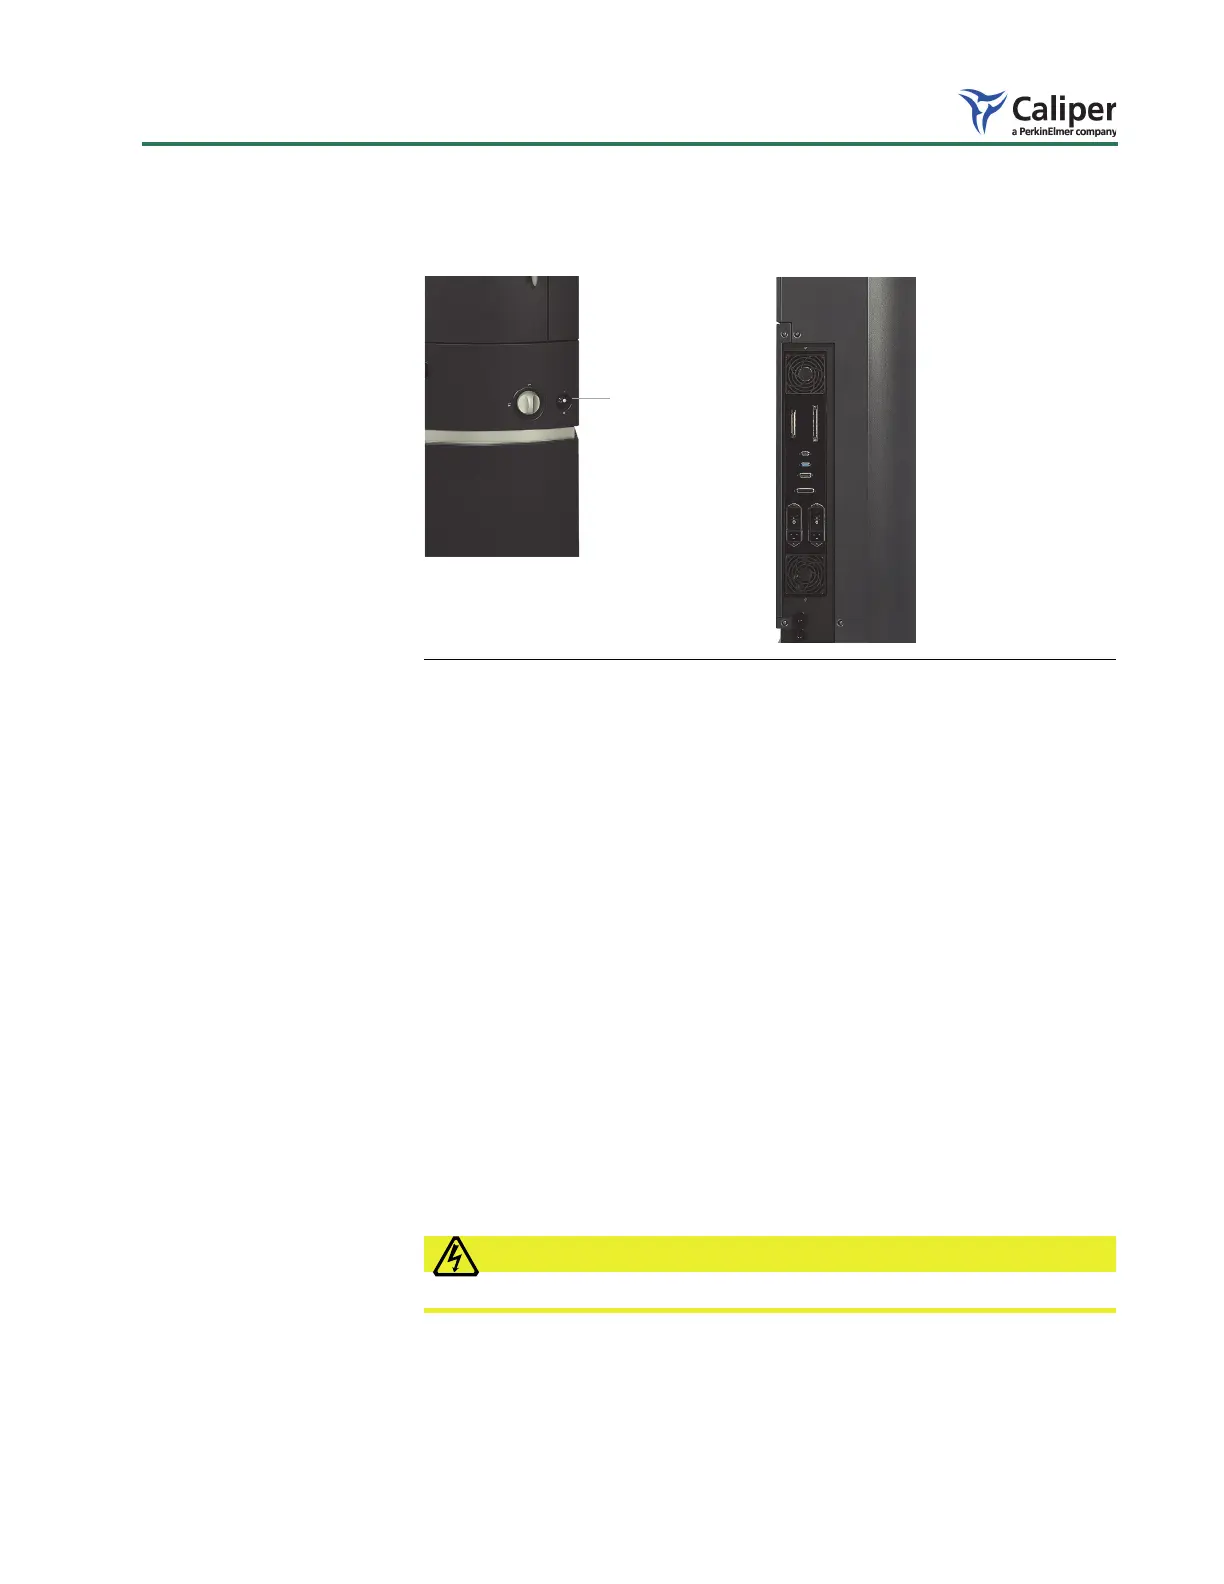
3. Turn off the rear panel circuit breaker switch.
4. Check the connections between the computer and the rear panel of the IVIS
Spectrum. Tighten any loose connection.
5. Turn on the computer and start the Living Image software.
6. Turn on the rear panel main power switch.
— The status light is blue.
7. Turn on the front panel toggle switch by pulling the toggle out and up.
— The status light is blue and blinking.
8. Initialize the system.
— The status light is red and turns green when initialization is complete.
Wait until the camera has cooled to the demand temperature before you
begin an imaging session.
Laser/Galvanometer The laser/galvanometer is not user-serviceable. If you notice any changes to the
alignment grid (for example, change in the brightness or position of the grid),
contact IVIS Imaging Systems Technology Support.
Lamp Replacement The quartz halogen lamp that provides the fluorescent light source typically
operates for thousands of hours. This light source is housed in a compartment
that contains hazardous voltages and is not user accessible or serviceable.
VOLTAGE! DO NOT attempt to service the quartz halogen lamp.
If the lamp brightness is decreased or if lamp replacement is required, contact
IVIS Imaging Systems Technology Support.
Figure 8.4 IVIS Spectrum, front and back panels
Toggle switch
Front panel
Back panel
 Loading...