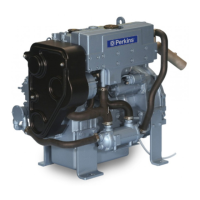
Chapter 4 N39453
Page 52
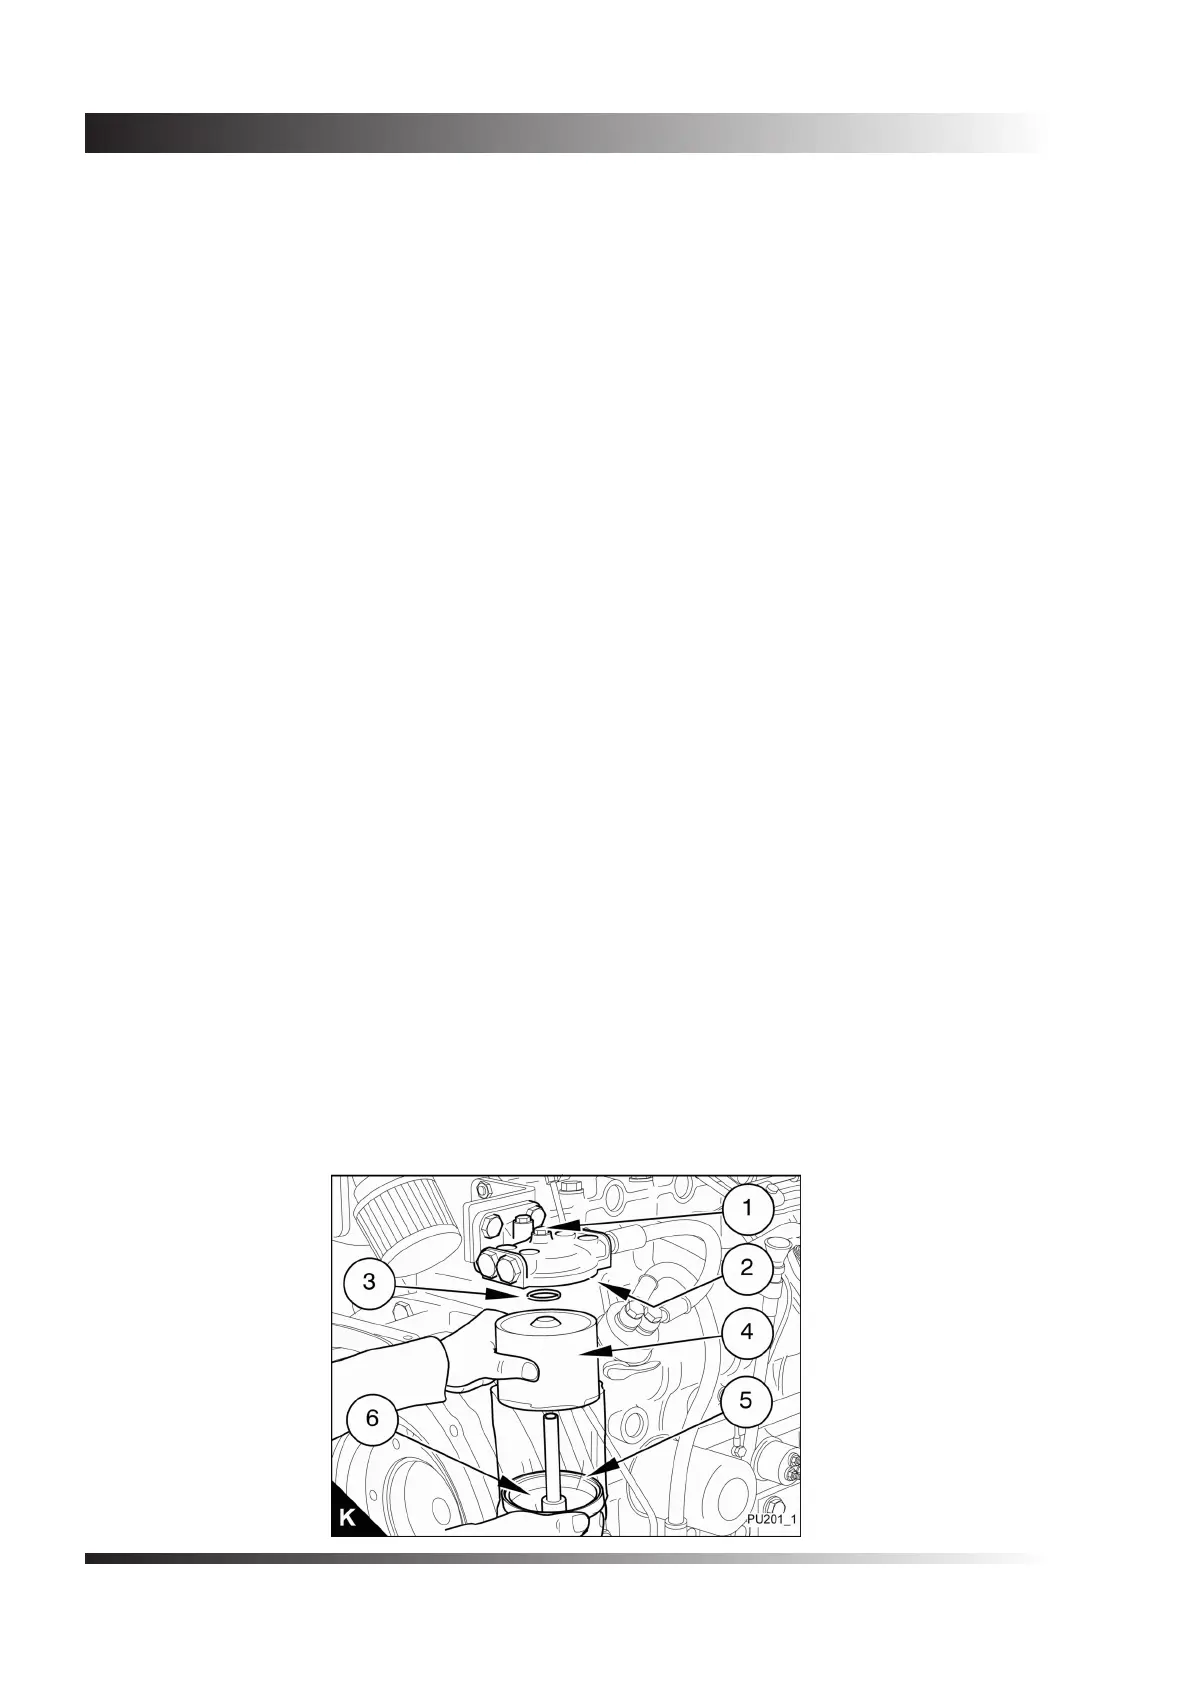
How to renew the element of the fuel lter
Warning! Discard the used element and fuel in a safe place and in accordance with local regulations.
Caution: It is important that only the genuine Perkins parts are used. The use of wrong parts could damage
the fuel injection equipment.
1. Thoroughly clean the outside surfaces of the fuel lter assembly.
2. Put the lter assembly within a plastic bag; the bag should t loosely over the lter to retain spilt fuel.
Hold the bottom cover of the lter element and release the setscrew (K1) which is tted through the lter head
above the centre of the element.
3. Lower the bottom cover (K6) and the lter element (K4).
4. Remove the element from the bag and discard it in accordance with local regulations. Remove the
bottom cover from the bag and discard safely the bag and any spilt fuel.
5. Clean the inside surfaces of the lter head and the cover.
6. Renew the seals (K2) and (K5) and the ‘O’ ring (K3) and lightly lubricate them with clean fuel.
7. Put the bottom cover under the new element and hold the element squarely to the lter head. Ensure
that the element is tted in the centre against the ‘O’ ring in the lter head. With the assembly in this position,
engage and tighten the setscrew.
8. Eliminate the air from the fuel lter.
Fuel pre-lter
This will normally be tted between the fuel tank and the engine. Check the lter bowl for water at regular
intervals and drain as necessary.
Atomiser fault
Warnings!
• If your skin comes into contact with high-pressure fuel, obtain medical assistance immediately.
• Keep away from moving parts during engine operation. Some moving parts cannot be seen clearly while
the engine runs.
An atomiser fault can cause an engine misre.
In order to nd which atomiser is defective, operate the engine. Loosen and tighten the union nut of the high-
pressure fuel pipe at each atomiser. When the union nut of the defective atomiser is loosened, it has little or
no effect on the engine speed.
 Loading...