32
h
3-5
3-5
3-5
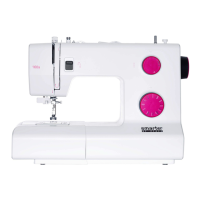
1540
1530
1520
Utility stitches and practical sewing
Buttonholes
Sewing buttonholes is very easy with all the
models with pushbutton controls since the
fabric does not have to be turned.
Buttonholes are generally sewn onto a piece of
doubled fabric. However, for some materials,
e.g. silk, organza and viscose, it is necessary
to use stabilizer to prevent the material from
contracting while sewing.
To produce beautiful seams, embroidering
or darning threads are ideally suited to this
purpose.
Mark the starting point of the buttonhole either
with a magic pen or dress pin, and always sew
a sample buttonhole fi rst.
Note: Before starting any buttonhole, always
push the guide of the buttonhole foot fully to
the front, i.e. so that the red arrow is at the
fi rst red mark. The red marks are arranged at
an interval of 0.5 cm. They are a guide when
determining the length of the buttonhole.
1540 – Standard buttonhole
• Insert the buttonhole foot and slide the foot
forward as far as it will go.
• Select stitch 1 (C) and sew the right side of
the buttonhole to the required length. Clip
the top thread after a few stitches.
• Select stitch 2 (B) and hold the button down
as you sew a few bartacks.
• Select stitch 3 (A) and sew the left side of
the buttonhole until it matches the previous
side in length.
• Select stitch 4 (B) and hold the button down
as you sew a few bartacks.
• Release button B and sew a couple stitches
to secure your buttonhole.
• Carefully cut open your buttonhole with
scissors or a seam rippper.
Tip: If you would like to sew very fi ne
buttonholes, you can reduce the buttonhole
width with the stitch width dial (27) down to
approx. 3 mm. Use the center needle position
.
CBA
-
-
stitch
5-
–
–
0/1
–
–
 Loading...
