Step 8. Run the Philips Upgrade Wizard Again.
IntelliVue Telemetry System Infrastructure Installation and Service Guide 3-35
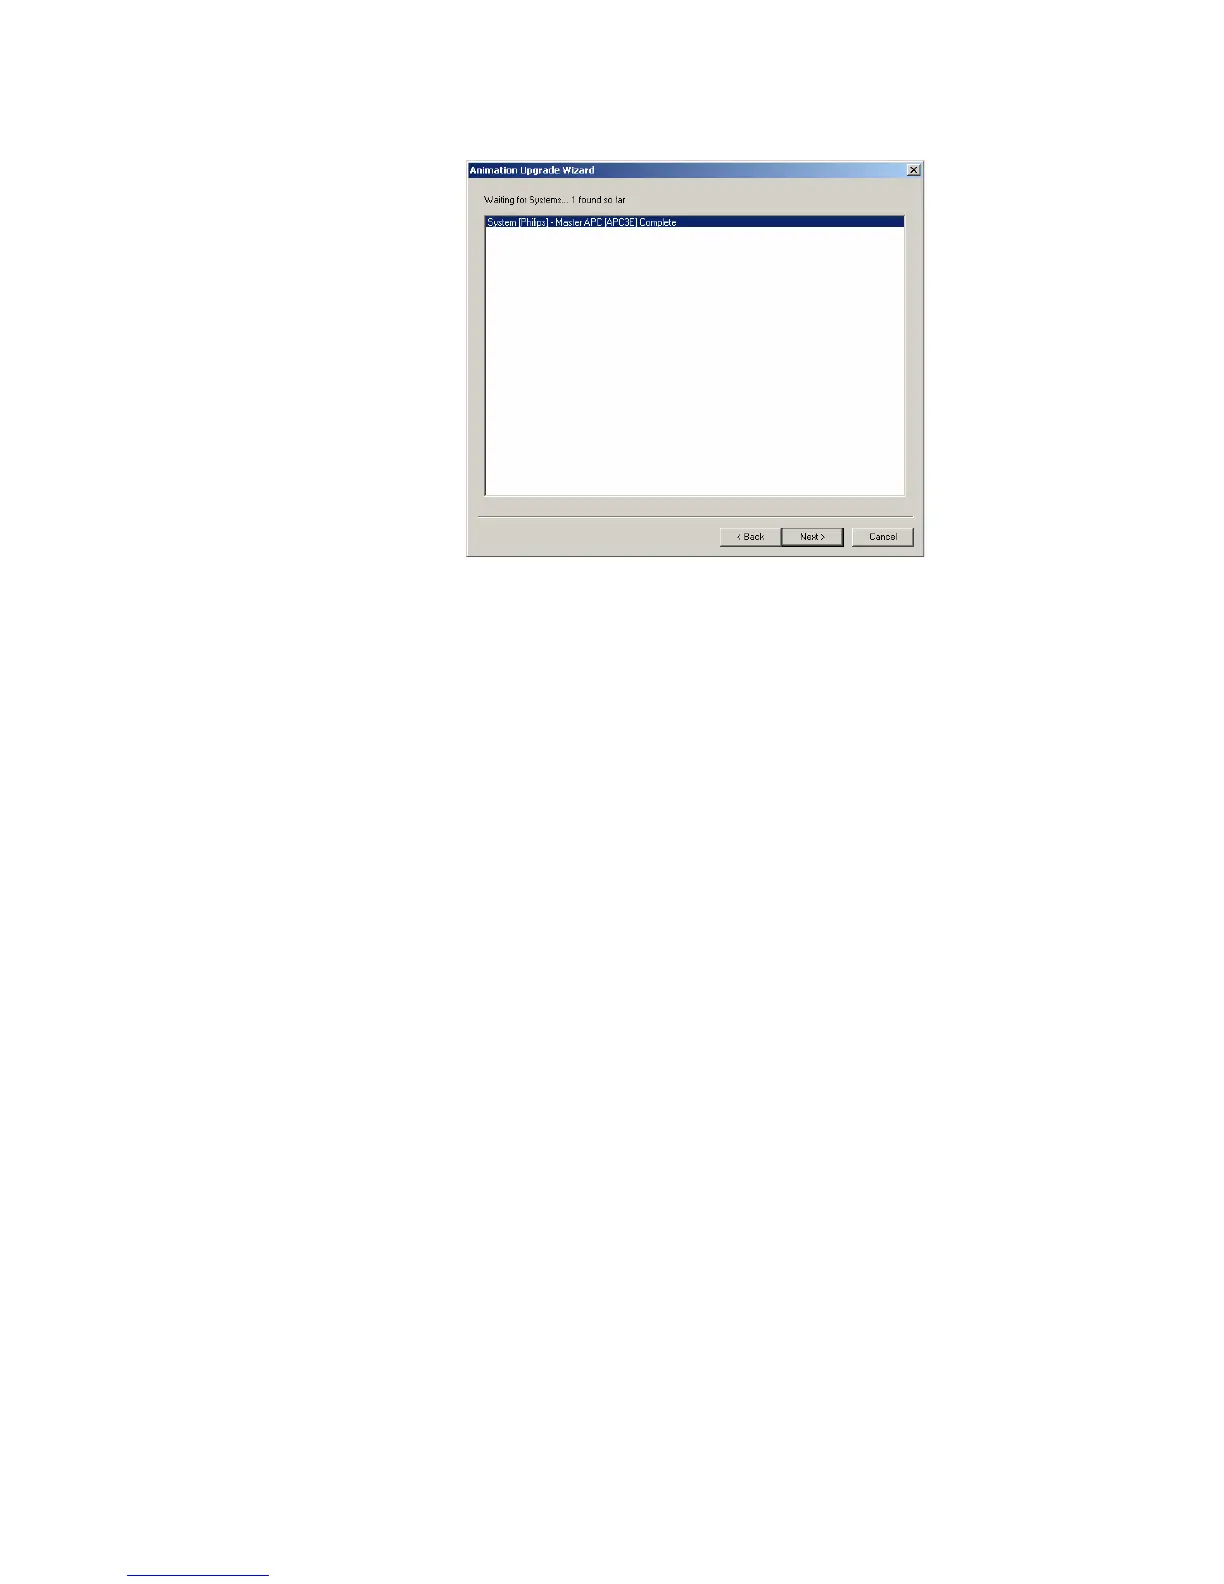
5. Highlight/select the displayed message, e.g., System [Philips] – Master APC
[APC3E] Complete and then click Next> to continue.
The wizard scans the IntelliVue Telemetry System for all connected APs.
When the scan is completed, the following message appears:
Finished System scan
6. Click Next> to continue.
The APCs are queried, and a full navigational tree of the ITS is built and
displayed.
The tree lists the current firmware revision installed on each APC found in the
ITS.
Items needing an upgrade are shown in bold. If an AP needs an upgrade, the
APC it is connected to will also be shown in bold, even if that APC itself does not
require upgrading.
7. Select one APC (i.e., top level APC structure) at a time to upgrade. For example,
select APC [APC-C3] Version [A.00.29] and then select Next>.
The selected APC is taken offline, and the message Taking APC Offline is
displayed.
8. Click Next> to continue.
The APC upgrade process begins. The upgrade process may take several
minutes to complete. Status messages are displayed (Figure 3-20) as the
process runs.
Figure 3-19: APC Scan Completion Screen
 Loading...