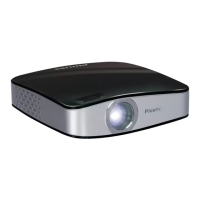
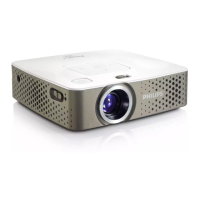
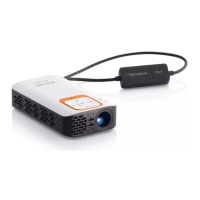
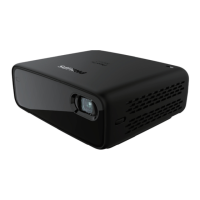
Change settings 13
6 Change settings
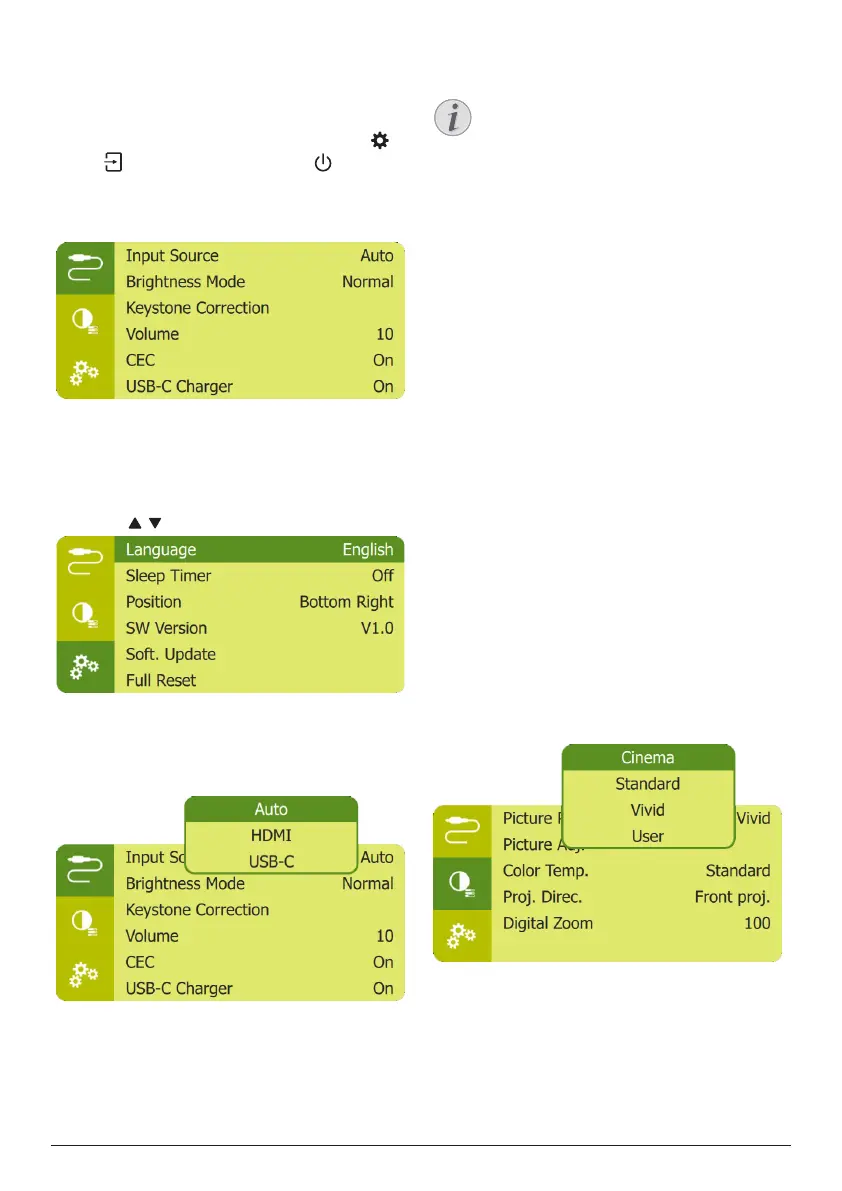
This section helps you change the settings of
the projector.
1 When the projector is turned on, press
or on the remote control (or on the
projector) to access the settings menu.
2 Use the Navigation buttons and OK to
select and change settings.
Language settings
Select your desired language for on-screen
menu.
• Navigate to Language, and press OK, then
press / to select a language.
Input source selection
Navigate to Input Source to access the
following settings.
• Auto: Automatically switch to the correct
input source when an HDMI or USB-C
device is connected.
• HDMI: Select it when an HDMI device is
connected.
• USB-C: Select it when a USB-C device is
connected.
You need to select a correct input source,
so that the projection screen can show
images.
Picture settings
You can access the following picture settings.
• Keystone Correction: Select an option to
correct keystone or distorted images to be
rectangular or square.
• Auto Keystone: Enable or disable
auto correction of the image shape
when tilting the projector upwards or
downwards. When Auto Keystone is
activated, all the other image correction
options will be deactivated.
• Manual Keystone: Manually adjust four
corners of the image.
• Manual Horiz. Keyst.: Manually correct
keystone or distorted images in the
horizontal orientation.
• Keystone Calibration: Perform this
function if the auto keystone correction
does not correct the image shape
ideally.
• Proj. Direc.: Adjust the projection to
the correct position based on different
installation of the projector.
• Digital Zoom: Scale the projection image
within the range from 50% to 100%.
• Picture Preset: Select a predefined color
brightness setting for picture and video
display.
• Picture Adj.: Adjust Brightness/Contrast/
Saturation/Toneburst/Sharpness with the
values from 0 to 100.