8
3.
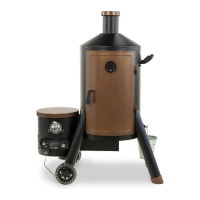
Parts Required:
1 x Chimney Cap
(#1)
1 x Chimney Stack
(#2)
3 x Screw
(#D)
3 x Locking Washer
(#J)
3 x Washer
(#I)
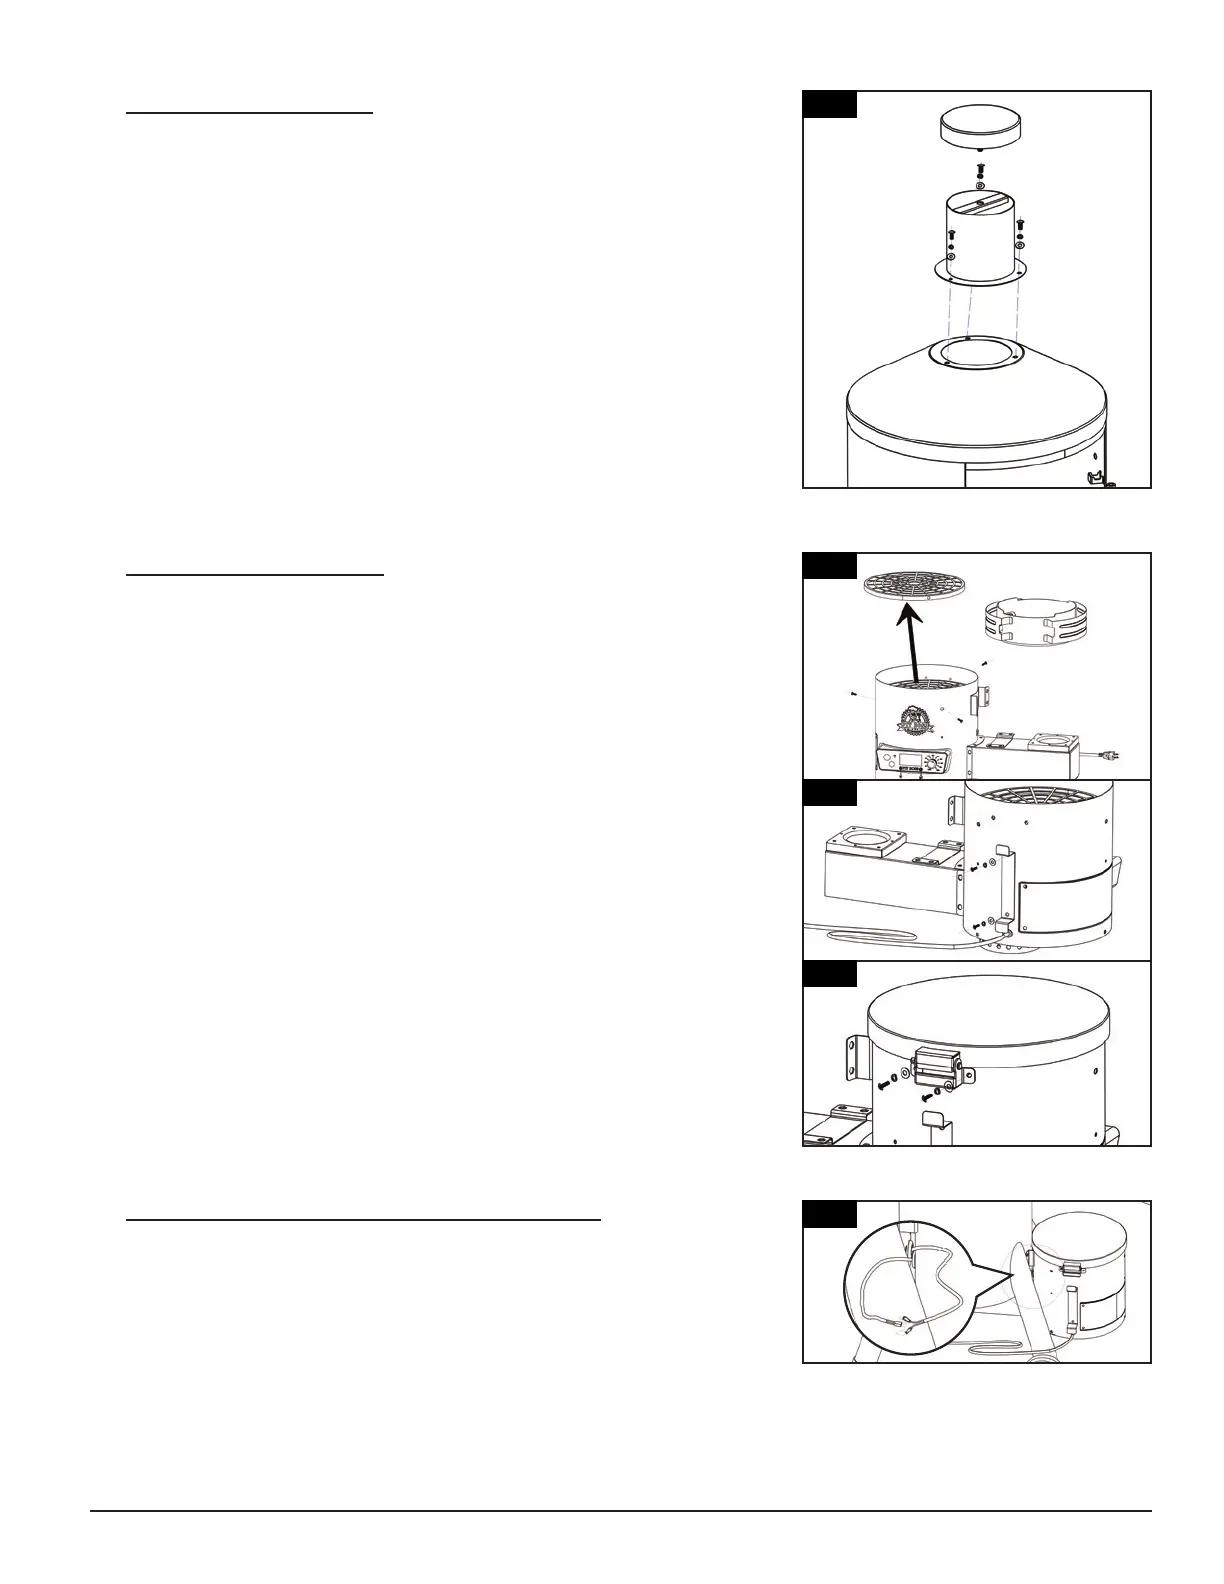
Installation:
• Locate the chimney opening on the top of the main barrel. From the
outside, secure the chimney stack to the top of the unit using three
screws, locking washers, and washers. The screw will fasten to the pre-
mounted nut on the inside of the unit.
NOTE: Adjust the chimney cap to affect the airflow inside the main
smoker. If cooking at low temperature, keep the cap more open.
Ensure the chimney cap allows for air to escape at all times.
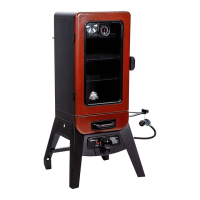
4.
Parts Required:
1 x Hopper
(#11)
1 x Hopper Lid
(#10)
1 x Power Cord Bracket
(#9)
4 x Screw
(#D)
4 x Locking Washer
(#J)
4 x Washer
(#I)
Installation:
• Unscrew the three screws along the outside of the hopper that secure
the hopper safety screen to the interior of the hopper. Remove the
safety screen, remove the heat tent and set aside. Re-install the
hopper safety screen. Note 4.
• Mount the power cord bracket to the backside of the hopper using
two washers, locking washers, and screws. Note 4.
• Secure the hopper lid onto the hopper using two washers, locking
washers, and screws. Note 4.
IMPORTANT: Once installed, ensure the hopper lid opens and closes
to avoid any water or moisture from coming in contact with the
wood pellet fuel. Wood pellets exposed to moisture will expand in
size and lose their heating value.
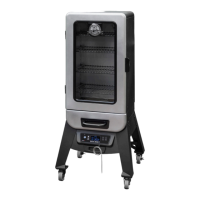
5.
Installation:
• On the back side of the hopper, connect the silver temperature probe
wires that extrude from the main barrel and the hopper. The spade
connectors from the body can be connected to the spade connectors
from the hopper in any order. Tuck the wire connections and excess
wire into the hopper through the rubber ring.
3
5
1
2
4
4
4
10
11
11