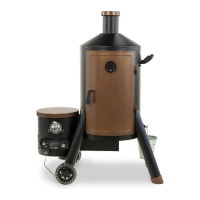
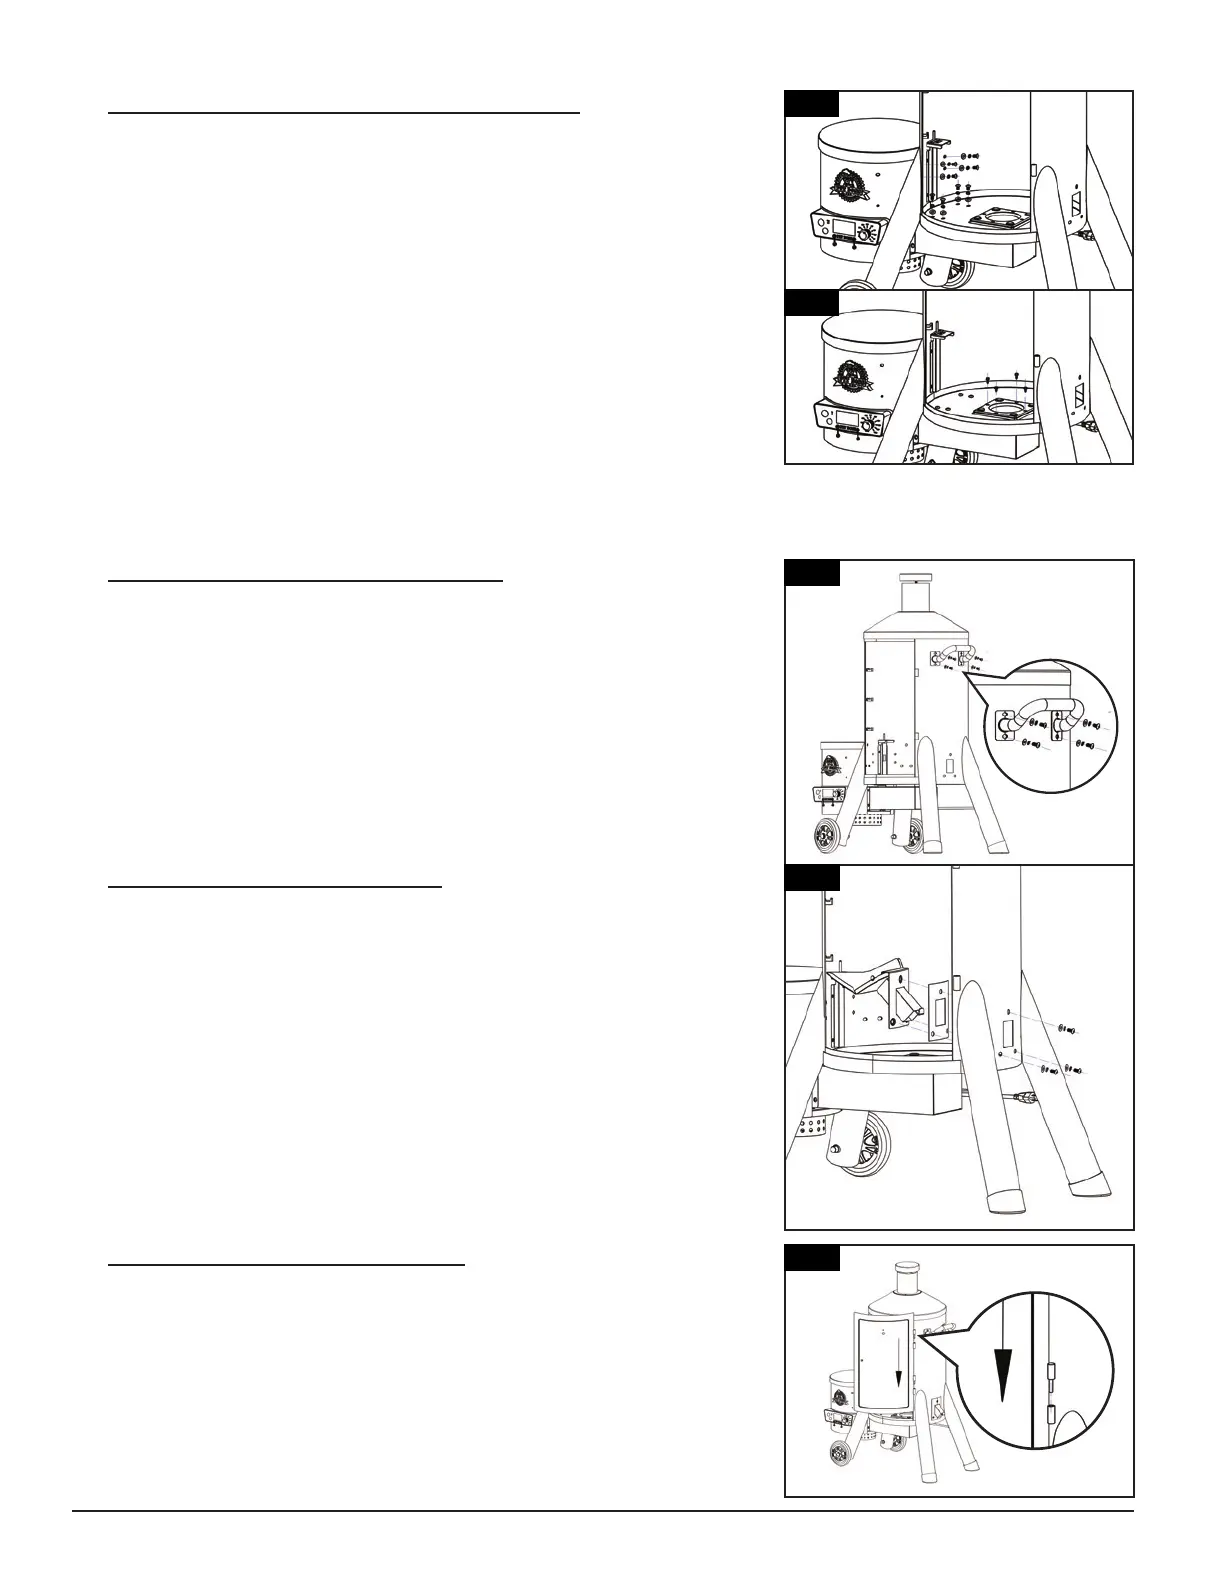
9
6.
Parts Required:
8 x Screw
(#C)
8 x Locking Washer
(#H)
8 x Washer
(#G)
4 x Screw
(#E)
NOTE: IT IS HIGHLY RECOMMENDED TO USE TWO PEOPLE FOR THIS
STEP, ONE TO LINE UP THE HOPPER AND MOUNTING HOLES, THE
OTHER TO INSTALL THE HARDWARE.
Installation:
• Mount the hopper onto the main barrel using eight screws, locking
washers, and washers on the vertical wall of the main barrel. Note
illustration 6.
• Secure the fire pot to the bottom of the main barrel using four screws
from the interior. Note illustration 6.
7.
Parts Required:
1 x Main Barrel Handle
(#5)
4 x Screw
(#C)
4 x Locking Washer
(#H)
4 x Washer
(#G)
Installation:
• Install the main barrel handle onto the right side of the main barrel
using screws, locking washers, and washers. Note illustration for
proper direction of handle, curve pointed upwards.
8.
Parts Required:
1 x Grease Trough
(#13)
1 x Grease Trough Gasket
(#14)
3 x Screw
(#C)
3 x Locking Washer
(#H)
3 x Washer
(#G)
Installation:
• Locate the three holes and opening on the right side of the main
barrel, between the stationary support legs. From the inside of the
main barrel, install the grease trough gasket and grease trough to the
interior wall using three screws, locking washers, and washers. Note
proper positioning as shown in illustration.
9.
Parts Required:
1 x Main Barrel Door
(#6)
Installation:
• Mount main barrel door to the main barrel by aligning and securing
the door hinges to the hinges on the main barrel frame. Ensure the
door is mounted correctly by testing it opens freely.
6
6
7
5
8
13
14
9
6