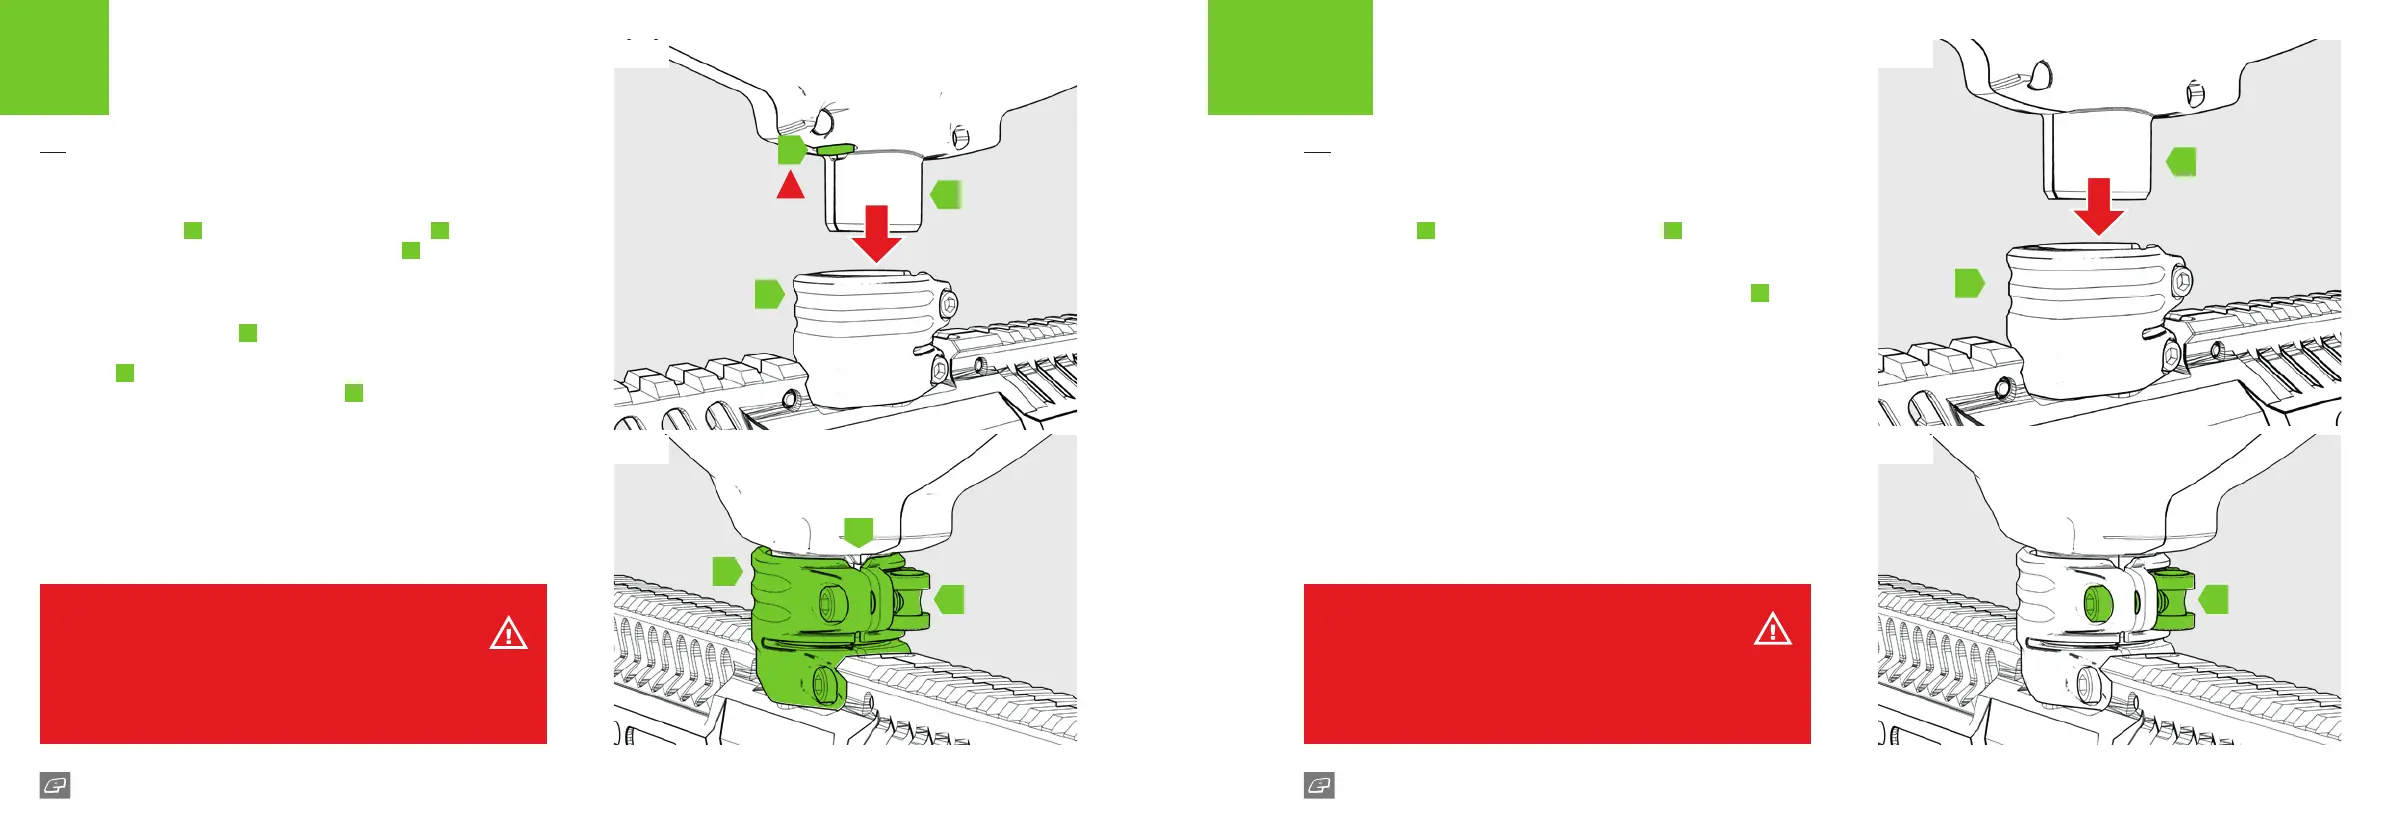
FIG-1
Push the PAL loader
A
into the PAL feedneck assembly
B
as per any
other loader. Ensure the PAL agitation plate actuator
C
aligns with the
PAL plunger in the front of the PAL feedneck assembly to work correctly.
FIG-2
The PAL feedneck assembly
B
has a recess in the rear to assist with
alignment of the PAL loader. When tting the PAL loader make sure
the dimple
D
sits centrally within the recess. If the PAL loader doesn’t
t correctly use the clamping feedneck lever
E
to loosen / tighten
accordingly.
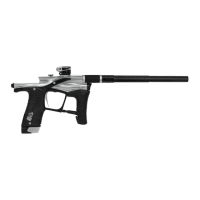
FIG-1
Push the loader
A
into the PAL feedneck assembly
B
as normal.
FIG-2
If the loader doesn’t t correctly use the clamping feedneck lever
E
to
loosen / tighten accordingly.
WARNING!
If the agitator plate actuator isn’t aligned with the PAL plunger then the PAL
system may not work correctly.
Always make sure the marker is set to SAFE when installing a loader.
NOTICE!
Although the PAL plunger will still activate when red, NO gas is wasted nor is
the eciency of the marker aected in any way.
The PAL system WILL NOT improve the performance of non-PAL gravity-fed
loaders nor will it aect the performance of any force-fed loaders.
FIG-1 FIG-1
FIG-2 FIG-2
A
A
E E
B
B
B
C
D
!
18 19
EMF100 EMF100
QUICK START
ATTACHING A PAL
LOADER SYSTEM
QUICK START
ATTACHING A
GENERIC LOADER