FIG-1 FIG-5
FIG-2
FIG-6
FIG-8
FIG-3
FIG-4
FIG-7
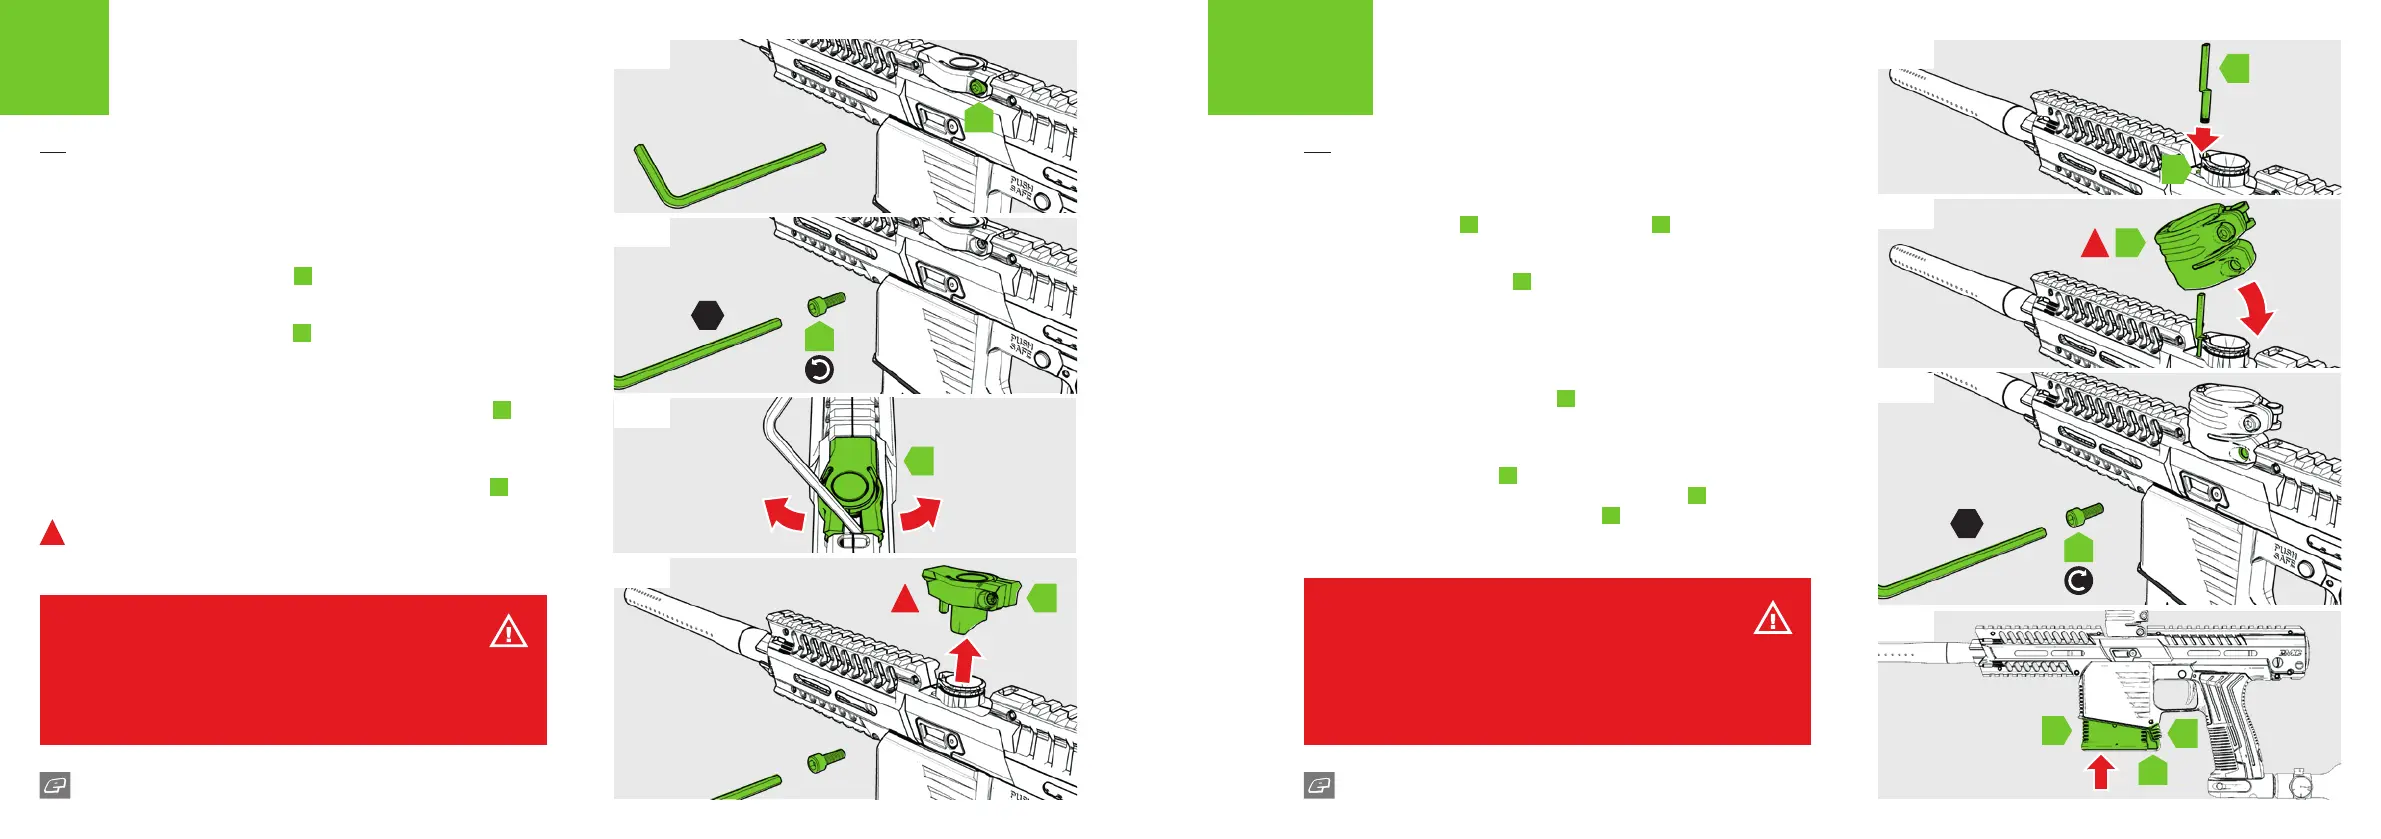
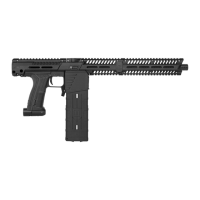
To switch from magazine fed to hopper fed simply follow these basic
steps.
FIG-1
Locate the PAL feedtube plug screw
A
.
FIG-2
Rotate the PAL feedtube plug screw
A
counter-clockwise to remove
using a 5/32 hex key.
FIG-3
Using the 5/32 hex key, bend the arms of the feedtube plug apart
B
and
release the plug from the body.
FIG-4
Once released, simply pull the feedtube plug away from the body
B
.
1
IMPORTANT! The PAL feedtube plug will be held rmly in place so
a reasonable amount of force may be required to remove.
FIG-5
Insert the PAL plunger
C
into the plunger receiver
D
.
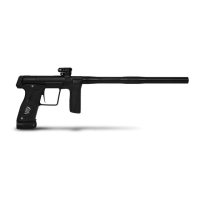
FIG-6
Gently slide the PAL feedneck
E
over the plunger being careful not to
damage it until the feedneck sits at a slight forwards leaning angle. Then
push the feedneck down towards the back to level it out until it clicks
into place.
FIG-7
Rotate the PAL feedtube plug screw
A
clockwise to replace it using a
5/32 hex key.
FIG-8
Insert the dummy magazine
F
into the magazine well until it clicks
securely in place. Make sure the dummy magazine lock
G
is engaged,
which prevents the dummy magazine latch
H
from accidentally ejecting
the dummy magazine.
WARNING!
The PAL feedneck feedtube plug will be secure when installed so will require an
amount of force and agitation to remove it.
ALWAYS ensure that the marker is degased and free from projectiles before
beginning these procedures.
WARNING!
Take care when installing the PAL feedneck making sure not to apply too much
force around the PAL plunger.
ALWAYS ensure that the marker is degased and free from projectiles before
beginning these procedures.
A
G
A
A
B
H
B
C
5/32
5/32
E
F
D
1
!
12 13
EMF100 EMF100
QUICK START
CHANGING BETWEEN
MAGFED AND HOPPER FED
QUICK START
CHANGING BETWEEN
MAGFED AND HOPPER FED